
How To Make With Cardboard
📖 Table of Contents
There’s something about the sound of cardboard being cut — crisp, clean, and satisfying — that feels like the start of something creative. I remember the first time I tried making a chair out of cardboard, expecting it to be flimsy, but after reinforcing the joints and layering the panels, it held my weight perfectly. It was a revelation. Cardboard isn’t just for boxes; it’s a surprisingly versatile material that can become furniture, art, or even architectural models with the right approach.
I’ve spent the last few years experimenting with cardboard, building everything from coffee tables to storage units, and each time, I’ve learned something new about how this humble material can be transformed. Whether you’re on a tight budget, looking to reduce waste, or simply want to engage in a project that feels both sustainable and creative, working with cardboard is a great place to start. The key is to understand the right techniques and materials, which I’ll walk you through in this guide.
What I love most about working with cardboard is that it’s not only affordable and widely available, but it also allows for bold, creative designs. You can cut, fold, glue, and reinforce it into almost anything you can imagine. From a simple bookshelf to a full-scale modular desk, the possibilities are endless. This article is your roadmap to unlocking the potential of cardboard in your own DIY projects — no prior experience needed.
Why You'll Love This Project
- Transform discarded materials into useful, creative objects
- A low-cost, sustainable approach to furniture-making
- A surprisingly strong and durable final product when done right
- A flexible material that allows for custom design and experimentation
Choosing the Right Cardboard
As of September 2026, not all cardboard is the same — the difference between a single-layer sheet and corrugated board can determine how strong your final piece is. I recommend using corrugated cardboard, the kind you see in shipping boxes, for furniture and larger projects. It’s stiffer and more durable, and you can easily find it at most stores or even request it from local businesses that ship frequently.[1]
For smaller projects like decorative items or lightweight structures, single-layer cardboard can work well. If you're planning to do anything that requires strength, like a chair or table, corrugated board is the way to go. I’ve found that using double-layered cardboard (two sheets glued together) can significantly improve the rigidity and lifespan of your project.
Another thing to consider is the texture and thickness of the cardboard. Thicker cardboard is more challenging to cut but offers better structural support. I always test a piece before starting a large project — a quick cut with a utility knife helps determine how well it will hold up under pressure.
Look for corrugated cardboard for furniture, and single-layer for decorative items. Test a piece with a utility knife before cutting large quantities.
Tools and Materials You'll Need
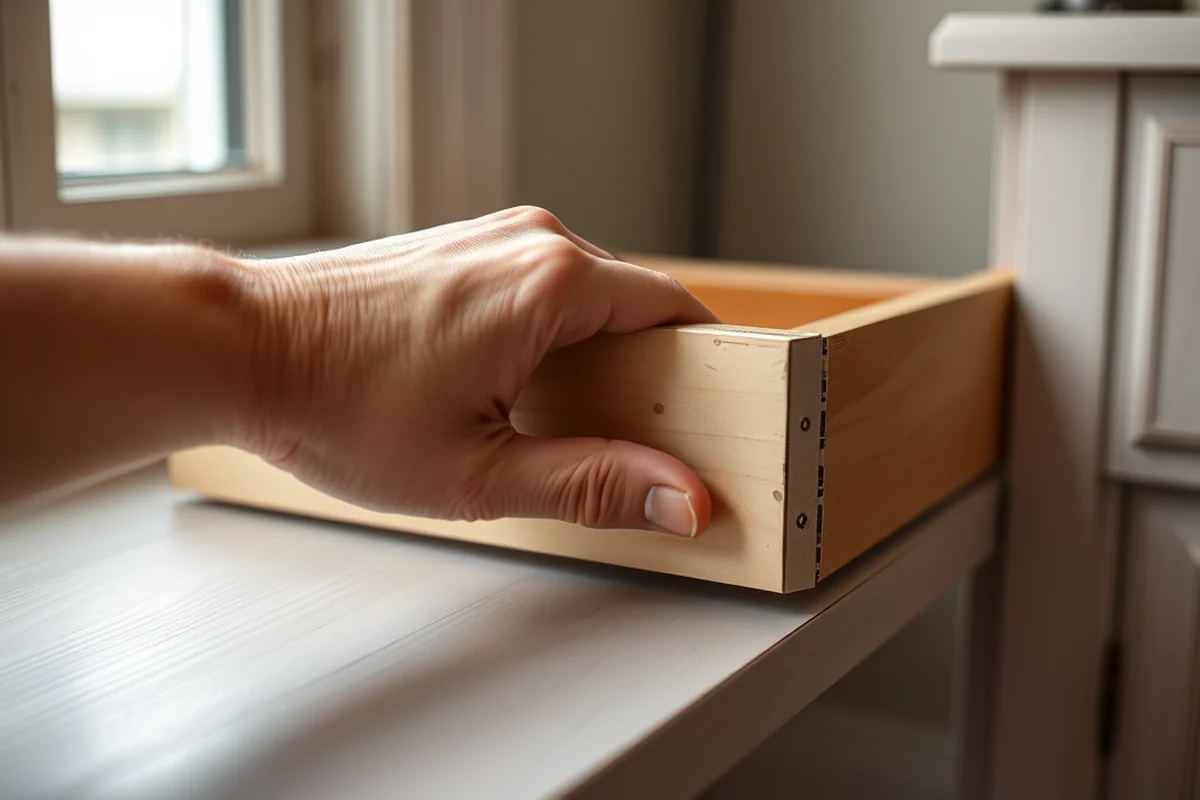
The main tools you’ll need are a utility knife, a ruler, a cutting mat, and a glue gun. These are the essentials — you can even make do with a box cutter and a piece of scrap cardboard as a cutting surface if you’re working on a budget. I’ve made several projects using only these tools, and they’ve all turned out well.
For larger projects, a staple gun can be useful for securing parts together quickly. I also find that a small pair of pliers or a clamp helps hold pieces in place while you’re working. Don’t underestimate the importance of a good ruler — precise measurements make a big difference in the final outcome.
As for materials, besides cardboard, you’ll need glue (either hot glue or white glue, depending on what you’re working with), scissors. Possibly some reinforcement materials like duct tape or additional layers of cardboard. I’ve used white glue for smoother surfaces and hot glue for quick fixes — both have their place in a cardboard project.
Start small, and let your confidence grow with each completed project.
Related: Cheap diy wall decor ideas pinterest
Related: How To Make Your Bed Book
Related: Cardboard Boat Designs
Related: How To Make Paper Airplane And Launcher
Related: How To Make A Charcuterie Board
Related: How To Make A Cardboard Gun
Related: Make A Cardboard Car
Related: How To Make A Cardboard Car
Related: How To Make In Cardboard
Cutting and Shaping Cardboard
Use a ruler and a utility knife to score and cut cardboard carefully — this helps prevent tearing and ensures clean edges. I always recommend scoring the cardboard first before cutting through it completely, especially with thicker sheets. This technique has saved me from jagged, uneven cuts that can ruin a project.
When shaping curved or angled pieces, I use a template made from cardboard or paper. This helps me maintain consistency and accuracy in the shape. For more complex designs, I’ve found that using a heat gun to slightly soften the cardboard (if it’s not too thick) can help it bend without cracking.
Always work on a cutting mat to protect your work surface and avoid damaging your floor or table. I’ve had to replace a few tables after cutting directly on them, so this small step can save you a lot of trouble in the long run.
Score the cardboard with a utility knife first to prevent tearing. Use a ruler and cutting mat for clean, accurate cuts.
“There’s something about the sound of cardboard being cut — crisp, clean, and satisfying — that feels like the start of something creative.”— DIY Furniture with Pegboard editors
Related: Diy decor store near me
Related: How To Make A Paper Airplane With Launcher
Reinforcing Joints and Structures
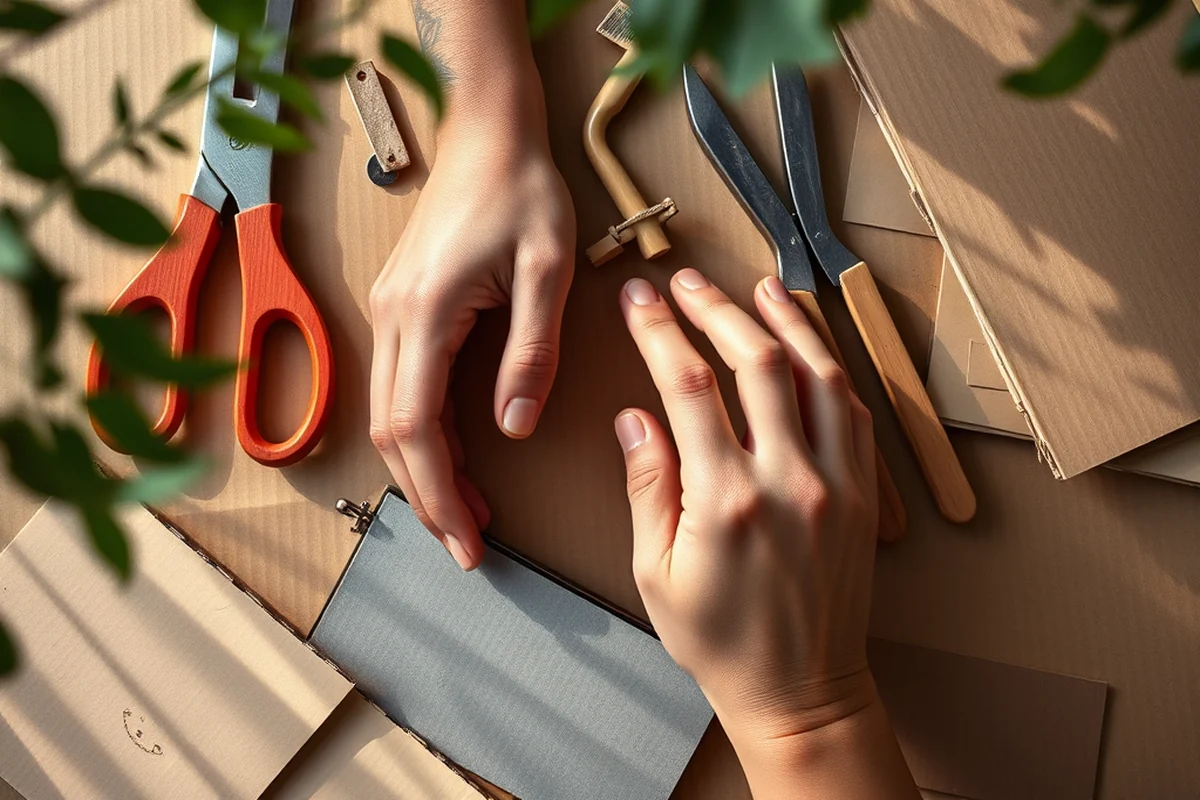
One of the most important steps in any cardboard project is reinforcing the joints. I always glue multiple layers of cardboard together to create a more solid structure. For corners and edges, I apply a thick layer of hot glue and press the pieces together until the glue sets — this gives the joint extra strength.
Another technique I’ve found useful is using duct tape to reinforce the seams. I apply it along the edges and wrap it around the corner, creating a more durable join. This method has helped me prevent my cardboard furniture from coming apart over time.
For larger projects, I add internal supports made from additional layers of cardboard. These supports act like braces, distributing the weight more evenly and reducing the risk of the structure collapsing. I’ve used this method in my modular desk and it has held up very well under daily use.
Related: Diy room decor ideas for small rooms pinterest
Finishing and Sealing Cardboard
Once your project is assembled and glued, it’s time to finish it off. I recommend using a spray sealant or waterproofing solution to protect the cardboard from moisture. This is especially important for outdoor projects or any furniture that might be exposed to humidity. I’ve used a clear acrylic sealant on several of my pieces, and it’s worked wonders in preventing the cardboard from warping or getting soggy.
For a more polished look, I sometimes paint the surface of the cardboard with a water-based paint. This gives the project a more finished appearance and allows for creative color choices. I’ve used white paint to create a clean, modern look on my furniture, and it always turns out nicely.
If you're working on a project that needs to be more durable, you can apply a layer of wood glue on the surface and let it dry. This creates a stiffer, more rigid surface that’s less prone to bending. I’ve used this technique on my cardboard shelves and it has made them much more stable.
Related: Diy decor ideas pinterest 2
Designing Your Cardboard Project
Before you start cutting, take the time to sketch out your design. I always draw a rough plan on paper, noting measurements and the shape of each component. This helps me visualize the final product and ensures that all parts fit together properly.
When designing, I try to keep things simple but functional. For furniture projects, I focus on the structural elements first — the legs, the base, the frame — and then work on the details. This approach has helped me avoid overcomplicating my designs and has made the building process much smoother.
I also make sure to leave enough space between joints for reinforcement. This is a detail I often overlook, but it makes a big difference in the final strength of the project. Taking the time to plan your design can save you a lot of headaches later on.
Design with function in mind — a beautiful piece of cardboard furniture should also be practical.
Related: Diy projects on pinterest
Putting It All Together
Assembling your project is the most exciting part — seeing the pieces come together into something tangible. I always start with the base and work my way up, ensuring that each piece is properly aligned and glued. Taking my time with this step helps prevent misalignment and ensures a stronger final product.
For larger projects, I use clamps to hold the pieces in place while the glue dries. This gives the joints more time to set and creates a more secure bond. I’ve found that using clamps significantly improves the stability of the final structure.
After assembling everything, I take a step back and check for any gaps or weak points. If I notice any areas that need reinforcement, I add more layers of cardboard or apply additional glue. This final inspection helps ensure that the project is as strong and durable as possible.
💰 Budget Build
Create a simple cardboard stool or shelf using minimal materials and tools — perfect for beginners or those on a tight budget.
⏰ Weekend Version
A quick and easy cardboard project that can be completed in a single day — ideal for short, focused DIY sessions.
✨ Upgraded Finish
Add a layer of paint or sealant to your cardboard project for a more polished and professional look.
🏠 Small-Space Adaptation
Design compact cardboard furniture or storage solutions that are perfect for apartments or small homes.
🔒 Rental-Safe Option
Build a temporary cardboard structure that’s easy to disassemble and move — great for renters who can’t make permanent changes.
| The mistake | Why it happens | The fix |
|---|---|---|
| Using single-layer cardboard for furniture | Single-layer cardboard is too thin and can easily collapse under weight or break after a few uses. | Use corrugated or double-layered cardboard for all furniture projects to ensure durability. |
| Skipping the reinforcement step | Without reinforcing the joints, your cardboard project will be weak and likely to fall apart. | Always add extra layers of cardboard and use hot glue or duct tape to strengthen the joints. |
| Not sealing the cardboard | Unsealed cardboard is vulnerable to moisture and can warp, sag, or disintegrate over time. | Apply a waterproof sealant or wood glue to protect your project from humidity and damage. |
| Overlooking the design planning phase | Poor planning can lead to misaligned pieces and a final project that doesn’t function as intended. | Always sketch your design first to ensure that all components fit together properly before you start cutting. |
How To Make With Cardboard
Common Questions
Can I use cardboard for outdoor furniture?
How long does cardboard furniture last?
Can I use cardboard for a dining table?
Is it possible to make a bed out of cardboard?
References
- Compression Strength Estimation of Corrugated Board Boxes for a ... (pmc.ncbi.nlm.nih.gov)
Cite this guide
DIY Furniture with Pegboard (2026). How To Make With Cardboard. https://pegbuild.com/how-to-make-with-cardboard/
Feel free to cite or share this guide.