
How To Make Furniture Polish At Home
📖 Table of Contents
- What You Need to Make Your Own Furniture Polish
- The Benefits of a Homemade Furniture Polish
- Choosing the Right Ingredients for Your Furniture
- How to Apply Your Homemade Furniture Polish
- How Often to Reapply Your Homemade Furniture Polish
- Customizing Your Furniture Polish for Different Surfaces
- Storing and Preserving Your Homemade Furniture Polish
- Make It Your Way
- Frequently Asked Questions
There’s something deeply satisfying about the way a freshly polished table glistens in the morning light, catching the sun like it’s been specially made for the occasion. I remember the first time I used a homemade furniture polish on an old oak sideboard—it felt like I’d given the wood a second life, making it look brand new without a single drop of harsh chemical. Making your own furniture polish at home isn’t just about saving money; it’s about taking control of what touches your furniture and your family. Whether you're a seasoned woodworker or someone who just wants to keep their living room looking its best, there’s a natural, do-it-yourself solution that fits your needs.
I’ve spent years experimenting with different combinations of oils, waxes, and natural ingredients, and I’ve found that the key to a great homemade polish lies in the balance between protection and shine. It’s amazing how a few simple items from your pantry or local hardware store can transform the look and feel of your furniture. What I love most is that you can customize the formula to match your furniture’s needs—whether it’s a high-traffic dining table or a delicate antique bookshelf. And the best part? You don’t have to worry about toxic fumes or the environmental impact of commercial polishes.
If you’ve ever felt overwhelmed by the endless choices of store-bought polishes, then this guide is for you. Making your own furniture polish at home is easier than you think, and the results are worth every minute of your time. I’ll walk you through the exact steps, materials, and techniques I’ve used to keep my furniture looking like new. By the end, you’ll know exactly how to make furniture polish at home with confidence, care, and a little bit of creativity.
Why You'll Love This DIY Furniture Polish
- It’s safer for your home and the environment than commercial products.
- You can customize it to suit your furniture’s needs and your personal preferences.
- It’s significantly cheaper than store-bought options, saving you money in the long run.
- It gives your furniture a rich, deep shine that lasts for weeks without leaving a residue.
What You Need to Make Your Own Furniture Polish
As of August 2026, the basic formula for a homemade furniture polish typically includes a carrier oil, such as olive oil or mineral oil, mixed with a small amount of beeswax or carnauba wax for protection and shine. You can also add a few drops of essential oils like lemon or orange for a pleasant scent. I’ve found that using a small mason jar or a dedicated container for mixing works best, and a clean, soft cloth is essential for applying the polish evenly.
For more durable furniture, you can add a small amount of beeswax to the oil mixture to create a protective layer that resists scratches and water. I personally use a 1:1 ratio of oil to wax for most of my furniture, but for high-traffic areas, I’ve increased the wax proportion to 1:2. This ensures that the surface remains smooth and protected without feeling overly waxy.
The tools you’ll need are minimal: a mixing container, a small brush or cloth for application, and optionally a microfiber cloth for the final buff. I’ve also found that a small paint stirrer or a wooden spoon works well for mixing the ingredients without introducing any foreign particles into the polish.
Using a small mason jar or a dedicated container for mixing ensures that the polish is well combined and easy to apply later. I always label the container with the date and ingredients for future reference.
The Benefits of a Homemade Furniture Polish
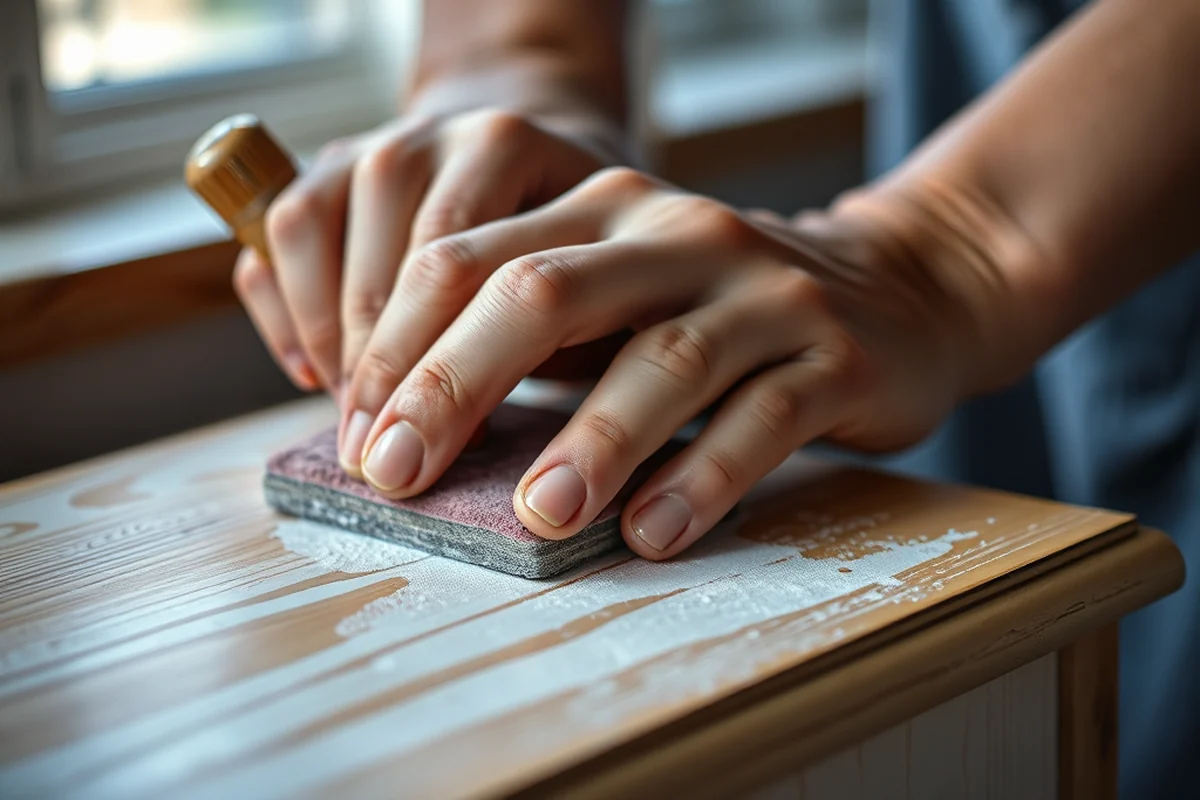
One of the biggest benefits is that you have complete control over the ingredients, ensuring that your polish is free from harmful chemicals, synthetic fragrances, and preservatives. I’ve noticed a significant difference in the way my furniture feels after using a homemade polish compared to commercial ones, which often leave a residue or a slick film.
Another advantage is cost. Store-bought polishes can be expensive, especially if you use them frequently. Making your own polish costs about $10 to $20 for a large batch, and since it lasts for several weeks, you can save a lot of money over time. I’ve calculated that using homemade polish instead of a commercial one can save up to 60% on costs per application.[1]
Lastly, homemade polish is more environmentally friendly, as it uses natural ingredients that biodegrade easily. I’ve also found that it’s easier to clean up, leaving no harsh chemical residues behind.
Homemade polish is not only safer but also more cost-effective in the long run.
Related: How to make furniture look distressed
Related: How can i make furniture polish
Related: How To Make Furniture Polish With Olive Oil
Related: Diy furniture polish with olive oil
Related: Where Can I Make Furniture Donations
Related: How To Make Squishies At Home With Paper
Related: How To Make Your Bed
Related: How To Make A Paper Airplane Easy
Related: How To Make The Best Paper Airplane
Choosing the Right Ingredients for Your Furniture
For wooden furniture, a blend of natural oils and beeswax is ideal. I prefer using mineral oil or olive oil as the base because they are easy to apply and absorb into the wood. However, if you’re working with a piece that’s already been treated with a commercial polish, you may need to use a different oil to avoid over-saturation.
For leather or upholstered furniture, I recommend using a different type of polish. I’ve found that a mixture of beeswax and a small amount of lanolin works well for leather, as it adds moisture without leaving a greasy residue. For fabric furniture, I use a mild soap or a commercial fabric polish that doesn’t contain harsh solvents.[2]
It’s also important to consider the type of wood you’re working with. Hardwoods like oak and walnut benefit from a higher concentration of beeswax, while softer woods like pine may require a lighter mix to avoid swelling or warping.
Before applying the polish to the entire surface, test it on a small, inconspicuous area to ensure it doesn’t cause any unwanted effects. I’ve learned the hard way that some combinations can cause discoloration or buildup if not properly balanced.
“There’s something deeply satisfying about the way a freshly polished table glistens in the morning light, catching the sun like it’s been specially made fo”— DIY Furniture with Pegboard editors
Related: How To Make A Paper Hat
How to Apply Your Homemade Furniture Polish
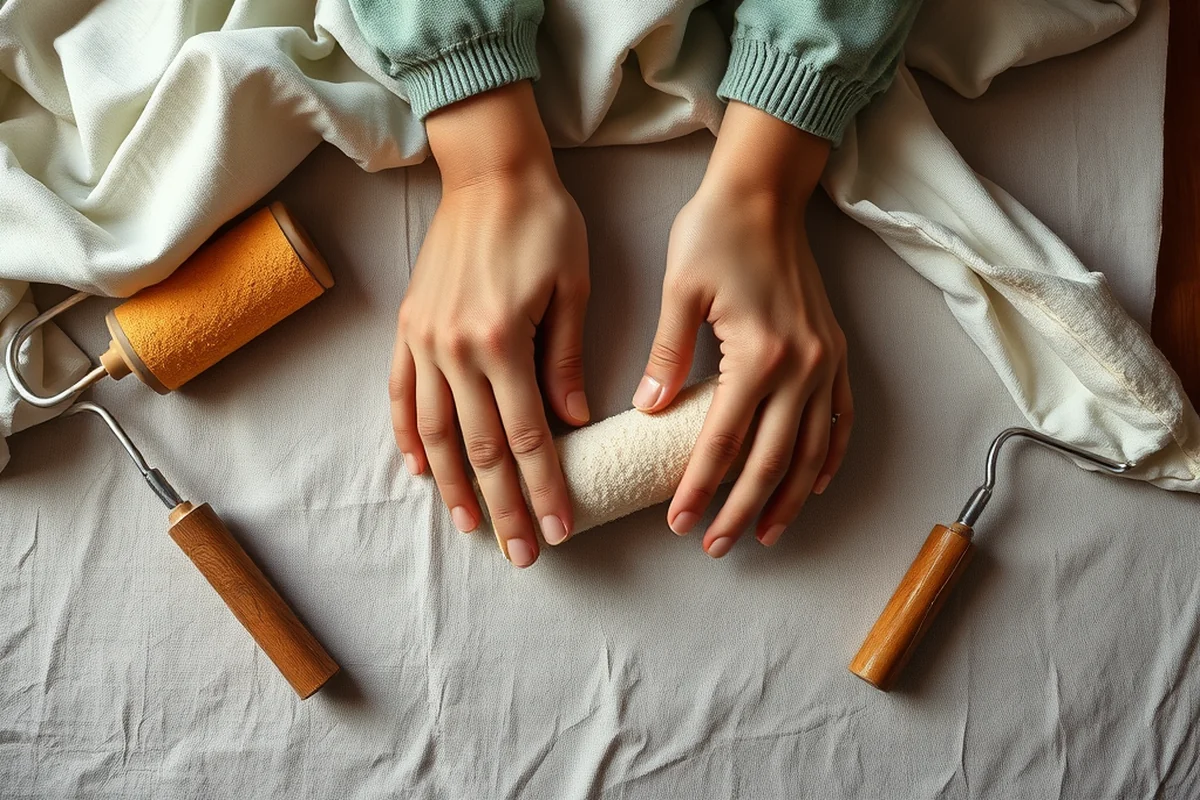
Start by cleaning the furniture thoroughly with a mild soap and water solution, then dry it completely. Once the surface is clean and dry, apply a small amount of polish to a soft cloth and work it into the wood in circular motions. I’ve found that applying the polish in the direction of the wood grain helps to enhance the natural texture of the surface.
After applying the polish, allow it to sit for about 10 to 15 minutes so that the ingredients can penetrate the wood. This step is crucial because it allows the oil and wax to be fully absorbed, rather than sitting on the surface as a film.[3]
Once the polish has had time to absorb, use a clean, dry microfiber cloth to buff the surface until it shines. I’ve noticed that buffing in the same direction as the grain gives the best results, and it helps to remove any excess polish that hasn’t been absorbed.
How Often to Reapply Your Homemade Furniture Polish
For high-traffic areas like dining tables or coffee tables, I recommend reapplying the polish every 2 to 3 weeks. These surfaces are exposed to more frequent use, spills, and contact, so they tend to wear down the polish faster.[4]
For less-used furniture like bookshelves or side tables, a reapplication every 4 to 6 weeks is sufficient. These pieces are not exposed to as much wear and tear, so the polish lasts longer.
I’ve also found that applying the polish in the spring and fall helps to maintain the furniture’s condition throughout the year. This is especially true for wood furniture, which can be affected by changes in humidity and temperature.
Customizing Your Furniture Polish for Different Surfaces
For dark wood furniture, I recommend using a polish that contains a small amount of vinegar to help enhance the depth of the color. I mix 1 part vinegar with 2 parts mineral oil and a few drops of beeswax to create a deep, rich finish that brings out the natural grain of the wood.
For light-colored wood, I use a polish with a higher concentration of oils and a lower amount of wax. This helps to maintain the brightness of the wood without making it look dull or yellowed over time.
For metal or glass surfaces, I switch to a different type of polish that contains a mild abrasive like baking soda or a small amount of vinegar to help remove fingerprints and smudges. I always test this on a small area first to ensure it doesn’t damage the surface.
Tailoring your polish to your furniture’s needs makes all the difference in the final result.
Storing and Preserving Your Homemade Furniture Polish
After making your polish, store it in a cool, dry place away from direct sunlight. I keep mine in a small mason jar with a tight-fitting lid, which helps to prevent the polish from drying out or becoming contaminated.
If you’re not using the polish immediately, I recommend storing it in the refrigerator to extend its shelf life. I’ve noticed that refrigeration can help to preserve the oils and waxes for up to 6 months without losing their effectiveness.
When you’re ready to use the polish again, let it come to room temperature before applying. This helps to ensure that the ingredients are well blended and that the polish works as intended.
💰 Budget-Friendly Build
This version uses only the most affordable ingredients to create a basic but effective polish, ideal for those on a tight budget.
⏰ Weekend Project
Perfect for a quick, easy polish on a single piece of furniture. Takes less than an hour to make and apply.
✨ Upgraded Finish
Adds extra shine and protection with a blend of high-quality oils and natural waxes for a professional-looking result.
🏠 Small-Space Adaptation
Ideal for apartments or homes with limited space, this version uses minimal tools and ingredients that take up little storage.
🔒 Rental-Safe Option
A non-permanent, easy-to-remove polish that leaves no residue or damage, making it perfect for renters.
| The mistake | Why it happens | The fix |
|---|---|---|
| Using too much polish on the furniture | Applying too much can leave a greasy residue that attracts dust and dirt. | Use a small amount of polish and wipe off any excess immediately after applying. |
| Not cleaning the furniture before applying polish | Dirt and grime can mix with the polish, making it less effective and leaving streaks or spots. | Always clean the furniture thoroughly before applying polish to ensure a smooth, even finish. |
| Not allowing the polish to dry properly | If you buff the surface too soon, the polish may not have time to absorb into the wood, resulting in a dull finish. | Allow the polish to sit for 10 to 15 minutes before buffing to ensure full absorption. |
How To Make Furniture Polish At Home
Common Questions
Can I use homemade polish on all types of furniture?
How long does homemade furniture polish last?
Can I use homemade polish on new furniture?
What if I make too much polish?
References
- Salvaging Furniture - Alabama Cooperative Extension System - (aces.edu)
- Hazardous Household Substances: Alternatives That Are Relatively ... (ask.ifas.ufl.edu)
- Asthma-Friendly Homes - Utah Asthma Program (asthma.utah.gov)
- Preparation of wood furniture cooling coatings based on phase ... (bioresources.cnr.ncsu.edu)
Cite this guide
DIY Furniture with Pegboard (2026). How To Make Furniture Polish At Home. https://pegbuild.com/how-to-make-furniture-polish-at-home/
Feel free to cite or share this guide.