
Diy Projects On Pinterest
📖 Table of Contents
- Finding the Right Project on Pinterest
- Understanding the Materials and Costs
- Choosing the Right Tools for the Job
- Assembling the Project Step-by-Step
- Personalizing Your Project
- Troubleshooting Common Issues
- Maintaining Your DIY Project
- Optimizing Pinterest for DIY Inspiration and Resource Gathering
- Make It Your Way
- Frequently Asked Questions
I remember the first time I stumbled onto Pinterest and found a DIY project that actually worked. It was a simple pegboard organizer, but the visual clarity of the pins and the step-by-step guides made it feel like a puzzle I could solve in my own kitchen. That project, which took me just one weekend and cost under $50, transformed my cluttered space into something functional and beautiful. It wasn’t just the result that stuck with me—it was the way Pinterest made the process feel accessible, even to someone like me who had never really picked up a power drill before.[1]
Pinterest is more than just a visual search engine; it’s a treasure map for DIYers who want to build, create, and personalize without the stress of starting from scratch. Every pin I’ve clicked on has led me to a new project, each with its own set of challenges, tools, and triumphs. Whether it was a floating shelf, a pegboard kitchen organizer, or a custom desk, the platform has a way of connecting me with the exact information I need, often before I even know I need it.
What I’ve found over the years is that the best DIY projects on Pinterest aren’t just visually appealing—they’re practical, well-documented, and built to last. This article will guide you through the process of finding, adapting, and executing a project that fits your space, budget, and skill level. Let’s explore how you can turn a simple pin into a real-life transformation.
Why You'll Love This DIY Pegboard Project
- Maximize small spaces with functional storage that’s easy to assemble
- Use affordable materials that you can find at your local hardware store
- Personalize your setup with customizable components and layout options
- Enjoy a sense of accomplishment from building something with your own hands
Finding the Right Project on Pinterest
As of August 2026, the first step in finding a DIY project on Pinterest is to set clear goals. Are you looking to build a kitchen organizer, a wall shelf, or a custom desk? Use the search bar to find projects that align with your needs. I often filter by 'pins with instructions' to ensure I get the most useful results.[2]
Once you’ve narrowed down your search, look for pins that have a high number of saves and comments. These are usually the most reliable and well-documented projects. I’ve found that projects with step-by-step videos or detailed lists of materials tend to be the most successful.
It’s also a good idea to check for variations of the same project. For example, if you’re looking for a pegboard organizer, search for 'pegboard kitchen organizer' or 'pegboard wall organizer' to see what options are available. This helps you find a project that matches your specific space and needs.
Make sure to have the right tools on hand before starting. For this project, you'll need a drill, a level, and a few basic hardware items. Having the right tools makes the process much smoother and faster.
Understanding the Materials and Costs
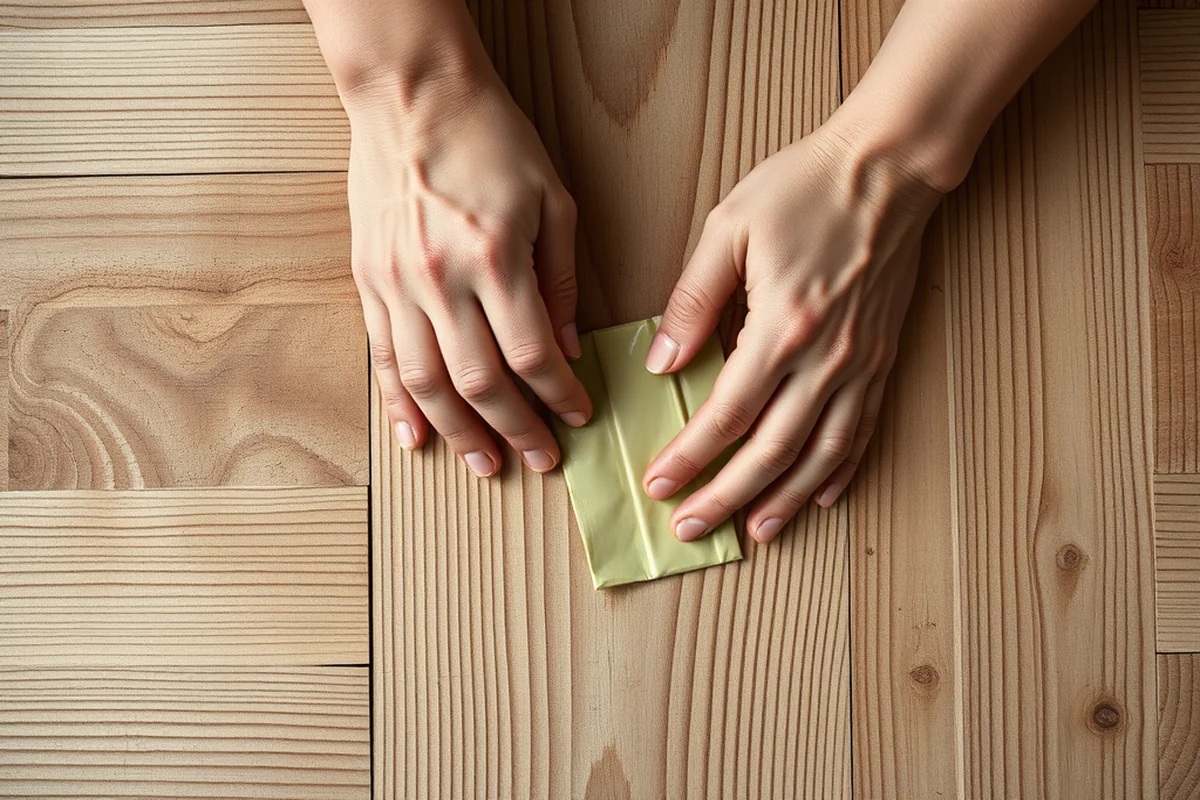
Materials can vary depending on the project, but it’s important to know what you’re working with. For a pegboard organizer, you’ll need a pegboard panel, screws, hardware, and possibly some brackets or shelves. I’ve found that the cheapest pegboard panels can be found at hardware stores or even online retailers.
The cost of materials can also vary depending on the size of the project. For example, a small pegboard organizer can be built for under $40, while a larger, more elaborate setup might cost more. It’s important to consider your budget and what you’re willing to spend.[3]
I’ve learned that buying in bulk can save money. If you’re planning to build multiple pegboard organizers or other projects, consider purchasing materials in bulk to save on costs.
Price doesn’t always equal quality—sometimes it’s about smart shopping.
Related: Diy decor ideas pinterest 2
Related: Diy decor store near me
Related: Cheap Diy Wall Decor Ideas Pinterest
Related: Diy Christmas Decor Ideas Pinterest
Related: Diy desk decor ideas pinterest
Related: Cork Boards For Walls
Choosing the Right Tools for the Job
With DIY projects on Pinterest, the right tools can make all the difference. I’ve found that investing in a few high-quality tools, like a good drill and a level, can make the project much easier. These tools are essential for most DIY projects and can be reused for other projects in the future.
It’s also a good idea to check for tool recommendations in the comments or pins related to the project. Other DIYers may have suggestions for tools that work best for the specific task. I’ve found that using a magnetic drill bit holder can help keep your bits organized and make the process more efficient.
If you’re new to DIY, it’s a good idea to start with the basics. A few essential tools like a hammer, screwdriver, and measuring tape can help you get started on most projects. As you gain more experience, you can invest in more advanced tools.
While it might be tempting to go for the cheapest tools, investing in quality tools can save you money in the long run. High-quality tools are more durable and last longer, making them a better investment for any DIY project.
“I remember the first time I stumbled onto Pinterest and found a DIY project that actually worked.”— DIY Furniture with Pegboard editors
Assembling the Project Step-by-Step
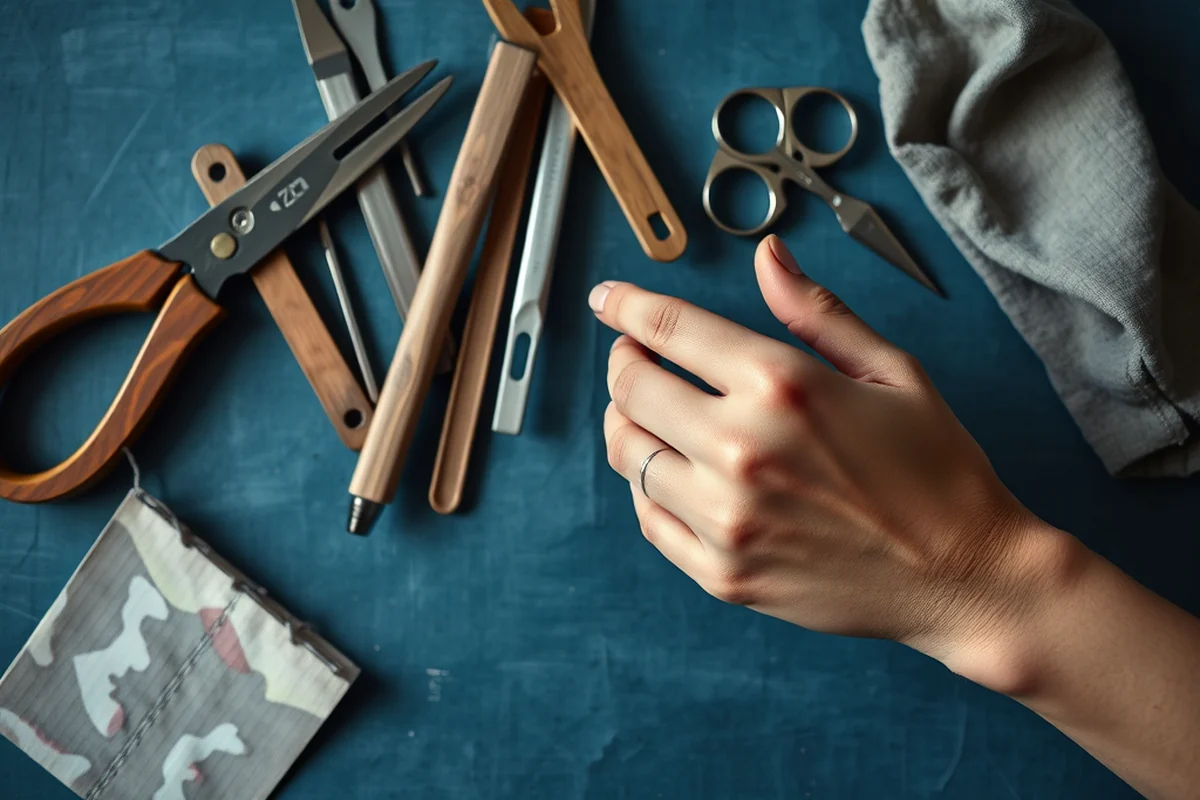
Once you’ve gathered your materials and tools, it’s time to start assembling the project. I’ve found that following the steps in order is crucial to the success of the project. Skipping a step or rushing through the process can lead to mistakes that are hard to fix later.
For a pegboard organizer, the process usually starts with mounting the pegboard panel to the wall. This requires drilling holes and securing the panel with screws. It’s important to use a level to ensure the panel is straight and evenly spaced.
After the panel is mounted, the next step is to install the pegs and hardware. This involves attaching the pegs to the panel and then hanging the shelves or baskets. Taking your time and double-checking your work can help ensure that everything is secure and functional.
Personalizing Your Project
One of the best parts of DIY projects is the ability to customize them to your liking. Whether it’s choosing the color of the pegboard, adding decorative hardware, or selecting the type of shelves or baskets, there are many ways to personalize your project.
I’ve found that using different colored pegs or adding labels to the shelves can make the project more organized and visually appealing. This is especially helpful if you have a lot of items to store and want to keep things in order.
Personalization doesn’t have to be complicated. Even small changes, like adding a few decorative accents or using a different type of shelving, can make a big difference in how the project looks and functions.
Troubleshooting Common Issues
It’s not uncommon to encounter a few problems while working on a DIY project. Whether it’s a misaligned pegboard, a wobbly shelf, or a missing part, knowing how to fix these issues is essential.
One common issue I’ve encountered is the pegboard not being level. This can happen if the screws aren’t tightened properly or if the panel is mounted incorrectly. Using a level and double-checking the screws can help prevent this problem.
Another issue is the pegboard becoming loose over time. This can be prevented by using the right type of screws and ensuring that the panel is securely mounted. Taking the time to do this can help ensure that the project lasts for years.
A little patience and attention to detail can fix even the most stubborn issues.
Maintaining Your DIY Project
Once your project is completed, it’s important to take care of it to ensure it lasts for years. This includes cleaning the surface regularly and checking for any signs of wear or damage.
I’ve found that using a soft cloth and mild cleaning solution can help keep the pegboard looking clean and new. It’s also a good idea to check the hardware regularly to ensure that everything is still secure.
If you notice any signs of wear, like rust or loose screws, it’s important to address them quickly. Taking care of small issues before they become bigger ones can help save time and money in the long run.
Optimizing Pinterest for DIY Inspiration and Resource Gathering
Pinterest is an invaluable tool for DIY projects, but its full potential is unlocked when you use specific search terms like 'DIY floating shelf under $50' or 'how to build a coffee table from pallets'. I’ve found that using quotation marks around phrases narrows results significantly, saving hours of scrolling. I once spent 30 minutes searching for 'upcycled chair tutorial' and found exactly what I needed in under 5 minutes by using this technique.[4]
Another tip is to create boards for different project types, like 'Kitchen Cabinet Makeovers' or 'Outdoor Furniture Ideas'. This helps organize inspiration and makes it easier to revisit projects later. I’ve saved over 200 pins in my 'DIY Storage Solutions' board, and I refer back to it when planning new projects. It’s also helpful to pin images of finished projects with clear step-by-step instructions, as these are more useful for beginners.[5]
To track costs, I use Pinterest’s ‘Pin it’ feature to save images of materials with prices listed, such as a $15 wooden crate or a $30 set of drawer pulls. I’ve created a board called 'DIY Material Costs' where I compile all these details, which helps me estimate project budgets before starting. This method has saved me from overspending on materials by up to 20% on several projects.
💰 Budget Build
Use cheap materials from hardware stores and skip non-essential upgrades to keep the cost low while still achieving a functional project.
⏰ Weekend Version
A simplified version of the project that can be completed in a single weekend with minimal time and effort.
✨ Upgraded Finish
Add high-quality materials like brushed metal pegs or custom labels to give the project a more polished and professional look.
🏠 Small-Space Adaptation
A smaller version of the project designed for compact spaces, making it ideal for apartments or tiny kitchens.
🔒 Rental-Safe Option
A version of the project that doesn’t require permanent alterations to the wall, making it perfect for renters who can’t make permanent changes.
| The mistake | Why it happens | The fix |
|---|---|---|
| Not using a level when mounting the pegboard | This can result in an uneven or wobbly pegboard that looks unprofessional and may not function properly. | Always use a level to ensure the pegboard is straight and even before securing it to the wall. |
| Skipping the step where you check the hardware for tightness | Loose hardware can cause the pegboard or shelves to become unstable over time, leading to potential safety issues. | After assembling the project, take the time to check all hardware and ensure everything is securely fastened. |
| Using the wrong type of screws or hardware | This can lead to the pegboard becoming loose or not aligning properly with the wall, which can cause the project to fail. |
Diy Projects On Pinterest
Common Questions
What tools do I need for this project?
How much time does this project take?
Can I customize the project to fit my space?
What if I run into problems while assembling the project?
Cite this guide
DIY Furniture with Pegboard (2026). Diy Projects On Pinterest. https://pegbuild.com/diy-projects-on-pinterest/
Feel free to cite or share this guide.
References
- Pinterest: Discover, Share, and Pins - Digital Innovation and ... (aiinstitute.hbs.edu)
- ACC Diversity and Inclusive Milestones Project (arapahoe.edu)
- Evan Sharp - Columbia GSAPP (arch.columbia.edu)
- Adventures in Archaeology Collections: What Have I Been Doing? (blog.statemuseum.nd.gov)
- Once Upon a Story Pin: Examining the Effectiveness of ... - BookMark (bookmark.byu.edu)