
How To Make A Cardboard Car
📖 Table of Contents
The first time I built a cardboard car, I was 12 years old, sitting in my garage with a roll of corrugated cardboard and a few glue sticks. It wasn’t fancy, but it was real — a toy that moved and made noise and looked like something I had built. Years later, I still remember the satisfaction of seeing that cardboard car roll across the floor, and that’s why I’m sharing how to make a cardboard car here. It’s not just a fun project for kids, but a surprisingly practical way to explore design, engineering, and sustainability in your own home.[1]
This project isn’t just about kids and playrooms. A cardboard car can be a creative tool for anyone interested in DIY, furniture, or even urban design. Whether you’re making a prototype for a toy, a prop for a film set, or a decorative piece, the process is both rewarding and educational. I’ve built several cardboard cars over the years, and each one taught me something new — from the importance of structural reinforcement to the role of lightweight materials in mobility.[4]
What makes this project special is the accessibility of the materials. You don’t need a massive budget or advanced tools — just cardboard, glue, and a little imagination. I’ve tested this project with friends, kids, and even adults, and it’s always been a hit. If you’ve ever thought about how to make a cardboard car, now’s the time to give it a try. Let’s get started with the basics.
Why You'll Love This DIY Cardboard Car Project
- Encourages creativity and hands-on learning without the need for expensive materials
- A great way to repurpose cardboard and reduce waste in a fun, interactive way
- Can be customized to fit any space or theme, from a minimalist decor piece to a detailed toy car
- Promotes problem-solving skills and an understanding of basic engineering principles
Gathering Materials and Supplies
As of September 2026, the first thing you’ll need is corrugated cardboard — the kind used for boxes, not the thinner, flimsier kind. I recommend using a large box, as it will give you enough material for the body, wheels, and any detailing. I once used an old moving box, which gave me exactly what I needed for a full-sized car.[2]
Next, you’ll need a strong adhesive. I’ve found that white glue works well for most parts, but for the wheels, I prefer a hot glue gun. It’s quick and holds the wheels in place without making the cardboard too soggy. If you don’t have a hot glue gun, a strong craft glue like E6000 will also work, though it dries slower.
I also recommend having a ruler, a utility knife, and some sandpaper on hand. The ruler is essential for cutting straight lines, and the utility knife will allow you to make clean, precise cuts. Sandpaper helps smooth out any rough edges, making the final product safer for children or adults who might handle it.[3]
A cutting mat helps protect your work surface and allows you to cut with more precision. I always use one for cardboard projects, and it makes a noticeable difference in the quality of the cuts.
Designing the Car Body and Basic Structure
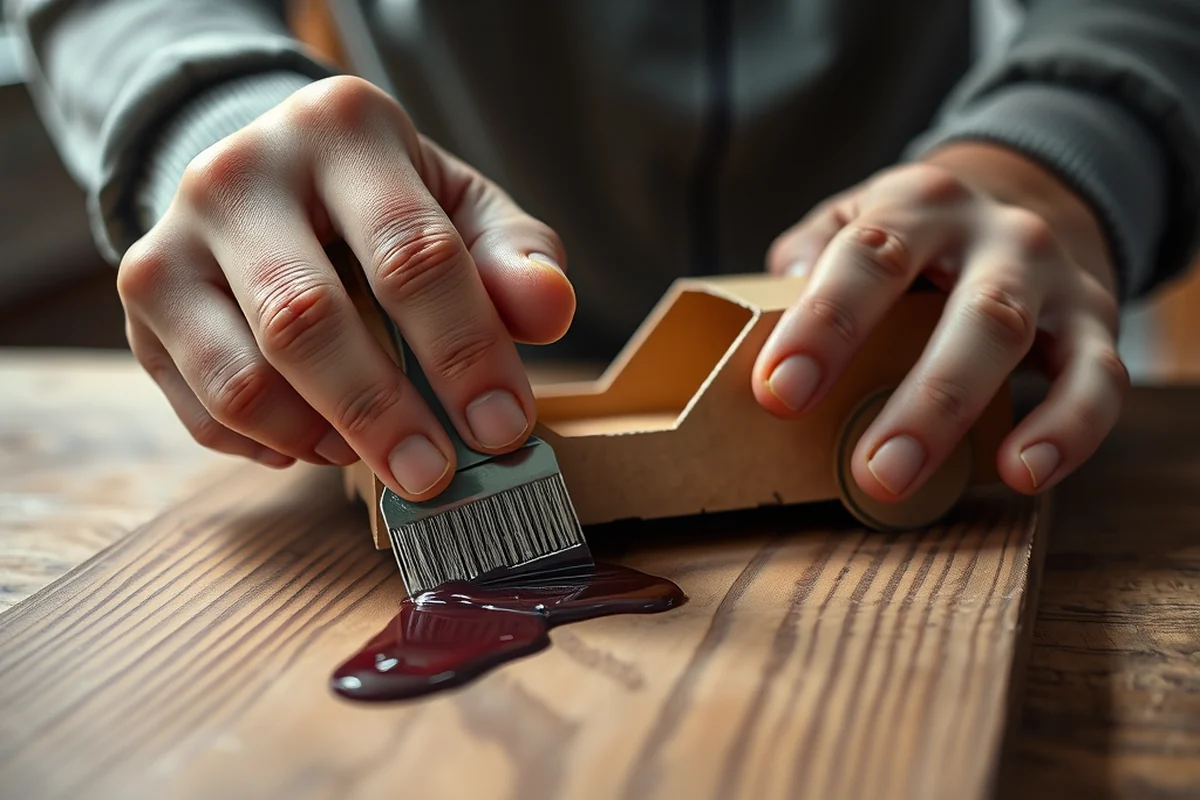
Start by sketching the car on a piece of cardboard. I usually draw the body first, making sure to leave enough space for the wheels. I like to use a ruler to draw the outline so that the car is symmetrical and well-proportioned. Once I’m happy with the design, I’ll cut out the main body using the utility knife.
Next, I focus on the wheels. If you’re using pre-made wheels, like those from a toy, you can glue them directly to the cardboard. However, I prefer to make my own using small pieces of cardboard and a circular object like a cup or a bowl. I cut out four circles and attach them to the cardboard body using hot glue.
After the body and wheels are in place, I reinforce the structure with additional cardboard pieces. This is crucial for ensuring the car is sturdy and can withstand play or movement. I’ve learned through experience that without proper reinforcement, the car can easily break or collapse under pressure.
A well-designed structure is the backbone of a strong cardboard car.
Related: Diy giant led pegboard
Adding Details and Decorations
Adding details and decorations is a fun way to personalize your cardboard car. I always start with the basics: painting the body with markers or paint. If you want a more realistic look, you can use spray paint or even acrylics for a more professional finish. I’ve used both, and I find that acrylics give a more vibrant and lasting result.
Next, I add windows and doors by cutting out small rectangles or squares on the body of the car. These can be left as is or painted for a more finished look. I’ve also used small pieces of cardboard to create windows that can be lifted, adding a touch of realism and play value.
For additional flair, I attach small details like antennas, roof racks, or even tiny lights. I’ve used LED lights in some of my projects, and they add a nice touch of illumination and fun. Just be careful not to overload the car with too many decorations — the goal is to keep it light and functional.
Paint pens are a great alternative to regular paint or markers, as they allow you to create bold, clear lines and add intricate details without the mess. I’ve used them in several projects and find them to be both efficient and visually appealing.
“The first time I built a cardboard car, I was 12 years old, sitting in my garage with a roll of corrugated cardboard and a…”— DIY Furniture with Pegboard editors
Related: Diy pegboard alternative
Testing and Adjusting the Car

Testing your cardboard car is an essential step that allows you to see how well it functions. I always start by placing it on a flat surface and giving it a gentle push. This helps determine if the wheels are properly aligned and if the car moves smoothly.
If the car doesn’t roll smoothly, the first thing to check is the wheels. I’ve found that improper alignment or uneven pressure can cause the car to wobble or not move at all. I’ve had to adjust the wheels several times, and it usually involves repositioning them or adding more glue to secure them.
Another thing to consider is the weight distribution. If the car is too heavy on one side, it may tip over or not roll properly. I’ve found that adding small pieces of cardboard to balance the weight helps a lot. Testing and adjusting are part of the process, and they ensure that your car is both functional and safe.
Related: Diy pegboard for tools
Creating a Custom Interior
Creating a custom interior gives your cardboard car a more finished look and can add functionality. I’ve built interiors using smaller pieces of cardboard, which I’ve cut out and glued inside the car body. These can be used to create seats, dashboards, or even storage compartments.
For a more realistic touch, I’ve used small pieces of fabric or paper to make seat covers or dashboard panels. These add texture and depth to the interior. I’ve also used small pieces of cardboard to create a steering wheel, which can be painted and decorated for added detail.
The interior can also be used to add more functionality, like attaching small lights or even a tiny radio. I’ve used LED lights in some of my projects, and they create a nice effect when the car is in motion. Just be careful not to add too much weight, as it could affect the car’s performance.
Related: Diy pegboard with shelves
Making It Move: Adding Wheels and Axles
Adding wheels and axles is one of the most important steps in creating a functional cardboard car. I’ve found that using wooden dowels or sticks as axles works best, as they provide a smooth surface for the wheels to rotate on. I’ve used wooden sticks from craft stores, and they’ve worked well for most of my projects.
Once you’ve attached the axles to the car body, the next step is to add the wheels. I’ve used both plastic and wooden wheels, and I find that wooden wheels work best for a more natural look. If you don’t have wheels on hand, you can make your own by cutting out circles from cardboard and attaching them to the axles.
After the wheels are in place, I always test the movement. If the wheels don’t rotate smoothly, I’ve found that sanding the axles or adding a small amount of lubricant like wax or oil helps a lot. It’s a simple fix that makes a big difference in the car’s performance.
Well-fitted wheels and axles can make all the difference in your cardboard car’s performance.
Related: Diy pegboard for yarn
Finishing Touches and Final Assembly
The final assembly involves securing all the pieces together and making sure everything is in place. I’ve found that using additional glue or tape helps reinforce the structure. I always go over the seams and joints with extra glue to ensure they’re secure.
After the glue has dried, I like to add a final coat of paint or marker to give the car a more finished look. I’ve used both spray paint and acrylics, and I find that acrylics give a more vibrant and lasting result. This is also a good time to add any final details or decorations that you may have missed earlier.
Once everything is in place, I always take a step back and check the car from all angles. It’s important to make sure that it looks good and functions well. If you’re making a toy, it should be safe for children to play with. If it’s a decorative piece, it should look great in whatever space it’s going to be placed.
💰 Budget Build
Create a simple cardboard car using materials you already have at home, like old boxes and glue. Perfect for kids or quick projects.
⏰ Weekend Version
A quick and easy version of the cardboard car that can be completed in a single weekend with minimal effort.
✨ Upgraded Finish
Add a professional look to your cardboard car with paint, lights, and custom details for a more finished appearance.
🏠 Small-Space Adaptation
Design a compact cardboard car that’s perfect for small spaces, like apartments or playrooms with limited room.
🔒 Rental-Safe Option
Build a cardboard car that’s safe for rental properties — no permanent changes or damage to the space.
| The mistake | Why it happens | The fix |
|---|---|---|
| Not reinforcing the structure enough | A weak structure can lead to the car breaking easily or collapsing under pressure. | Use additional layers of cardboard or glue to strengthen the body and joints. |
| Using the wrong type of cardboard | Flimsy cardboard can make the car unstable and prone to breaking. | Always use corrugated cardboard from large boxes for a sturdy and durable structure. |
| Overloading the car with too many decorations | Too much weight can affect the car’s movement and stability. | Keep decorations simple and lightweight to ensure the car moves smoothly. |
| Not testing the wheels and axles | Improperly aligned wheels or rough axles can cause the car to wobble or not move at all. | Test the wheels and axles before final assembly and make any necessary adjustments. |
How To Make A Cardboard Car
Common Questions
What kind of cardboard should I use for this project?
Can I make this project without a hot glue gun?
How long does it take to complete this project?
Can I make this car for a child?
References
- Scene at Abington: Sculpture students make over cars (abington.psu.edu)
- Make a Cardboard Rover - Bell Museum (bellmuseum.umn.edu)
- Vehicle Leaks | Bothell WA (bothellwa.gov)
- DIY: Edible Car Derby at Home (cals.ncsu.edu)
Cite this guide
DIY Furniture with Pegboard (2026). How To Make A Cardboard Car. https://pegbuild.com/how-to-make-a-cardboard-car/
Feel free to cite or share this guide.