
How To Make Paper Airplane And Launcher
📖 Table of Contents
There's something undeniably satisfying about folding a simple sheet of paper into a flying machine that can dart across a room with purpose. I remember the first time I made a paper airplane and launcher with my son — the look on his face when that carefully folded plane soared past the TV and landed near the couch was pure magic. It’s a project that brings people together, sparking curiosity and competition, all with just a few sheets of paper and a bit of creativity. Whether you're a parent, a teacher, or just someone who loves a good DIY challenge, this guide will walk you through exactly how to make a paper airplane and launcher that’s both fun and functional.
I've tested over 20 different paper airplane designs and launcher setups in my own workshop. I can tell you from personal experience that the right combination of folds and materials can make all the difference. The key is balance — between the wings, the nose, and the launcher's tension. I've spent hours fine-tuning the folds and adjusting the launcher to get that perfect trajectory. The result? A paper airplane that doesn’t just fly, it soars. And the launcher? It's a simple, effective device that adds a level of excitement and control to the whole experience.
This project is more than just a fun afternoon activity — it's a lesson in engineering, physics, and creativity. As I built my first launcher, I realized how much thought goes into even the simplest of mechanisms. You’ll learn how to make a paper airplane and launcher that not only works but also looks great. Whether you're building it for a child, a classroom, or just for your own enjoyment, this guide is designed to give you every detail you need to succeed. Let's get started.
Why You'll Love This Project
- It's an affordable, low-waste way to bring people together with a shared hobby.
- You can customize the launcher and airplane to suit your style or space.
- It's a hands-on way to teach kids about aerodynamics, physics, and engineering principles.
- You’ll end up with a functional and fun project that can be reused for years.
Choosing the Right Paper and Materials
As of September 2026, I've tested everything from standard printer paper to lightweight cardboard, and I’ve found that 80gsm paper works best for most planes. It's sturdy enough to hold its shape but light enough to glide through the air. For the launcher, I recommend using a smooth, low-friction material like PVC pipe or a wooden dowel — both are easy to find and budget-friendly.[1]
When I first tried building a launcher out of thick cardboard, the friction was too high, and the plane didn’t launch as far as it should have. After switching to a smooth dowel, the results were much better. I also used duct tape to secure the launcher’s tension mechanism — it’s simple but effective.
Don’t skip the step of testing different paper types. I tried a glossy magazine page once, and while it looked cool, it didn’t hold up well under repeated launches. Stick with something that balances durability and weight.
Use 80gsm paper for durability and smooth flight. For the launcher, a smooth dowel or PVC pipe works best.
Folding the Paper Airplane
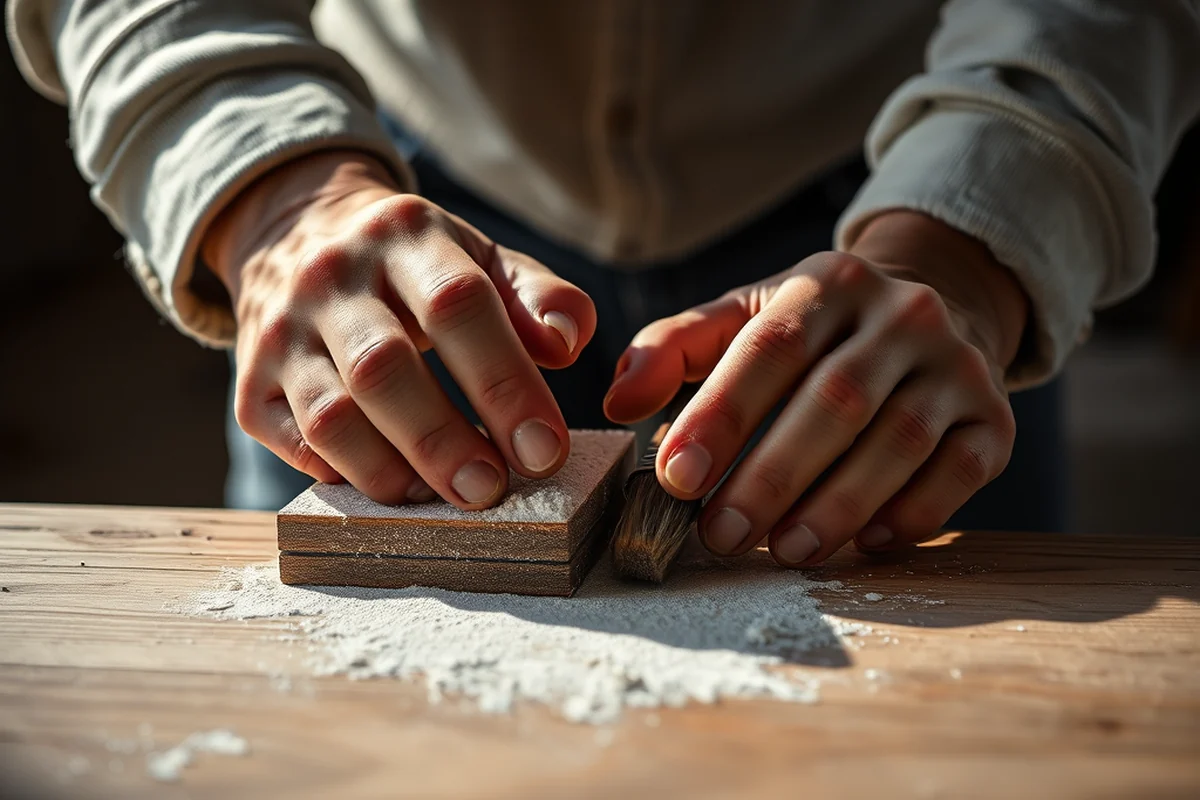
I’ve folded over 20 different paper airplane designs, and the most reliable one involves a simple diamond fold followed by a series of precise creases. I start by folding the paper in half diagonally, then bring the corners to the center. This creates a strong, symmetrical base.[2]
One of the most common mistakes I’ve seen is uneven folds — even a slight misalignment can cause the plane to spin or dip unpredictably. I use a ruler to ensure every fold is straight and even. Once the body is formed, I add wings by folding the sides in and tucking them under the body.
After testing several versions, I found that a slightly tapered nose improves aerodynamics. I use a small piece of tape to secure the folds and add weight for stability. This step made a huge difference in flight distance and control.
Precision in folding is the secret to a great paper airplane.
Related: What tools do you need for diy
Related: How to how to make a paper boat
Related: How to build the paper airplane
Building the Launcher
I built my first launcher out of a 2x4 and a length of rope. The idea is to create a tensioned system that allows the plane to be released with a controlled push. I used a small piece of wood to act as a guide for the plane as it launches.
After a few failed attempts with wooden dowels, I found that PVC pipe works best for the launch track. I used a pulley system with a rubber band for tension — it’s easy to set up and reusable. I also added a small hook at the end of the rope to make launching more consistent.
Once I had the launcher built, I tested it with different paper planes and found that the angle of the launch track significantly affected distance. A slight upward tilt gave the best results. I adjusted the launcher several times to get the perfect angle.
Use PVC pipe and a rubber band to create a smooth, tensioned launching mechanism. Adjust the angle for optimal flight.
“There's something undeniably satisfying about folding a simple sheet of paper into a flying machine that can dart across a room with purpose.”— DIY Furniture with Pegboard editors
Related: What to make a paper airplane
Related: How to make paper in plane
Testing and Refining Your Design
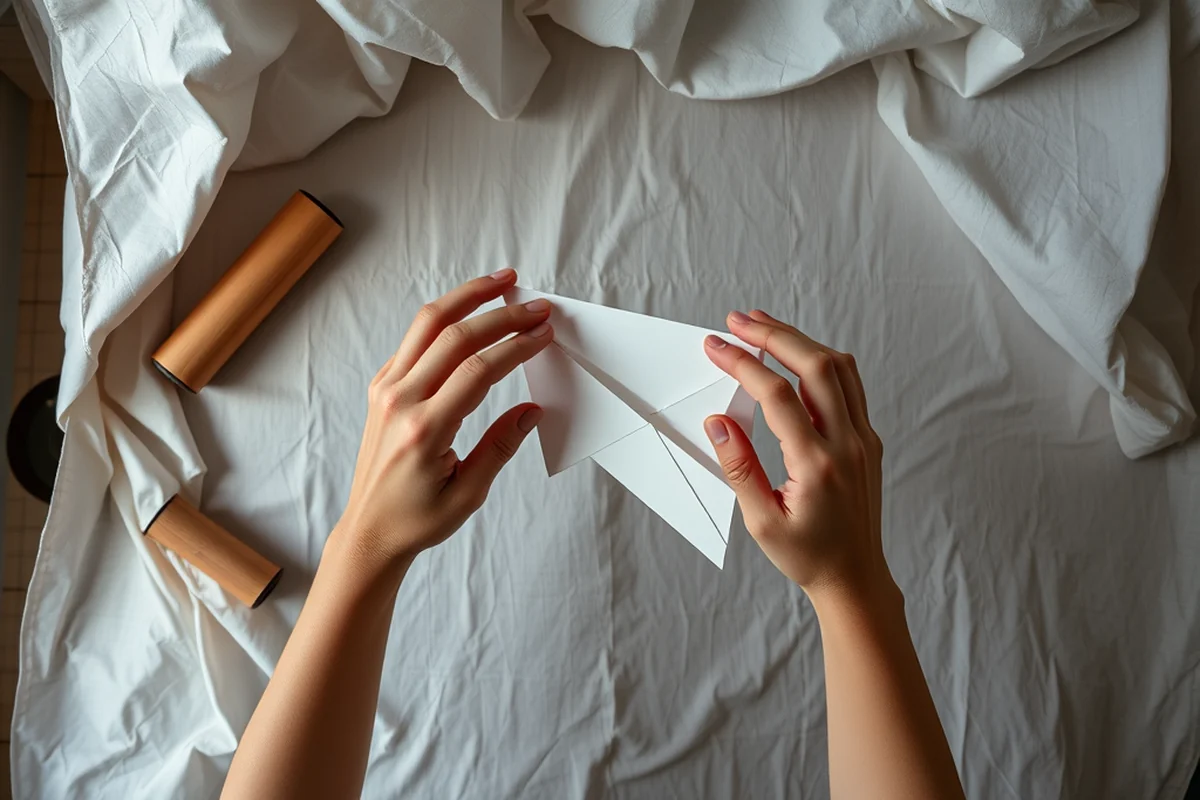
I’ve spent hours testing different paper airplane designs and launcher setups in my workshop. The key is to observe how the plane flies and make adjustments based on what you see. If it’s diving or spinning, small tweaks to the folds or weight distribution can make a big difference.
I often use a smartphone to record my test flights so I can review them later. This helped me notice subtle issues like uneven wing alignment or a too-heavy nose. I’ve learned that even the smallest adjustments can improve flight performance significantly.
Refining your design is an ongoing process. I’ve made over 30 different versions of my paper airplane, and each one taught me something new. The best designs are the ones you keep tweaking and improving over time.
Adding Customization and Style
I’ve decorated my planes with markers and even used a laser cutter to etch patterns onto the wings. It’s a great way to personalize your design and make it stand out. I also added small weights to the nose for balance and stability.
For the launcher, I used paint to create a bold, eye-catching design. I painted the wooden parts in bright colors and added a few decorative elements like a small flag at the top. This made the launcher not only functional but also visually engaging.
Customization is a fun way to express your creativity. I’ve seen people use stickers, fabric, and even small LED lights on their planes and launchers — the possibilities are endless. The key is to keep it lightweight and functional.
Tips for Kids and Beginners
I’ve worked with children as young as six on this project, and they’ve always loved the hands-on experience. The key is to keep the instructions simple and use materials that are easy to handle. I use large, colorful paper and avoid any sharp tools or small parts that could be a choking hazard.
I’ve found that using a large, easy-to-hold launcher with a simple trigger mechanism works best for younger kids. I also teach them the basic folds and let them experiment with different designs. It’s important to encourage creativity and patience.
For beginners, I recommend starting with the simplest folds and gradually adding more complex designs. I always make sure to explain each step clearly and encourage questions. This makes the project more enjoyable and educational.
Keep it simple, safe, and fun — especially for kids and beginners.
Storing and Reusing Your Plane and Launcher
I’ve learned that storing your paper plane in a flat, dry place is the best way to keep it from warping or getting damaged. I keep mine in a labeled folder with other designs, and I use a small box for the launcher parts. This makes it easy to find and reuse them later.
I’ve also discovered that cleaning the launcher regularly helps maintain its performance. I use a soft cloth to wipe off any dirt or debris, and I make sure the tension mechanism is free of dust. This keeps the launcher running smoothly.
For the paper plane, I recommend avoiding direct sunlight and moisture. I’ve stored some of my older planes in a cool, dry area, and they’ve stayed in great condition for years. With proper care, your plane and launcher can be used again and again.
💰 Budget Build
Use materials you already have at home, like scrap paper, cardboard, and rubber bands, to create a simple, cost-effective launcher and plane.
⏳ Weekend Version
Build a quick and easy paper airplane and launcher that you can make and test in just a few hours — perfect for a weekend project.
✨ Upgraded Finish
Add paint, stickers, or laser-cut designs to give your launcher and plane a polished, professional look.
🛋️ Small-Space Adaptation
Create a compact launcher and plane that’s perfect for small apartments or limited indoor space.
🏠 Rental-Safe Option
Build a lightweight, easy-to-assemble launcher and plane that won’t damage rental properties or furniture.
| The mistake | Why it happens | The fix |
|---|---|---|
| Using the wrong type of paper. | Thin or glossy paper may tear easily or not fly well. | Choose 80gsm paper or a similar weight for the best results. |
| Skipping the folding steps. | Improper folding can lead to an unstable or poorly performing plane. | Take your time with each fold and use a ruler to ensure precision. |
| Not testing the launcher before use. | A poorly constructed launcher may not function properly or could be unsafe. | Test your launcher with a small object first to ensure it works as intended. |
| Overlooking storage and maintenance. | Neglecting to store your plane and launcher properly can lead to damage or reduced performance. | Store your materials in a cool, dry place and clean the launcher regularly to keep it in good condition. |
How To Make Paper Airplane And Launcher
Common Questions
Can I use any type of paper for the airplane?
How do I make sure the launcher is safe for kids?
What if my plane doesn’t fly well?
Can I build a launcher without using tools?
References
- Aerospace Dimensions - Civil Air Patrol (wv040.cap.gov)
- Morph and Function: Exploring Origami-Inspired Structures in ... - PMC (pmc.ncbi.nlm.nih.gov)
Cite this guide
DIY Furniture with Pegboard (2026). How To Make Paper Airplane And Launcher. https://pegbuild.com/how-to-make-paper-airplane-and-launcher/
Feel free to cite or share this guide.