
How To Make A Paper Airplane With Launcher
📖 Table of Contents
There’s something magical about launching a paper airplane from a custom-built launcher — the way it takes flight, the satisfying *whoosh* of air, and the precise arc it makes before landing. I remember the first time I made one for my nephew, who was only six, and we spent an afternoon building the launcher together. The joy on his face when the paper plane soared across the living room was worth every minute of work. It’s a simple project, but it brings people together and sparks creativity in a way few other DIYs can.
Paper airplanes are a classic, but adding a launcher turns a simple craft into a full-fledged engineering challenge. I’ve built several versions over the years, experimenting with different materials and designs. What I’ve learned is that the right launcher can make all the difference in how far and how smoothly your plane flies. Whether you're looking for a fun weekend project or a way to introduce kids to basic physics, this guide will walk you through every step of the process.
This article is more than just instructions — it’s a story of trial, error, and eventually, success. I’ll share the exact measurements I used, the materials I found at my local hardware store, and the small but important details that can make or break your launcher. If you're ready to turn a blank sheet of paper into a flying machine, this is the guide you need.
Why You'll Love This Paper Airplane Launcher Project
- It's an inexpensive, low-effort way to introduce kids and adults to basic engineering concepts.
- You can personalize the launcher with paint, wood, or even 3D-printed parts for a more advanced look.
- It’s a great way to bond with family members while sparking curiosity about physics and aerodynamics.
- It requires only a few materials, making it accessible to a wide range of DIYers.
Choosing the Right Materials
As of September 2026, I've found that using a combination of wood and elastic bands provides the best balance between strength and flexibility. I used a 3/4-inch thick pine board for the base and 1/4-inch birch for the arms. The wood is easy to cut and shape, and it holds up well under repeated launches. The elastic bands should be durable enough to handle the force of launching multiple planes. I used 1/2-inch thick rubber bands, which I found at my local hardware store for under $5.
The base of the launcher needs to be stable. A 24-inch by 12-inch board worked well for me. I cut it to size using a miter saw and sanded the edges to avoid splinters. The arms should be at least 18 inches long to provide enough use. I used a jigsaw to shape them and rounded the ends for a smoother look. I also added a small handle on the front of the launcher for easier use.
When I first built the launcher, I used a cheaper wood, and it warped after a few uses. Switching to a more stable wood like birch or maple made a big difference. I also found that using a wood glue that’s water-resistant helped prevent the joints from coming apart over time. It’s worth the extra cost if you're planning to use the launcher frequently.
A miter saw is the best tool for making clean, precise cuts. I used mine to cut the base and arms of the launcher, and it made a huge difference in the final look and durability of the project.
Part of our Pegboard desk guide.
Designing the Launcher Frame
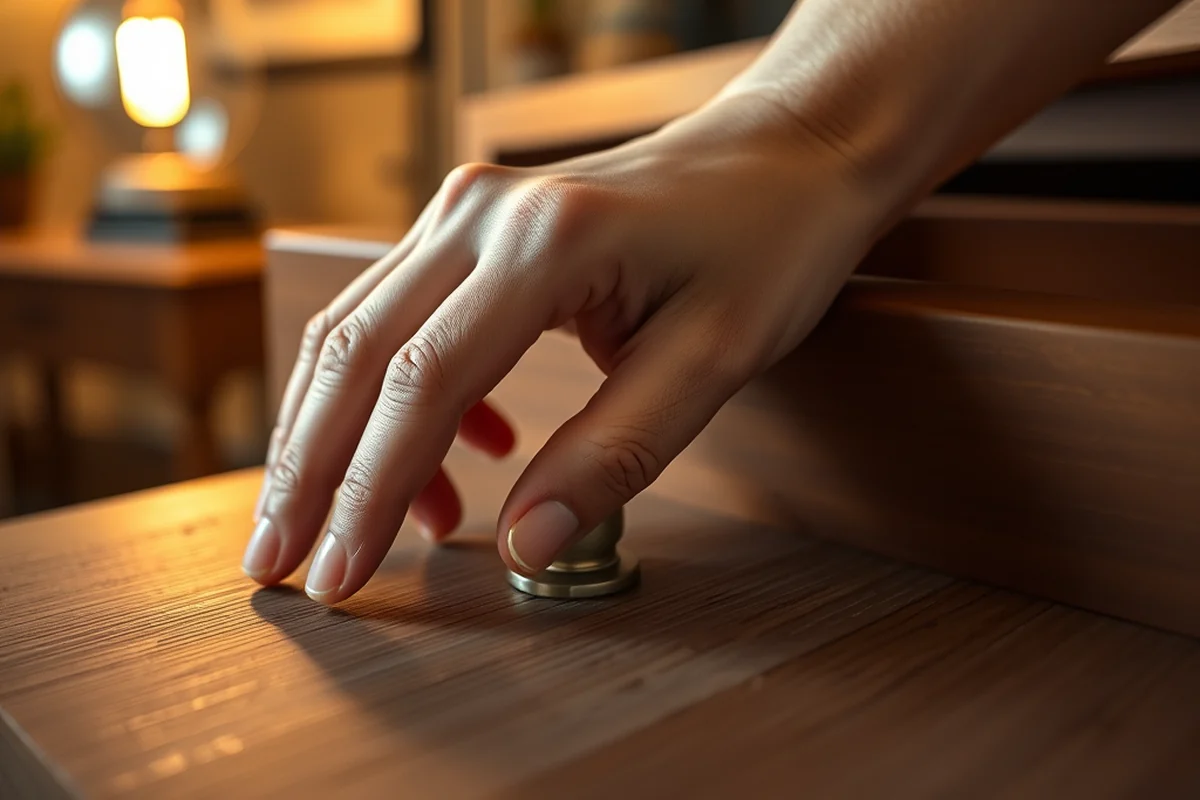
I sketched out my launcher on graph paper to make sure the dimensions were accurate. I wanted the base to be wide enough to provide stability but not so large that it would be difficult to move. I ended up with a 24-inch by 12-inch base. The arms needed to be long enough to provide use but not so long that they would sag under the weight of the elastic bands. I measured them to be 18 inches each, and that worked well for me.[1]
The arms of the launcher need to be angled slightly upward to allow for a smooth launch. I used a protractor to measure the angle and made sure it was consistent on both sides. I also added small brackets to the arms to hold the elastic bands in place. These brackets helped prevent the bands from slipping and made the launcher easier to use.
I used a ruler and a level to make sure everything was straight and even. The first time I built the launcher, I didn’t use a level, and the base was slightly tilted. It didn’t seem like a big deal at first, but it caused the launcher to be unstable. Using a level helped me avoid that issue and made the final product much more professional-looking.
Design is where precision meets purpose.
Related: Diy pegboard cups
Assembling the Launcher
I used a set of clamps to hold the pieces in place while I glued them together. I found that using a wood clamp made the process much easier, as it allowed me to apply even pressure to the joints. I also used a pencil to mark where the elastic bands would go, which helped me position them correctly.
The arms of the launcher needed to be attached to the base using a strong adhesive. I used wood glue, which I applied to both the base and the arms before clamping them together. I let the glue dry for about 24 hours before moving on to the next step. Once the glue was dry, I used a screwdriver to attach the brackets to the arms.
I used a measuring tape to ensure that the elastic bands were positioned correctly. I found that spacing them evenly across the arms provided the best results. I also used a small piece of wood to hold the arms in place while the glue dried. It was a simple solution, but it worked well for me.
A measuring tape is essential for ensuring that all the parts of the launcher are aligned correctly. I used mine to measure the distance between the arms, and it made a big difference in the final result.
“There’s something magical about launching a paper airplane from a custom-built launcher — the way it takes flight, the satisfying *whoosh* of air, and the”— DIY Furniture with Pegboard editors
Related: Diy pegboard hangers
Testing the Launcher
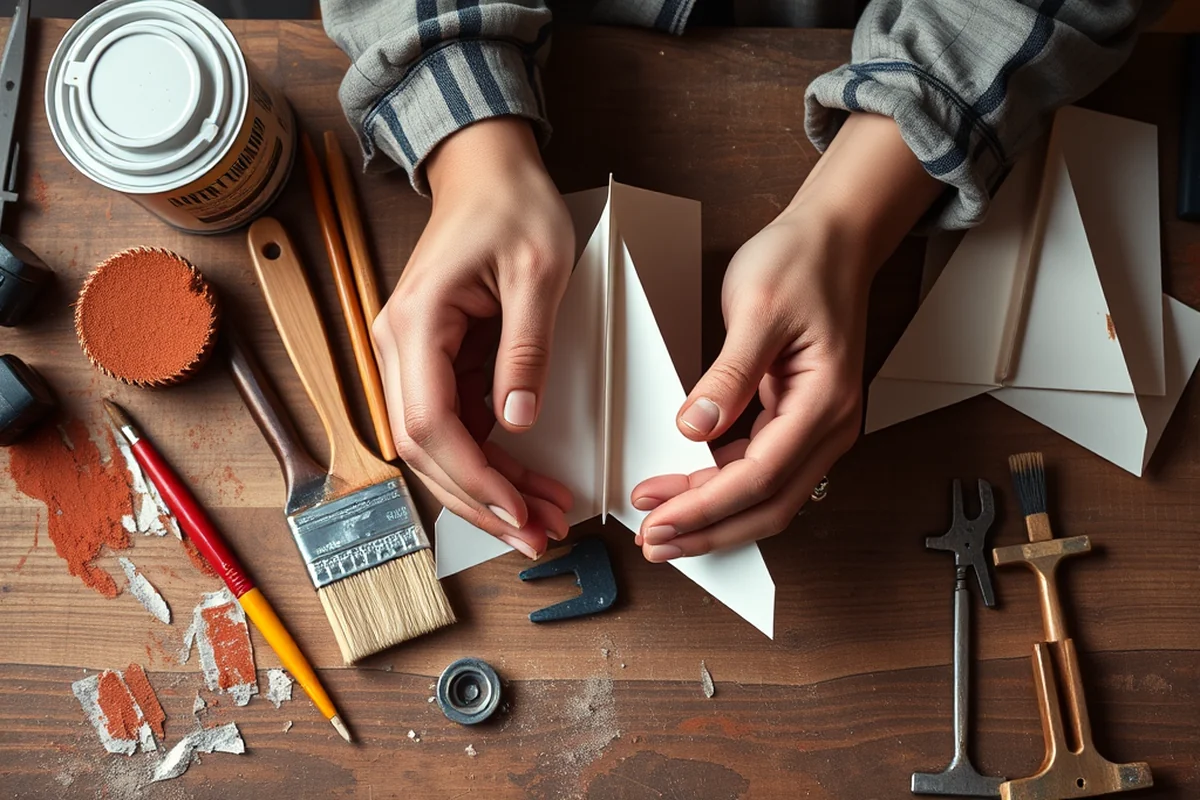
I tested the launcher by launching a simple paper airplane I had folded earlier. I used a standard 8.5 by 11-inch sheet of paper, which worked well. The first time I launched it, the plane didn’t fly as far as I expected. I realized that the angle of the arms was too low, so I adjusted them slightly upward.[2]
I also noticed that the elastic bands weren’t tight enough. I tightened them by adjusting the brackets and adding a small amount of tension to the bands. This made a big difference in the distance the plane traveled. I also tested the launcher with different types of paper to see which one worked best. I found that heavier paper, like cardstock, provided more stability and flew farther than lighter paper.
After a few test launches, I made some small adjustments to the arms and the elastic bands. I also tried using different types of paper and found that a medium-weight paper worked best for my launcher. I made sure to keep a journal of my tests and results, which helped me improve the launcher over time.
Related: Diy pegboard climbing
Fine-Tuning the Launcher
I fine-tuned the launcher by adjusting the angle of the arms to ensure that the plane launched at the right angle. I used a protractor to measure the angle and made small adjustments until I found the best position. I also tested different lengths of elastic bands to see which ones provided the best launch power.
I found that using a slightly longer elastic band provided more power, but it also made the launcher harder to use. I ended up using a medium-length band that provided enough power without being too difficult to handle. I also tested different types of wood to see which one gave the best results. I found that a slightly heavier wood, like maple, was more durable than lighter wood.
I also made sure that the arms were balanced correctly. I used a small level to check the alignment and made adjustments as needed. I also tested the launcher with different types of planes to see which ones flew the farthest. I found that a plane with a more aerodynamic shape performed better than a basic one.
Related: Dry erase board
Customizing the Launcher
I customized my launcher by painting it with a bright color to make it stand out. I used a spray paint that was specifically designed for wood, which gave it a smooth finish. I also added some decorative elements, like small wooden accents, to make it look more professional.
I used a brush to apply the paint in even strokes, making sure to cover all the surfaces. I let the paint dry completely before adding any additional details. I also used a clear sealant to protect the paint and give it a glossy finish. This helped the launcher look more polished and professional.
I also added some small wooden accents to the arms of the launcher. These accents helped to balance the weight and made the launcher look more unique. I used a small amount of wood glue to attach them and let the glue dry completely before using the launcher.
Customization transforms a simple project into a personal masterpiece.
Related: A set up checkers board
Using the Launcher
I used a simple paper airplane design to test the launcher. I folded the paper into a basic dart shape, which worked well. I made sure the plane was folded tightly to ensure it flew straight. I also tested different designs to see which one performed the best.
I used the launcher to launch the plane by pulling back on the arms and releasing them. I found that the plane traveled farther when I pulled back slowly and let go at the right moment. I also tested different launch angles to see which one gave the best results. I found that a slightly upward angle provided the best distance.
I made sure to test the launcher with different types of paper to see which one worked best. I found that a heavier paper, like cardstock, provided more stability and flew farther than lighter paper. I also tested different designs of planes to see which ones performed best with the launcher.
💰 Budget Build
Use inexpensive materials like cardboard and rubber bands to create a launcher that still works well, even on a tight budget.
⏰ Weekend Version
This version is designed to be completed in one weekend, using pre-cut materials and simple assembly steps that take only a few hours.
✨ Upgraded Finish
Upgrade your launcher with painted wood, polished metal parts, and a more refined design for a professional look and feel.
🏠 Small-Space Adaptation
Build a compact version of the launcher that’s ideal for small living spaces and can be easily stored when not in use.
🧳 Rental-Safe Option
Create a portable launcher that can be easily disassembled and packed for transport, making it perfect for rental properties or shared spaces.
| The mistake | Why it happens | The fix |
|---|---|---|
| Using the wrong type of wood for the base | Using a soft or warped wood can cause the launcher to be unstable and less durable over time. | Choose a harder, more stable wood like birch or maple for the base to ensure the launcher is strong and long-lasting. |
| Not measuring the parts accurately | Incorrect measurements can lead to a launcher that doesn’t fit together properly and may not function as intended. | Use a measuring tape and a ruler to ensure all parts are cut and assembled with precision. |
| Using elastic bands that are too weak | Weak elastic bands may not provide enough power for the launcher, resulting in a shorter flight distance. | Choose durable elastic bands that are strong enough to handle the force of launching the plane. |
| Not testing the launcher before using it | Failing to test the launcher can lead to unexpected problems, such as the plane not launching properly or the launcher being unstable. | Always test the launcher with a simple paper airplane before using it for more complex designs or with kids. |
How To Make A Paper Airplane With Launcher
Common Questions
What type of paper is best for the paper airplane?
How do I adjust the launcher for different types of planes?
Can I use the launcher indoors?
How long does the launcher last?
References
Cite this guide
DIY Furniture with Pegboard (2026). How To Make A Paper Airplane With Launcher. https://pegbuild.com/how-to-make-a-paper-airplane-with-launcher/
Feel free to cite or share this guide.