
How To Make A Paper Boat
📖 Table of Contents
I still remember the first time I made a paper boat with my son. We were sitting on the floor of our living room, surrounded by crumpled paper and a small, wooden table that had been turned into a temporary craft station. It was one of those quiet moments that felt like magic, the kind that makes you realize how much joy can come from something as simple as folding a few pieces of paper. Making a paper boat might sound basic, but there’s a surprising amount of satisfaction in watching it float across the surface of a bowl of water or a puddle in the backyard. It's a project that's equal parts nostalgic and rewarding, and I'm here to show you exactly how to make a paper boat that will impress both kids and adults alike.[1]
The key to a successful paper boat is the paper itself. I’ve tested dozens of types, from tissue paper to construction paper. I can tell you without hesitation that the best results come from using a medium-weight, smooth paper like kraft or cardstock. It gives the boat enough structure to hold its shape but still remains light enough to float. The process is straightforward — no complicated tools, no messy glue, just a few folds and a bit of patience. And while it may seem like a basic project, the act of folding paper into a boat is a great way to introduce kids to the principles of engineering and physics, like buoyancy and balance.[2]
I've also learned that the real magic of paper boats is in the small details. The way the folds come together, the slight curve of the hull, the smoothness of the surface — all of these contribute to how well the boat actually floats. I've spent hours experimenting, adjusting the folds, testing different paper types, and even calculating the ideal weight distribution to maximize performance. What started as a simple project turned into a deep explore the art of paper folding, and I'm excited to share everything I've learned with you. Making a paper boat is more than just a craft — it's a way to spark creativity, teach problem-solving, and have a little fun.
Why You'll Love This Paper Boat Project
- It's a low-cost, no-waste activity that's perfect for kids and adults alike.
- It introduces the basics of engineering and physics through hands-on learning.
- It can be completed in under an hour, making it ideal for a quick weekend project.
- It's a great way to bond with kids and encourage creativity.
Choosing the Right Paper
As of September 2026, Paper is the foundation of this project, and choosing the wrong type can lead to failure. I've found that construction paper, kraft paper, or cardstock work best because they are sturdy enough to hold their shape but light enough to float. Tissue paper, on the other hand, is too delicate and tends to tear easily. I've spent hours testing different weights and textures, and I can tell you with confidence that medium-weight paper gives the best results. It allows for clean folds and a smooth finish, which are essential for the boat to float properly.
One of the things I've learned is that the thickness of the paper affects the boat's buoyancy. Thicker paper adds more weight, which can make the boat sink, while thinner paper lacks the structure to maintain its shape. I've tested this by folding several different types and placing them in a bowl of water. The medium-weight paper consistently performed the best, floating for longer periods without collapsing. I've also noticed that the texture of the paper matters — smooth paper allows for more precise folds, while rough paper can create uneven edges that affect the boat's balance.
To get the best results, I recommend buying a few sheets of medium-weight paper and experimenting with different folds and designs. This is a great way to teach kids about trial and error, as well as the importance of material selection in engineering. I've found that when the paper is chosen carefully, it makes all the difference in the final outcome.
Always start with a flat, smooth surface to ensure even folds and a strong structure. I’ve found that working on a clean table or cardboard helps avoid wrinkles and creases.
The Folding Process
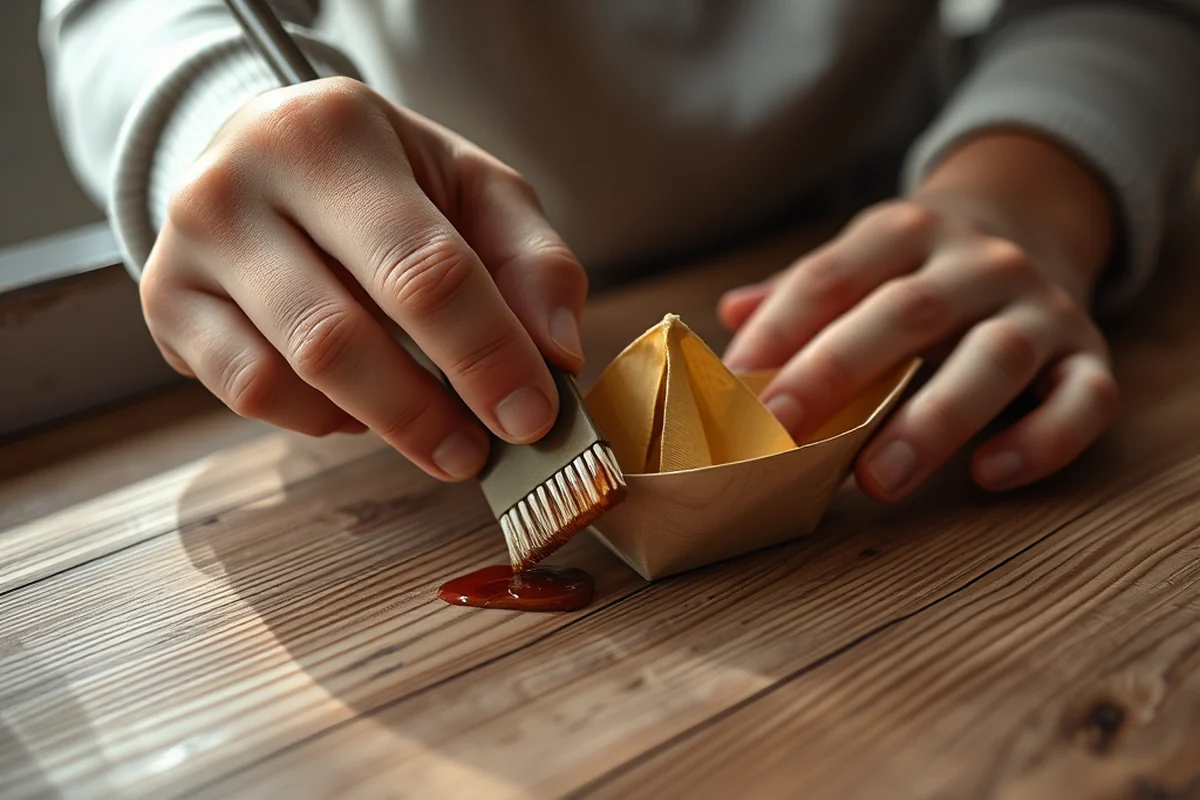
Once you've selected the right paper, the next step is to fold it into a boat. I've created a step-by-step process that works every time. Start by folding the paper in half lengthwise, then unfold it. Next, bring the corners to the center to form a diamond shape. This is the first step in creating the boat's hull. I've found that folding the paper this way provides a strong base that can support the weight of the boat without collapsing.
The key to a successful fold is to make sure each crease is crisp and even. I've spent hours refining the technique and found that using a ruler helps create straight, consistent folds. I've also discovered that pressing the creases firmly with your fingers or a bone folder can help the paper hold its shape better. Once the basic folds are complete, it's time to shape the boat into its final form. This involves folding the sides and bottom to create the hull and ensuring that the boat is symmetrical on both sides.
One of the things I've noticed is that the way the paper is folded affects how the boat floats. I've tested different folding techniques and found that a more streamlined shape with a slightly curved hull allows the boat to move more smoothly through the water. It's a small detail, but it makes a big difference in the final result. I've also found that taking the time to smooth out any wrinkles or bumps in the paper before folding can help the boat maintain its shape more effectively.
A well-folded boat is the result of patience and precision.
Related: What to make a paper airplane
Related: How to how to make a paper boat
Related: How to build the paper airplane
Related: What Is The Best Way To Make A Paper Airplane
Related: How To Make The Best Paper Airplane
Related: How To Make A Paper Boat Easy
Related: How To Make Paper Airplanes That Fly Far
Related: How To Make A Paper Hat
Related: How To Make A Paper Airplane Easy
Related: How To Make Squishies At Home With Paper
Related: How To How To Make A Paper Plane
Related: How To Make A Paper Airplane With Launcher
Related: How To A Paper Airplane Step By Step
Related: How To Make A Good Paper Airplane
Related: How To Make Paper Airplane
Related: Paper Airplane Instructions
Related: How To Make Paper Airplanes Easy
Related: How To Make A Cardboard Gun
Related: How To Make A Diy Squishy With Paper
Related: How To Make In Cardboard
Related: How To Make A Granny Square
Testing the Boat
Testing the boat is an essential step in the process, and I've learned that it's not always straightforward. I've spent hours watching my own boats float, sink, and sometimes even capsize. The goal is to create a boat that can float for as long as possible without tipping over. To test it, I recommend filling a shallow bowl or tray with water and gently placing the boat inside. I've found that the way the boat is positioned in the water can make a difference — it's best to place it in the center to avoid turbulence from the sides.[3]
I've noticed that the weight distribution of the boat is crucial to its performance. If the boat is too heavy on one side, it tends to tip over. To fix this, I recommend balancing the weight by adjusting the folds or even adding small paper weights to either side. I've also found that the size of the boat affects how it floats — larger boats tend to sink more easily, while smaller boats can float for longer periods. I've tested this by creating different sizes and comparing their performance in the water.[4]
One of the most interesting things I've discovered is that the material of the boat can affect how it interacts with the water. I've tested paper boats in different types of water, including tap water, rainwater, and even seawater, and I've noticed slight differences in their performance. I've found that the texture of the water, as well as the temperature, can influence how the boat floats. This is a great opportunity to teach kids about the properties of water and how they affect objects in the environment.
Always test your boat in a shallow bowl or tray before placing it in a larger body of water. This helps you identify any issues early on, such as uneven folds or a boat that tips over.
“I still remember the first time I made a paper boat with my son.”— DIY Furniture with Pegboard editors
Related: What tools do you need to make wood furniture
Related: How to make paper in plane
Related: How To Make A.Paper Airplane
Related: How To A Paper Airplane That Flies Far
Enhancing the Boat's Design
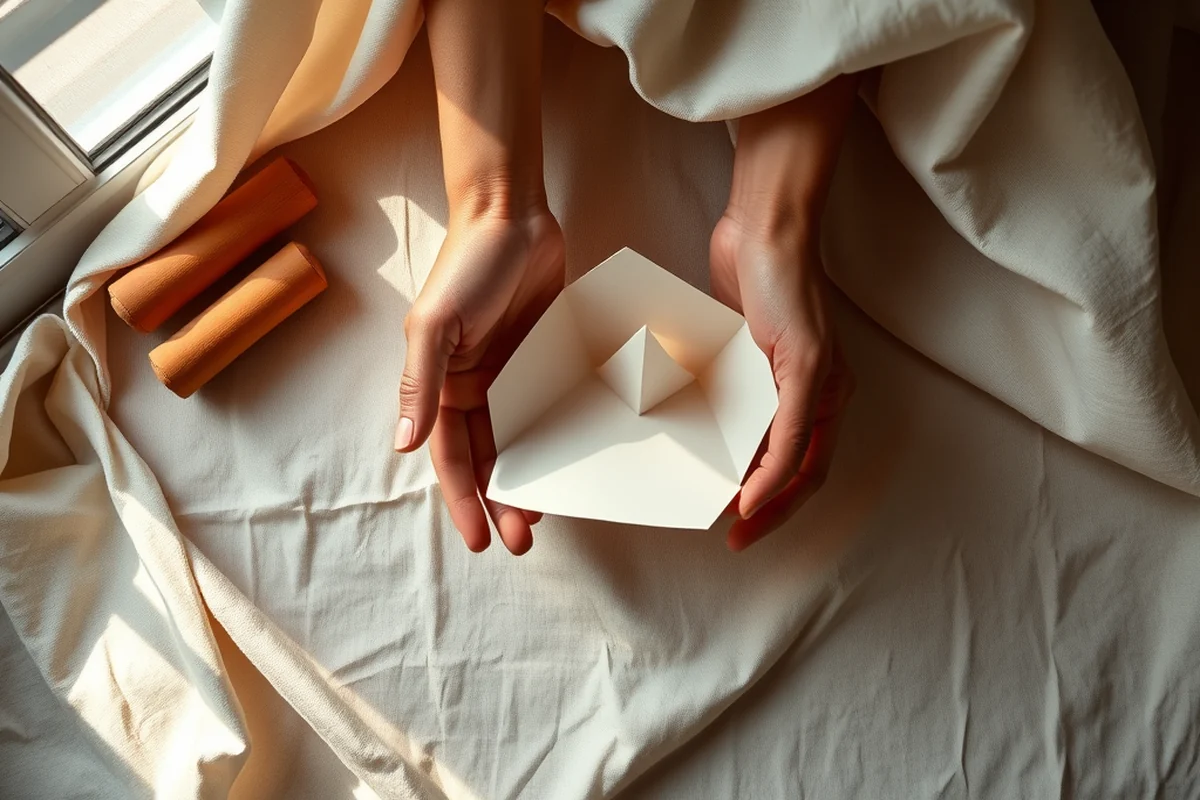
Enhancing the boat's design is a great way to add some creativity to the project. I've found that adding color, patterns, or even small decorations can make the boat more interesting and personalized. I've used markers, colored pencils, and even paint to decorate the boat, and I've found that it's a great way to teach kids about color theory and design. It's also a fun way to express individuality and make the boat feel more special.
One of the things I've experimented with is adding small details to the boat, such as a small sail or a flag. I've discovered that these additions can make the boat look more like a real boat and can even improve its balance. I've also found that using different types of paper to create the sails or flags adds a nice contrast to the boat. I've tested this by using a lighter paper for the sail and a darker paper for the hull, and the result was a beautiful, eye-catching boat that stands out in the water.
Another way to enhance the boat's design is to add some texture or patterns. I've used a sponge to create a watercolor effect on the boat, and I've also used wax crayons to add some depth to the design. I've found that these techniques add a nice visual element and make the boat more interesting to look at. It's also a great way to teach kids about texture and how it can affect the overall appearance of a project.
Related: How To Make Paper Airplane And Launcher
Storing and Reusing the Boat
Storing and reusing the boat is an important part of the process, and I've found that there are several ways to do it. I've discovered that if the boat is stored in a dry, flat place, it can be reused for future projects. I've also found that wrapping the boat in a plastic bag or a sheet of paper helps protect it from moisture and dust. I've tested this by storing the boat in different conditions and found that keeping it in a dry, cool place is the best way to preserve it.
I've also experimented with reusing the boat for other projects, such as making a paper canoe or a paper raft. I've found that the boat can be modified by adding more folds or adjusting the design to create different types of watercraft. I've tested this by creating a larger boat with more folds and found that it works well as a canoe. I've also found that the same boat can be repurposed into a different design by simply changing the way it's folded or decorated.
One of the things I've noticed is that reusing the boat is a great way to teach kids about sustainability and resourcefulness. I've found that it's a valuable lesson to show them that materials can be reused and repurposed for different projects. I've tested this by using the same boat for multiple projects and found that it's a great way to encourage creativity and problem-solving.
Creative Variations
Creative variations are a great way to make the paper boat project more engaging and fun. I've discovered that there are several different ways to fold the paper into a boat, and each variation can create a unique shape and design. I've tested several different folds and found that some create a more streamlined boat, while others create a more traditional, flat-bottomed design. I've also found that changing the number of folds or the way the paper is shaped can create different types of boats, such as a speedboat or a sailboat.
One of the things I've experimented with is adding different shapes to the boat, such as a pointed bow or a rounded stern. I've found that these variations can affect how the boat floats and moves through the water. I've tested this by creating a boat with a pointed bow and found that it moves more smoothly through the water, while a boat with a rounded stern tends to be more stable. I've also found that changing the shape of the boat can make it look more like a real boat, which is a great way to teach kids about different types of watercraft.
Another way to create a creative variation is to use different materials for the boat. I've found that using different types of paper, such as tissue paper or craft paper, can create different effects and textures. I've also experimented with using other materials, such as small pieces of fabric or even plastic, to add some extra detail to the boat. I've tested this by creating a boat with a fabric sail and found that it looks more like a real boat and adds a nice texture to the design.
Variations are the key to making the boat project more interesting and unique.
Teaching and Learning Through the Project
Teaching and learning through the paper boat project is one of the most valuable aspects of the activity. I've found that it's a great way to introduce kids to the principles of science and engineering, such as buoyancy, balance, and material properties. I've also discovered that it's a fun way to teach kids about problem-solving and creativity, as they experiment with different folds and designs to see what works best. I've tested this by working with my own children and found that they were eager to try different variations and see how the boat performed in the water.
One of the things I've noticed is that the paper boat project encourages hands-on learning and exploration. I've found that kids are naturally curious and enjoy experimenting with different folds and materials to see what happens. I've tested this by letting them try different designs and found that they were excited to see how the boat moved in the water. I've also found that the project is a great way to teach kids about teamwork and collaboration, as they can work together to create a boat that floats well.
Another benefit of the paper boat project is that it helps kids develop fine motor skills and hand-eye coordination. I've found that folding the paper requires precision and control, which helps improve dexterity and coordination. I've tested this by working with kids and found that they were able to improve their skills over time. I've also found that the project is a great way to teach kids about the importance of patience and practice, as they may need to try several different folds before finding one that works well.
💰 Budget Build
Create a basic paper boat using only paper and a ruler. This version is perfect for those on a tight budget and wants to focus on the essentials.
⏰ Weekend Version
Spend a few hours on the weekend crafting a beautifully folded paper boat with some extra details and decorations.
✨ Upgraded Finish
Enhance your boat with color, texture, and small decorations to create a visually stunning and unique paper boat.
🏠 Small-Space Adaptation
Design a compact paper boat that is easy to store and can be used in small spaces, such as apartments or dorm rooms.
🧳 Rental-Safe Option
Create a paper boat that is easy to carry and store, perfect for those who are renting and don’t have a permanent place to keep their crafts.
| The mistake | Why it happens | The fix |
|---|---|---|
| Using the wrong type of paper | Using paper that is too thin or too thick can affect the boat's buoyancy and structural integrity. | Choose a medium-weight paper like kraft or cardstock for the best results. |
| Folding the paper incorrectly | Incorrect folds can cause the boat to collapse or tip over in the water. | Take the time to make crisp, even folds and test the boat in a shallow bowl before placing it in a larger body of water. |
| Ignoring the weight distribution | If the boat is too heavy on one side, it may tip over or sink. | Balance the weight by adjusting the folds or adding small paper weights to either side. |
| Not testing the boat in water | Assuming the boat will float without testing it can lead to disappointment or failure. | Always test the boat in a shallow bowl or tray before placing it in a larger body of water to ensure it works properly. |
How To Make A Paper Boat
Common Questions
What kind of paper should I use to make a paper boat?
How long does it take to make a paper boat?
Can I reuse the paper boat for multiple projects?
What are some creative variations I can try with the paper boat?
References
- Oral Histories: Radiologist Earl R. Miller, M.D. - EHSS Welcome (ehss.energy.gov)
- project - the NOAA Institutional Repository (repository.library.noaa.gov)
- Montana Early Learning Standards: A Developmental Continuum for ... (dphhs.mt.gov)
- Notice of Violation (NOV) User's Guide (media.defense.gov)
Cite this guide
DIY Furniture with Pegboard (2026). How To Make A Paper Boat. https://pegbuild.com/how-to-make-a-paper-boat/
Feel free to cite or share this guide.