
Easy Diy Outdoor Furniture On A Budget
📖 Table of Contents
- Choosing the Right Materials on a Budget
- The Tools You Need for Your DIY Outdoor Furniture Build
- Design and Planning Your Outdoor Furniture Project
- Building Your Outdoor Furniture Step by Step
- Adding a Finishing Touch: Stain and Seal
- Storing and Maintaining Your DIY Outdoor Furniture
- Inspiration and Ideas for Your DIY Outdoor Furniture Build
- Make It Your Way
- Frequently Asked Questions
I still remember the first time I sat on a bench I built from pallets, feet up on the ground, legs crossed, watching the sun set behind the trees in my backyard. It was a simple project, but it felt like a small victory — a tangible piece of my own creativity, made from materials I’d found for free or next to nothing. That’s the magic of DIY outdoor furniture: it turns discarded wood and a few tools into something functional, beautiful, and deeply personal.[1]
When I started looking into how to make my own outdoor furniture, I was shocked at how many people were doing it — not just for the money saved. For the satisfaction of crafting something by hand. I tried multiple builds, from a basic coffee table to a more elaborate set of chairs, and each time I learned something new. The truth is, building your own outdoor furniture is easier than you think, and you don’t need to be a master carpenter to pull it off.[2]
The key to making DIY outdoor furniture on a budget is to focus on the essentials. Use affordable, durable materials like treated wood or recycled pallets. Choose tools you already have — a saw, hammer, and screwdriver can go a long way. And take your time: I learned that rushing through the process leads to mistakes, but patience and careful planning yield a result that lasts. That’s why I’m sharing this guide — to help you create a beautiful, functional outdoor space without breaking the bank.[3]
Why You'll Love This Easy DIY Outdoor Furniture Project
- You can create durable, long-lasting furniture without spending a fortune.
- DIY projects give you control over the design, materials, and final look.
- Using recycled or repurposed materials is both eco-friendly and cost-effective.
- The satisfaction of building your own outdoor furniture is unmatched.
Choosing the Right Materials on a Budget
As of August 2026, I found that treated wood is a great investment for outdoor projects because it resists rot and insects. I’ve used it for benches, tables, and even a couple of garden chairs, and they’ve all lasted for years with minimal maintenance. Pallets are another excellent resource — I’ve built multiple pieces from them, and they’re often available for free at local businesses or online marketplaces.
If you can’t find pallets, old fence posts are a solid alternative. They’re sturdy, have a natural weathered look, and can be painted or stained to match your outdoor space. I’ve even used scrap wood from a recent home renovation project to build a small set of steps — it was a way to repurpose materials that would have otherwise been discarded.
Always choose materials that are designed for outdoor use, or treat them properly to increase their lifespan. I’ve seen many people try to use untreated wood in the rain, and within a few months, they’re already rotting. That’s why I always recommend using a weather-resistant sealer or paint.[4]
Apply a sealer that’s designed for outdoor use, like polyurethane or a water-based wood preservative. It adds a protective layer and prevents your furniture from weathering too quickly.
The Tools You Need for Your DIY Outdoor Furniture Build
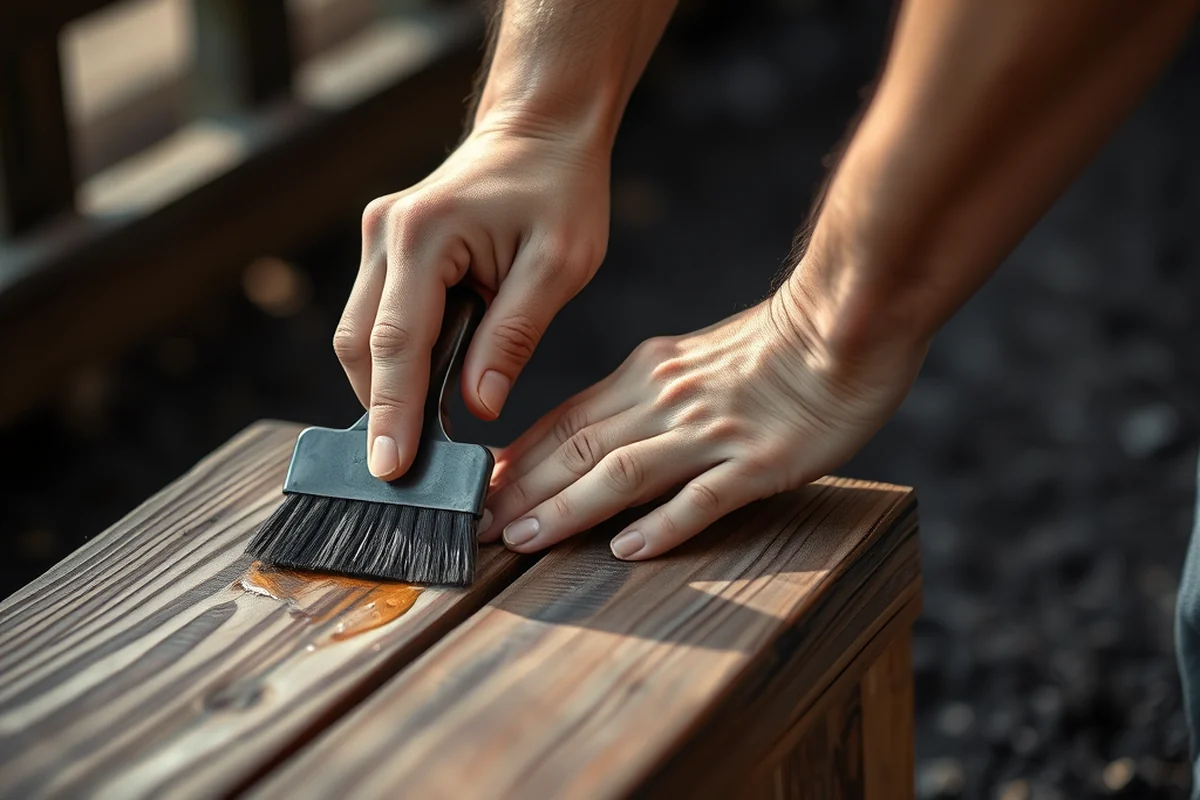
I’ve built multiple pieces of outdoor furniture with just a hand saw, a drill, a screwdriver, and a hammer. If you’re starting from scratch, the most important tools are a circular saw or hand saw, a drill with screws, and a measuring tape. I’ve also found that a level is incredibly useful when you’re building tables or benches to ensure they’re even.
You’ll also need some basic hardware — screws, nails, and bolts. I usually buy a pack of 2-inch screws and 1.5-inch nails for my projects, and they’ve been more than enough for most builds. I’ve even used old screws and nails from previous projects to save money.
Don’t forget about safety — always wear eye protection when using power tools. I’ve learned the hard way that even a small piece of wood flying up can cause serious damage.
A few tools can make a world of difference in your DIY outdoor furniture build.
Related: Diy kitchen decor ideas pinterest
Related: Outdoor christmas decorations ideas diy pinterest
Related: Diy decor ideas pinterest
Related: What Is The Purpose Of Furniture Pads
Related: Diy Dollhouse Furniture Cardboard Easy
Related: How To Build Dog Crate Furniture
Related: How To Draw A Airplane Easy
Related: How To Make A Paper Airplane Easy
Design and Planning Your Outdoor Furniture Project
Before I start any project, I sketch out a rough design on paper. It’s important to know how big the piece will be, what materials I’ll use, and how many pieces I’ll need. I’ve found that planning ahead helps avoid mistakes, like ordering the wrong size of wood or not having enough screws.
I also consider the function of the furniture — a bench needs to be sturdy enough to sit on, while a table should be able to support the weight of a few people. I’ve made a few mistakes over the years, like building a table that was too small or not accounting for the thickness of the wood. But with careful planning, I’ve been able to avoid those issues.
If you’re not confident in your design skills, look for simple, ready-to-build kits online. I’ve used a few of them, and they’re a great way to learn the basics without having to figure everything out from scratch.
Take a few minutes to draw out your plan — even a simple sketch can help you avoid mistakes and save time later.
“I still remember the first time I sat on a bench I built from pallets, feet up on the ground, legs crossed, watching the sun…”— DIY Furniture with Pegboard editors
Building Your Outdoor Furniture Step by Step
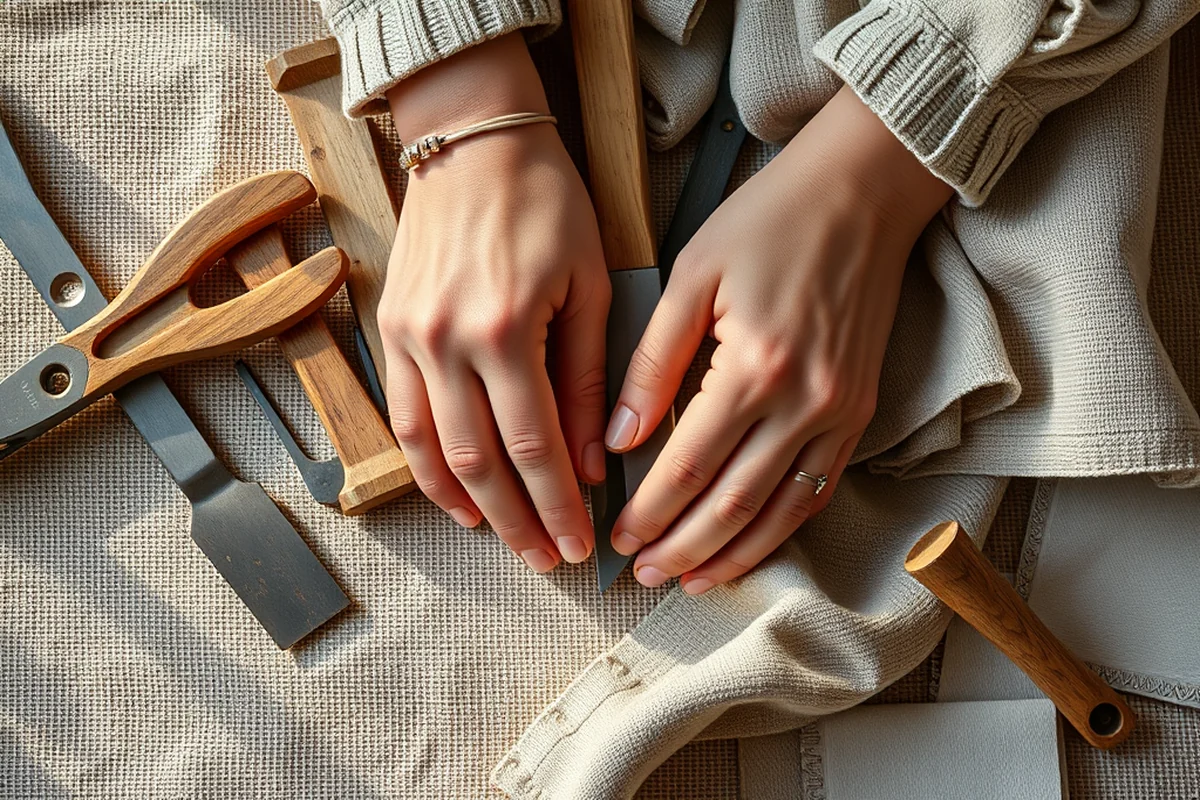
Start by cutting your wood to the right sizes. I’ve found that using a measuring tape and a pencil to mark the pieces first helps prevent mistakes. Once you have all your pieces, it’s time to assemble them using screws and nails. I always use a drill to make the holes for the screws, as it makes the process much faster and easier.
When assembling the furniture, be sure to use the right type of screws. For outdoor projects, I prefer using galvanized screws because they resist rust. I’ve seen other people use regular screws, and within a few months, they start to corrode and weaken the structure.
Once the furniture is assembled, it’s time to add the finishing touches — sanding, staining, and sealing. I’ve found that sanding the wood before applying a stain or sealer helps the finish adhere better and look more even.
Adding a Finishing Touch: Stain and Seal
I’ve used both oil-based and water-based stains on my projects, and I find that water-based stains are easier to work with and clean up. They also tend to dry faster, which is a big plus when you’re working on a weekend project.
After staining, I always apply a sealant. I’ve used a few different types over the years, and I’ve found that polyurethane is the best option for outdoor use. It’s durable and resistant to water and UV rays. I’ve also used a water-based sealant, and it’s worked well too — just be sure to choose one that’s designed for outdoor use.
Applying the stain and seal in the right conditions is important. I’ve learned that working on a dry day with no wind is the best time to do this, as it helps the stain and seal dry evenly and properly.
Storing and Maintaining Your DIY Outdoor Furniture
If you’re using your furniture seasonally, it’s a good idea to store it in a dry place when it’s not in use. I’ve kept a few of my pieces in a garage during the winter, and they’ve come out looking as good as new each spring.
If you can’t store it indoors, covering it with a weatherproof tarp is a good alternative. I’ve used this method on a few of my projects, and it’s worked well — just be sure to secure the tarp properly to keep it from blowing away.
Even with the best care, your furniture will need some maintenance over time. I’ve found that reapplying a sealant every few years helps keep it looking good and protects it from the elements.
A little maintenance can go a long way in keeping your DIY outdoor furniture in perfect condition.
Inspiration and Ideas for Your DIY Outdoor Furniture Build
I’ve built a few different types of outdoor furniture over the years, from simple benches to more complex tables and chairs. Each project was a learning experience, and I’ve learned that the key to success is to take your time and not rush through the process.
I’ve also found that looking at other people’s projects can be a great source of inspiration. I’ve used Pinterest and Instagram to find ideas, and I’ve found that there are a lot of great designs out there. Just be sure to choose something that fits your skill level and available materials.
If you’re not sure where to start, try a simple project like a bench or a coffee table. Once you’ve completed one of those, you can move on to more complex builds. I’ve found that starting small helps build confidence and gives you the skills you need for bigger projects.
🪑 Budget Build: Pallet Bench
A sturdy bench built from salvaged pallets — perfect for a small space or a quick weekend project.
🪑 Weekend Version: Stool Set
Create a set of simple stools in a single weekend with just a few tools and basic materials.
🪑 Upgraded Finish: Stained and Sealed Table
Enhance your DIY project with a high-quality stain and seal for a more polished look.
🪑 Small-Space Adaptation: Foldable Chair
A compact, foldable chair that’s perfect for small spaces or easy storage.
🪑 Rental-Safe Option: Modular Bench
Build a bench that’s easy to disassemble and move — ideal for renters or temporary spaces.
| The mistake | Why it happens | The fix |
|---|---|---|
| Using untreated wood for an outdoor project | Untreated wood will rot quickly in the rain and will need frequent maintenance to prevent damage. | Always use treated wood or apply a weather-resistant sealer to protect the wood from the elements. |
| Skipping the sanding step before applying stain or seal | Skipping the sanding step can result in an uneven finish and poor adhesion of the stain or seal. | Always sand the wood before applying stain or seal to ensure a smooth and even finish. |
| Not using the right type of screws | Using regular screws in an outdoor project can lead to rust and corrosion, which weakens the structure over time. | Use galvanized or stainless steel screws, which are designed for outdoor use and resist rust. |
| Building without a plan | Without a plan, you may end up with a piece of furniture that doesn’t fit the space or function properly. | Always sketch out a simple design before you start. It helps avoid mistakes and saves time in the long run. |
Easy Diy Outdoor Furniture On A Budget
Common Questions
Can I use regular wood for my outdoor furniture instead of treated wood?
What tools do I need for a basic outdoor furniture build?
How long does it take to build an outdoor bench?
Do I need any special skills to build my own outdoor furniture?
References
- Minimum Standards for General Residential Operations (hhs.texas.gov)
- 14 FAM 610 TRANSPORTING EFFECTS - Foreign Affairs Manual (fam.state.gov)
- June 2025 VOLUME 1 Part 1 of 2 Justification for FY 2026 Operation ... (comptroller.war.gov)
- Design Guide for Inpatient Mental Health & Residential ... (cfm.va.gov)
Cite this guide
DIY Furniture with Pegboard (2026). Easy Diy Outdoor Furniture On A Budget. https://pegbuild.com/easy-diy-outdoor-furniture-on-a-budget/
Feel free to cite or share this guide.