
How Can I Make Furniture Polish
📖 Table of Contents
- Understanding the Basics of Furniture Polish
- The Importance of Choosing the Right Ingredients
- How to Customize Your Furniture Polish
- The Application Process: Step by Step
- Maintaining Your Homemade Furniture Polish
- Tips for Achieving the Perfect Shine
- Troubleshooting Common Issues with Furniture Polish
- Make It Your Way
- Frequently Asked Questions
There's something deeply satisfying about the way wood furniture gleams after a good polish — not just for its beauty, but for the way it makes a room feel alive. Last summer, I spent a weekend refinishing my grandmother's old dining table, and the transformation was nothing short of magical. I remember the first time I applied the homemade polish and watched the wood come back to life, like it had been waiting for me to notice its hidden glow. That's when I realized how powerful a simple homemade furniture polish could be, not just for aesthetics, but for the connection it creates between maker and material.
I've always been a fan of DIY, but I never imagined I'd become a self-proclaimed expert in furniture polish. It started with curiosity — what if I could make something just as good as the commercial stuff, but without the harsh chemicals and high price tag? I experimented with everything from olive oil to beeswax and even tried a few oddball combinations, like lemon juice and vinegar. After a few failed attempts, I finally landed on a mix that worked so well, I've used it on every piece of furniture in my house, from my kitchen cabinets to my bookshelves. It was a small victory, but one that made me realize how much joy and pride can come from making something with your own hands.[1]
The journey to creating my own furniture polish was as much about learning the science of wood care as it was about finding a formula that worked for me. I learned that not all wood is the same — oak, pine, and walnut each have different needs — and that the right polish can restore, protect, and even enhance the natural beauty of the wood. It's not just about making something that looks good, but about understanding the material you're working with and giving it the care it deserves. Today, I'm here to share everything I've learned, so you can make your own furniture polish and bring out the best in your home's wooden treasures.
Why You'll Love This DIY Furniture Polish
- It's budget-friendly — you can make it for under $40 with simple, easy-to-find materials.
- It's safe for your family and pets, avoiding harsh chemicals found in commercial products.
- It's customizable — you can adjust the formula to suit the type of wood and finish you're working with.
- It's satisfying — the process of making it and watching your furniture shine is both creative and rewarding.
Understanding the Basics of Furniture Polish
As of August 2026, before exploring the polish itself, it's essential to understand how different types of wood respond to various ingredients. For example, softwoods like pine may need more protection from oils and waxes, while hardwoods like oak may require a more delicate touch. I learned this the hard way when I used a heavy beeswax polish on my pine coffee table and ended up with a hazy, sticky surface that took hours to fix.
The key to a good polish is balance — too much oil and the wood becomes gummy, too little and it doesn't have the right sheen or protection. I recommend starting with a simple mix of 1/4 cup of mineral oil, 1/4 cup of beeswax, and 1/4 cup of carnauba wax, melted together in a double boiler. This gives you a base that's gentle enough for most woods and finishes.[2]
Once you've got the base right, you can experiment with adding a few drops of a natural wood dye or a small amount of lemon oil for a subtle scent and additional shine. The result is a polish that's not just functional, but also a personal expression of your style and care for your furniture.
Before applying your homemade furniture polish to the entire piece, test it on a small, inconspicuous area. This allows you to see how the wood reacts and adjust the formula if needed.
The Importance of Choosing the Right Ingredients
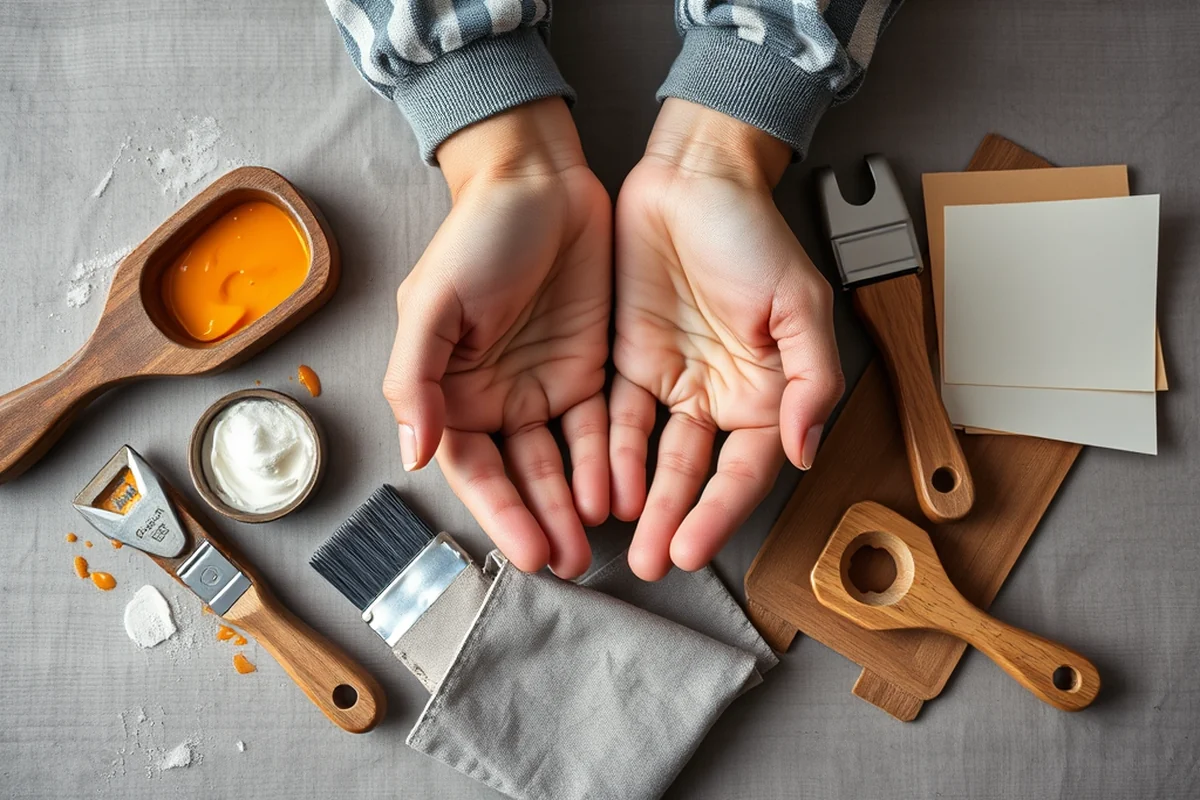
I've spent countless hours experimenting with different combinations of oils and waxes to find the perfect balance. What I've learned is that mineral oil is great for softwoods and unfinished wood, while beeswax provides a beautiful sheen and long-lasting protection. Carnauba wax, on the other hand, is ideal for high-traffic areas and can add an extra layer of durability.
I also like to add a few drops of lavender essential oil to my polish — it's not only a pleasant scent. It also has natural antibacterial properties that help keep the wood clean and fresh. It's a small addition that makes a big difference in the overall experience of using the polish.
Choosing the right ingredients is just the first step. The way you mix and apply them is equally important. I recommend using a clean, lint-free cloth and applying the polish in the direction of the wood grain to ensure even coverage and avoid streaks or buildup.[3]
Choose your ingredients wisely — the quality of your polish starts with the materials you use.
Related: Diy furniture polish without olive oil
Related: How to make furniture polish at home
Related: How to make furniture polish with olive oil
Related: Where Can I Make Furniture Donations
Related: Can I Get Furniture With Bad Credit
Related: Furniture Movers With Wheels
Related: Platform Bed Frame With Headboard
Related: How To Make Your Bed
Related: How To Make Zoodles
Related: How To Make A Bed In Terraria
Related: How To Make A Granny Square For Beginners
Related: How To Make With Cardboard
Related: How To Make The Best Paper Airplane
Related: Make A Cardboard Car
Related: How To Make A Cardboard Car
Related: How To Make Your Bed Book
How to Customize Your Furniture Polish
One of the things I love about making furniture polish is the ability to customize it for different types of wood and finishes. For example, if you're working with a dark, high-gloss finish, you might want to use a higher ratio of carnauba wax to add a deep, reflective shine. On the other hand, if you're dealing with a lighter or more rustic finish, a blend of mineral oil and beeswax might be more appropriate.
I've found that adding a few drops of a wood conditioner can help even out the absorption of the polish and prevent the wood from becoming too dry or too oily. This is especially important for older pieces of furniture that may have been exposed to a lot of wear and tear over the years.
Another great tip is to experiment with different types of waxes — beeswax, carnauba wax, and even natural waxes like shea butter can all be used to create a unique finish. The key is to find the right balance that works for your furniture and your style.
Try different ratios of oils and waxes to find the perfect balance for your furniture. Start with a base formula and adjust as needed based on the results you see.
“There's something deeply satisfying about the way wood furniture gleams after a good polish — not just for its beauty, but for the way it…”— DIY Furniture with Pegboard editors
Related: How To Make A Simple.Paper Airplane
The Application Process: Step by Step
Once your polish is ready, the next step is applying it to your furniture. I like to start by wiping the surface with a clean, dry cloth to remove any dust or debris. This helps ensure that the polish adheres evenly and doesn't leave behind any unwanted particles.
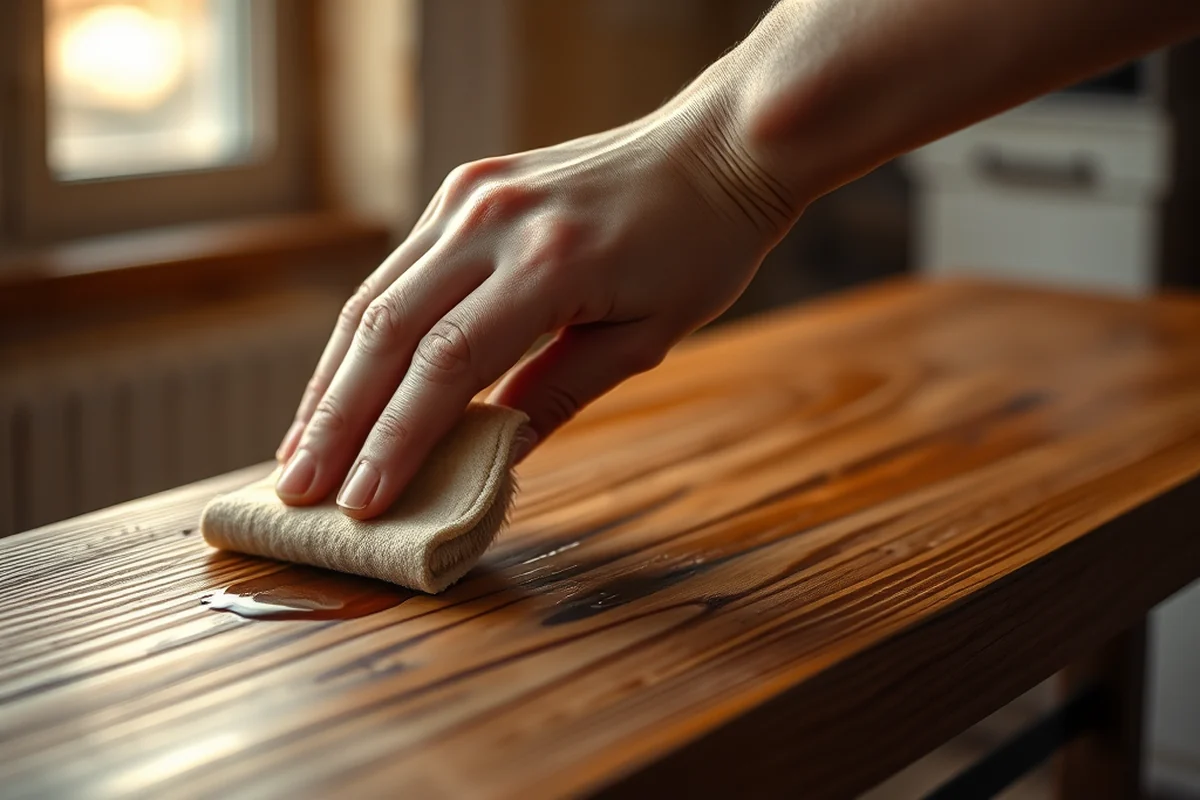
Next, I apply a small amount of polish to a clean, lint-free cloth and work it into the wood in the direction of the grain. I've found that applying too much polish at once can lead to buildup and streaks, so I prefer to work in small sections and let each area dry slightly before moving on.
After applying the polish, I like to let it sit for a few minutes to allow the oils and waxes to penetrate the wood. Once it's set, I use a clean cloth to buff the surface, which helps bring out the shine and gives the wood a smooth, even finish.
Maintaining Your Homemade Furniture Polish
One of the things I've learned through trial and error is that homemade furniture polish needs to be stored properly to maintain its effectiveness. I keep my polish in airtight containers, away from direct sunlight and heat, which can cause the oils and waxes to degrade over time.
I also like to make small batches of polish, which allows me to use it up quickly before it loses its potency. This is especially important if you're using natural ingredients like essential oils, which can lose their scent and effectiveness over time if stored for too long.
Regular reapplication is another key part of maintaining your furniture polish. I recommend applying a fresh coat every few months to keep the wood nourished and protected. This not only helps maintain the shine, but also helps prevent the wood from drying out and cracking over time.[4]
Tips for Achieving the Perfect Shine
One of the most important things I've learned is that the shine you achieve with your homemade polish is directly related to the quality of your ingredients and the way you apply them. I've found that using a higher-quality wax, like carnauba wax, can give your furniture a deep, mirror-like shine that lasts for years.
Another tip is to use a high-quality cloth — I've found that microfiber cloths work best for applying and buffing the polish, as they're lint-free and won't leave behind any unwanted residue. I also like to use a clean cloth for each step of the process to avoid cross-contamination and ensure even application.
Finally, I always recommend taking the time to buff the surface after applying the polish. This not only helps bring out the shine but also helps ensure that the polish is evenly distributed and doesn't leave behind any streaks or buildup. A little extra effort goes a long way in achieving a beautiful, professional-looking finish.[5]
A little extra effort in buffing can make all the difference in achieving a beautiful, professional-looking finish.
Troubleshooting Common Issues with Furniture Polish
One of the most common issues I've encountered is streaking or buildup, which can occur if you apply too much polish at once or if the cloth you're using is not lint-free. To avoid this, I recommend applying the polish in small sections and using a clean, lint-free cloth for each step of the process.
Another issue I've faced is the polish not adhering properly to the wood. This can happen if the wood is not clean or if there's a lot of dust or debris on the surface. I've found that wiping the wood with a clean, dry cloth before applying the polish helps ensure a smooth, even application.
If your polish is not providing the desired level of shine or protection, it may be a sign that the formula needs to be adjusted. I've found that experimenting with different ratios of oils and waxes can help achieve the perfect balance for your furniture and your specific needs.
💰 Budget Build
Use a simple mix of mineral oil and beeswax for an affordable, easy-to-make polish that works well on most woods.
📅 Weekend Version
A quick and easy polish that can be made and applied in a single afternoon, perfect for a weekend project.
✨ Upgraded Finish
Add carnauba wax and a few drops of essential oil for a high-shine, long-lasting finish with a pleasant scent.
🏠 Small-Space Adaptation
Use a small batch of polish and a microfiber cloth to make it easier to work in tight spaces without creating a mess.
🚪 Rental-Safe Option
Make a non-permanent polish using a water-based formula that won't leave behind any residue or damage the surface.
| The mistake | Why it happens | The fix |
|---|---|---|
| Using too much polish at once | Applying too much polish can lead to streaking, buildup, and a hazy finish that's difficult to remove. | Apply the polish in small sections and use a clean, lint-free cloth to work it into the wood evenly. |
| Not cleaning the wood before applying polish | Dust or debris on the wood can create a barrier that prevents the polish from adhering properly, leading to an uneven finish. | Wipe the wood with a clean, dry cloth before applying the polish to ensure the surface is clean and ready for the treatment. |
| Using the wrong type of cloth | Using a cloth with lint or fibers can leave behind unwanted residue or streaks on the wood. | Use a clean, lint-free microfiber cloth for applying and buffing the polish to avoid streaks or buildup. |
| Storing the polish improperly | Exposure to heat, light, or air can cause the oils and waxes in the polish to degrade over time, reducing its effectiveness. | Store your homemade furniture polish in an airtight container, away from direct sunlight and heat to maintain its quality and longevity. |
How Can I Make Furniture Polish
Common Questions
Can I use homemade furniture polish on all types of wood?
How long does homemade furniture polish last?
Is homemade furniture polish safe for pets and children?
Can I use homemade furniture polish on finished furniture?
References
- Salvaging Furniture - Alabama Cooperative Extension System - (aces.edu)
- HOUSEHOLD RECIPES (apps.pittsburgca.gov)
- Asthma-Friendly Homes - Utah Asthma Program (asthma.utah.gov)
- Safer Alternatives to Hazardous Household Products (bosquefarmsnm.gov)
- DIY Cleaning Products | Broome County (broomecountyny.gov)
Cite this guide
DIY Furniture with Pegboard (2026). How Can I Make Furniture Polish. https://pegbuild.com/how-can-i-make-furniture-polish/
Feel free to cite or share this guide.