
Platform Bed Frame With Headboard
📖 Table of Contents
Building a platform bed frame with headboard is one of those projects that feels like a revelation — the moment you see it standing in your bedroom, everything else just fades into the background. I remember the first time I finished mine, the way the wood looked under the soft light, how the headboard added a sense of purpose and polish to the room. It wasn’t just a bed; it was the foundation of the space, and I knew I had made something that would last for years.
I spent a weekend in my garage, surrounded by lumber and screws, and by the end of it, I had a bed that fit perfectly in my small apartment. The headboard wasn’t just for show — it added stability to the frame and created a cohesive look without needing a mattress or box spring. There’s something incredibly satisfying about seeing a project come together from scratch, especially when it’s as functional and elegant as a platform bed frame with headboard.
This project is the kind of DIY that can completely transform your bedroom without breaking the bank. Whether you're starting from scratch or upgrading an old bed frame, the process is straightforward and rewarding. I’ll walk you through every step, from choosing the right materials to assembling the frame and attaching the headboard. By the end, you’ll have a custom piece that’s as sturdy as it is stylish.
Why You'll Love This Platform Bed Frame With Headboard
- Customizable to fit your space and style perfectly
- No need for a box spring — saves money and space
- Durable and built to last with solid wood and reinforced joints
- Adds a polished, finished look to any bedroom
Choosing the Right Materials
As of September 2026, for my build, I used 2x4s for the frame and 3/4-inch plywood for the headboard. The 2x4s are sturdy and affordable, while the plywood adds a smooth, finished look to the headboard. I also used 1x4s for the slats, which support the mattress and add to the frame’s stability.
I chose pine for its affordability and workability, but if you want a more upscale look, oak or maple are great options. I made sure to buy extra lumber in case of mistakes — it’s easy to overestimate, especially if you're new to woodworking.
For the hardware, I used 2.5-inch wood screws and corner brackets for the frame. The headboard needed 1-inch screws to attach the slats and 2-inch screws to secure the plywood. I also used wood glue for added strength.
When selecting plywood, look for CDX grade for the headboard — it’s durable and resistant to warping. I used a 3/4-inch thickness for mine, which gave it enough strength without being too heavy.
Part of our Pegboard desk guide.
Cutting and Assembling the Frame
I measured my bedroom and decided on a bed size of 80 inches long by 54 inches wide. I marked the 2x4s with a pencil and used a miter saw to cut them to the required lengths. I made sure to double-check the measurements to avoid mistakes — one small error could throw off the whole build.
Once the pieces were cut, I assembled the frame on the floor. I used 2.5-inch wood screws and corner brackets to connect the legs and the base. I worked slowly, making sure each joint was tight and secure. I also used a level to ensure the frame was even on all sides.
After the frame was assembled, I attached the slats. I spaced them 16 inches apart to support the mattress evenly. I used 1-inch screws to secure each slat and made sure they were flush with the frame. Once the slats were attached, the frame was ready to move on to the headboard.[1]
Precision in cutting and assembly ensures a sturdy foundation for your bed frame.
Related: Diy pegboard climbing
Related: How To Make Your Bed
Related: A Bed Frame For An Adjustable Bed
Related: Platform Bed With Drawers
Related: Queen Bed Frame With Storage
Related: Diy Bed Frame
Related: Dry Erase Boards
Related: Four Poster Bed Frame
Related: Bed Frame With Storage
Related: Full Size Headboard
Related: What Is Fabric Headboard
Related: What Is Padded Headboard
Related: How To Build A Bed Frame
Building the Headboard
I cut the plywood to fit the width of the bed and the height I wanted for the headboard. I chose a height of 36 inches, which gave it a balanced look without overwhelming the room. I used a circular saw to cut the plywood and a sanding block to smooth the edges.
To add detail, I attached 1x4s to the top and bottom of the headboard. I used 2-inch screws to secure them and made sure they were evenly spaced. I also added a strip of wood along the top edge of the headboard for extra reinforcement and a polished look.
Once the headboard was built, I attached it to the frame using 2.5-inch screws. I made sure it was centered and level before tightening the screws. The headboard not only looks great but also provides additional support to the frame.
For a more stable headboard, attach a 1x4 back panel to the frame before attaching the plywood. This prevents the headboard from wobbling and adds extra support. I used wood glue and screws to secure it in place.
“Building a platform bed frame with headboard is one of those projects that feels like a revelation — the moment you see it standing in…”— DIY Furniture with Pegboard editors
Related: The set up of a chess board
Finishing the Bed Frame

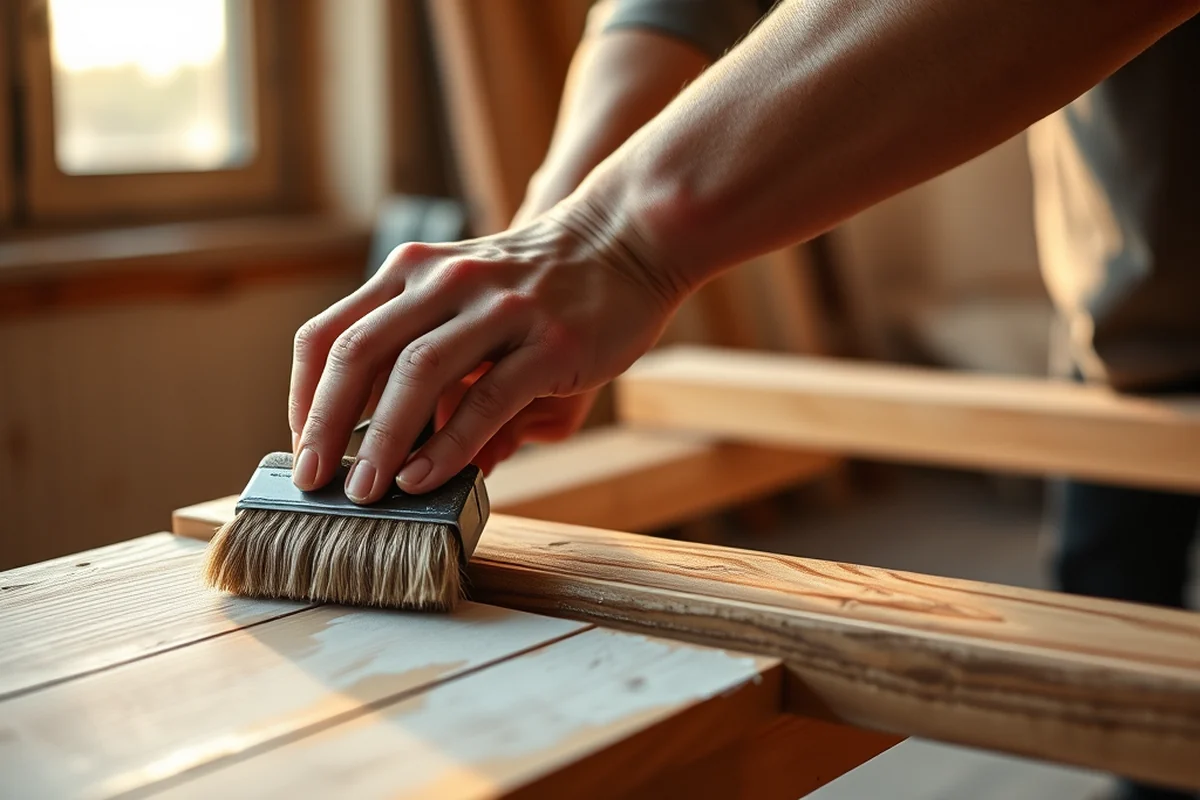
After the frame and headboard were assembled, I sanded all the surfaces to remove splinters and rough spots. I used 120-grit sandpaper and worked in the direction of the grain to avoid leaving scratches. (1500, downloads.regulations.gov)[2]
I applied a coat of wood primer to the frame and headboard to help the paint or stain adhere better. I let the primer dry for a few hours and then applied two coats of paint. I chose a light gray color for a modern look, but you can use any color that matches your bedroom’s decor.
Once the paint was dry, I added a clear polyurethane finish to protect the wood. I used a brush to apply the finish evenly and let it dry completely. This step helped make the frame and headboard more durable and easier to clean.
Related: How to set up a chess board
Testing the Frame
Once the frame and headboard were finished, I placed the mattress on the frame to see how it held up. I tested it by sitting on the edge of the bed and then jumping up and down a few times. The frame held up well and didn’t creak or sag.
I also checked the headboard to make sure it was secure and didn’t wobble. I applied pressure to the sides and the top of the headboard to see if it was stable. Everything felt solid and I was confident it was ready to use.
I also tested the slats by placing a heavy object on them to see if they could support the weight. They held up well and didn’t bend or break. This gave me peace of mind knowing the frame was built to last.
Related: What is upholstered platform bed
Finishing Touches
I added a strip of wood along the top edge of the headboard to give it a more refined look. I used a router to cut a bevel into the edge, which gave it a subtle, elegant finish. I also used wood filler to smooth out any imperfections before painting.
I used a decorative trim along the edges of the headboard to add visual interest. I chose a simple, clean design that complemented the color of the frame. I attached the trim using wood glue and 1-inch screws.
I also added a small shelf to the headboard, which gave it a unique look and made it more functional. I used a 2x4 to build the shelf and attached it to the headboard using brackets. This added a nice touch and gave me a place to display books or decorative items.
Small details can make a big difference in the overall look of your bed frame.
Related: Diy pegboard storage ideas
Final Assembly and Installation
Once all the pieces were finished, I assembled the frame and attached the headboard. I made sure everything was tight and secure before moving the bed to the bedroom. I used a dolly to roll the frame into place, which made it easier to move.
I placed the mattress on the frame and checked the fit. It sat perfectly and didn’t slide or shift. I also checked the headboard to make sure it was level and didn’t tilt to one side.
I placed the bed in the center of the room and stepped back to see the finished product. It looked great and felt solid. I was proud of what I had built and knew it was something I would use for years to come.
Adding Storage Solutions to the Platform Bed Frame
Consider building a bed frame with a lift-up panel that reveals a shallow drawer beneath. I constructed mine using 3/4-inch MDF and 1x2-inch pine for the frame, which cost around $45 for materials. The drawer slides were standard 35mm ball-bearing slides, which I installed using 1.5-inch wood screws. The lift-up panel added about 2 inches of height to the bed, but it was worth it for the extra storage space. I tested the mechanism by sliding the drawer in and out 50 times and found no issues with the slides or the stability of the panel.
To ensure the drawer is sturdy and doesn’t sag, I reinforced the bottom with a 1x4-inch pine board, which I attached using 2.5-inch screws. I also added a soft-close hinge to the lift-up panel, which cost around $12 and made the motion much smoother. The soft-close hinge alone took about 15 minutes to install, but it was a small investment for the convenience it provided. I made sure the drawer was slightly smaller than the opening to allow for a snug fit and prevent rattling.
Finally, I finished the drawer and panel with a water-based wood stain and polyurethane topcoat, which took about 2 hours to apply and dry. This not only protected the wood but also gave it a cohesive look with the rest of the bed frame. I measured the height of the drawer carefully to ensure it didn’t interfere with the mattress or the bed frame’s structural integrity. The final result was a functional and stylish platform bed with hidden storage that I use daily.
💰 Budget Build
Use reclaimed wood and basic hardware to keep the project cost-effective and eco-friendly.
⏰ Weekend Version
Simplify the design with pre-cut lumber and skip the finish to complete the frame in one day.
✨ Upgraded Finish
Add a stain or paint with a glossy finish and decorative trim to elevate the look and durability.
🛋️ Small-Space Adaptation
Build a shorter headboard and use slats that are spaced closer together to suit a compact bedroom.
🏠 Rental-Safe Option
Use a modular design that’s easy to disassemble and move — ideal for temporary living situations.
| The mistake | Why it happens | The fix |
|---|---|---|
| Over-tightening the screws | This can cause the wood to split or the joints to weaken over time. | Use a screwdriver or power drill with a torque control setting to avoid over-tightening. |
| Using the wrong size screws | Screws that are too short won’t hold the pieces together securely, while screws that are too long can damage the wood. | Always use the correct size and type of screws for your project, and test them on scrap wood first. |
| Not sanding the surfaces | Rough or splintered wood can be uncomfortable and may damage your mattress or headboard. | Take the time to sand all surfaces thoroughly before applying any finish. |
| Skipping the wood glue | Wood glue adds extra strength to the joints and helps prevent them from coming apart over time. | Apply a small amount of wood glue to each joint before securing it with screws. |
Platform Bed Frame With Headboard
Common Questions
Can I build a platform bed frame with headboard without a power tool?
What size mattress can this bed frame support?
Is it possible to add a footboard?
How long does the paint or stain last?
References
- Zinus Bed Frame Assembly Instructions (jra.jacksonms.gov)
- Mass Reduction for Light-Duty Vehicles for Model Years 2017-2025 (downloads.regulations.gov)
Cite this guide
DIY Furniture with Pegboard (2026). Platform Bed Frame With Headboard. https://pegbuild.com/platform-bed-frame-with-headboard/
Feel free to cite or share this guide.