
Dry Erase Boards
📖 Table of Contents
I remember the first time I used a dry erase board in my home office — it felt like a revelation. Before that, I was constantly scribbling notes on sticky pads or trying to remember my to-do lists in my head. Then I found a dry erase board, and suddenly, my space became a hub of creativity and efficiency. The smooth surface, the erasable ink, and the way it transformed my daily routine made me a believer. That's when I started looking into how I could make my own dry erase board, and I discovered there's a world of DIY options out there.[1]
Dry erase boards are more than just tools for lists and reminders — they're a canvas for planning, brainstorming, and organizing. Whether you're using them for project management, classroom notes, or even as part of your furniture design, they offer a clean, functional solution that can be tailored to your needs. I've tested several DIY methods, and the truth is, you don't need a lot of money or advanced skills to create one. With the right materials and a bit of time, you can have a custom dry erase board that fits your space and style perfectly.[2]
What I love most about dry erase boards is their adaptability. You can use them in small spaces, on walls, or even build them into furniture like cabinets or desks. I've experimented with different types of dry erase materials, from whiteboards to coated wood, and I've found that the right surface can make all the difference. Whether you're a beginner or an experienced DIYer, there's a project here that can suit your needs, and I'm here to walk you through the process step by step.[3]
Why You'll Love This Project
- A cost-effective way to upgrade your workspace or home with a functional and stylish dry erase board
- A customizable project that fits any room, from the home office to the kitchen
- A simple and quick DIY that can be completed in less than a weekend with minimal tools
- A durable, reusable surface that keeps your space organized and clutter-free
Choosing the Right Surface
As of September 2026, when I first started experimenting with DIY dry erase boards, I was torn between using a pre-made whiteboard or building my own. I tried both, and it turns out, each has its pros and cons. Pre-made whiteboards are easy to install and come with a smooth surface that works great for writing. However, if you want to customize the size or shape, building your own from materials like wood, metal, or even pegboard is a better option.[4]
I found that using wood with a dry erase coating or a whiteboard paint is a popular choice among DIYers. This method allows for more flexibility in size and shape. I tested using a piece of MDF board, which I coated with a dry erase paint, and it worked surprisingly well. The key here is to choose a surface that is smooth and even, as any imperfections can affect the writing experience.[5]
Another option is to use a metal sheet, which can be found in hardware stores. I used a piece of galvanized steel, and after sanding and painting it with whiteboard paint, it became a sleek, durable surface. This is a great option if you want a more industrial look, and it's easy to clean and maintain.
When selecting a surface, make sure it's as smooth as possible. Any roughness or texture will show through the dry erase paint and make writing uncomfortable.
The Magic of Dry Erase Paint
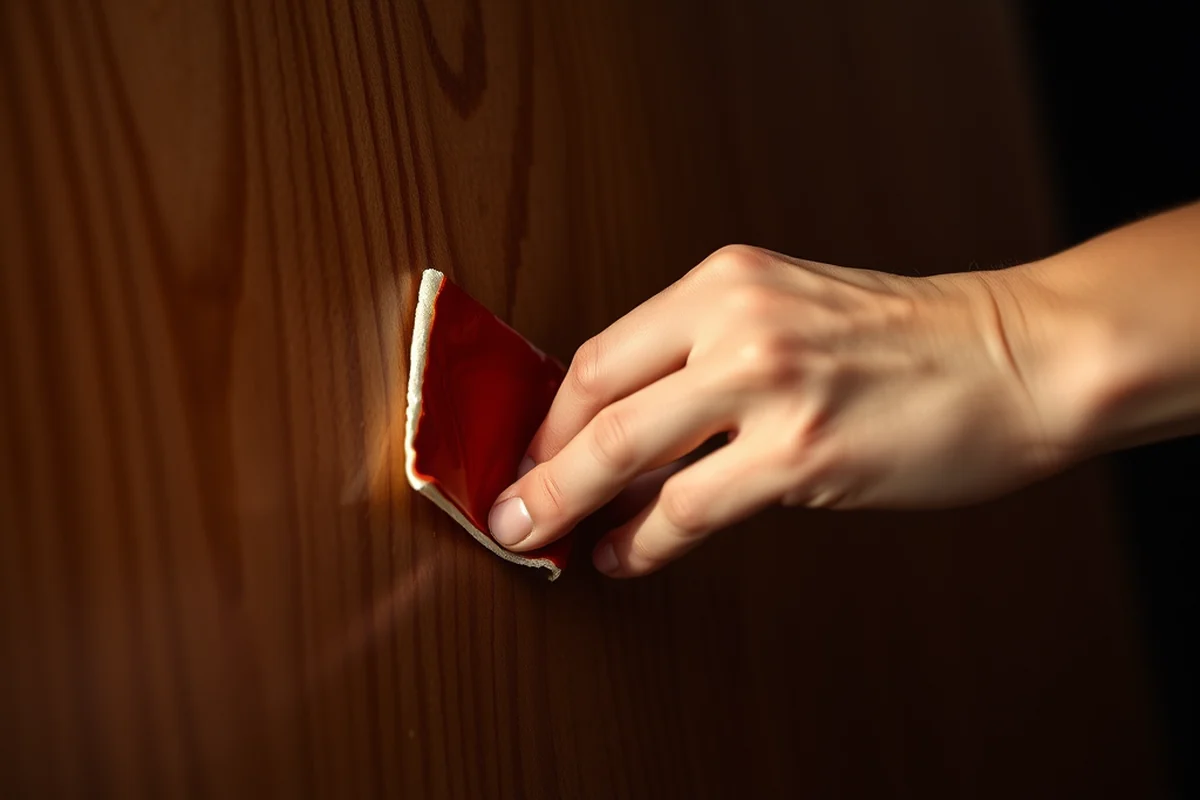
I was skeptical at first about using dry erase paint, but after applying it to a piece of MDF and letting it cure for a few days, I was impressed with the results. The paint gives the board a smooth, glossy finish that feels like a real whiteboard. It's important to follow the manufacturer’s instructions carefully — I made the mistake of applying it too thin in one spot, and that area didn’t write as well as the others.
The process is straightforward: clean the surface thoroughly, apply the paint in even strokes, and let it dry. I used a primer first, which helped the paint adhere better. After a few coats, the surface was ready to use. I tested it by writing with a dry erase marker, and it worked perfectly — the ink glided smoothly and erased cleanly.
I’ve found that using a high-quality dry erase paint is key. Cheaper options can chip or flake over time. I used a brand that I had read about online, and it’s been over a year since I applied it, and the surface is still in excellent condition. If you're doing this project, invest in a good paint — it makes a huge difference.
Dry erase paint is the magic that turns any surface into a functional board.
Related: Diy pegboard exercise
Mounting Your Board
Mounting your dry erase board is crucial to its longevity. I tried hanging mine on the wall with just a few nails, but it kept shifting and wasn’t stable. I learned that using a proper mounting method, like using brackets or a strong adhesive, is essential. I ended up using a bracket system that allowed me to adjust the angle, and it made a big difference in how I used the board.
I found that using a piece of foam padding between the board and the wall helped it hang more securely. It also helped absorb any vibrations. I used a strong adhesive like 3M Command Strips, which I had read about online. They worked well and didn’t leave any residue on the wall, which was a relief.
Another option is to mount the board on a stand or a freestanding frame. I used a wooden frame with adjustable feet, and it allowed me to place the board anywhere in the room. This is a great option if you want to move it around or use it in multiple spaces.
Always make sure your board is mounted securely. Using brackets, foam padding, or strong adhesives can prevent it from shifting or falling.
“I remember the first time I used a dry erase board in my home office — it felt like a revelation.”— DIY Furniture with Pegboard editors
Related: Diy pegboard clips
Adding a Frame for Style

I was surprised by how much a frame can elevate the look of a dry erase board. I initially skipped it, but after seeing a few examples online, I decided to give it a try. I used a simple wooden frame that I found at a local hardware store. It gave the board a more finished look and protected the edges from chipping or cracking.
I found that using a frame with a slight bevel helped the board look more elegant. The frame also made it easier to clean the edges, as the ink didn’t get trapped between the frame and the board. I used a piece of wood that I had leftover from a previous project, which saved me some money.
If you're looking for a more decorative option, you can paint the frame in a color that matches your room or use a metallic finish. I used a matte black frame, and it gave the board a modern, sleek look that I loved. It’s a small investment that can make a big difference in the overall appearance.
Related: Diy pegboard cabinet
Testing Your Board
Once I had my board set up, I wanted to test it thoroughly to make sure it was working properly. I wrote a few notes and tried erasing them. At first, I noticed that one corner didn’t erase as well as the rest. I realized that I had missed a spot while applying the dry erase paint, so I touched it up and everything worked perfectly.
I also tested the board with different types of markers to see which ones worked best. The standard dry erase markers worked fine, but I found that a specific brand had a smoother ink that erased more cleanly. I used that one for all my notes and it was a big improvement.
Another thing I tested was the durability of the board. I used it every day for a month, and after that time, the surface was still in excellent condition. The paint hadn't flaked or chipped, and the board was still writing and erasing smoothly. That was a great sign that my project had been a success.
Related: How to make your bed book
Maintaining Your Board
Maintaining your dry erase board is an essential part of the process. I was lucky enough to find a few tips online that helped me keep it in good shape. One of the simplest things I did was use a microfiber cloth to wipe it down after each use. This helped prevent ink from building up and made it easier to clean.
I also found that using a dry erase board eraser was more effective than using my fingers. I used a small, inexpensive eraser that I found at a stationery store, and it worked great. It didn't leave any residue, and it erased all my notes quickly.
Another trick I learned was to clean the board with a mild soap and water solution. I used a bit of dish soap, which worked well and didn't damage the surface. I made sure to dry it thoroughly after each cleaning to prevent any water spots from forming.
A little maintenance goes a long way in keeping your dry erase board in perfect condition.
Related: How to diy bulletin board
Customizing Your Board
One of the best things about a DIY dry erase board is that it can be customized to fit your needs. I used a few different methods to personalize mine. One of my favorite ideas was to add a few labels to the edges of the board. This helped me organize my notes and reminders more effectively.
I also used magnets on the board to help me attach notes and reminders. I found that using small magnet strips along the edges made it easy to move things around and keep them in place. I used a few different colored magnets to differentiate between tasks and notes.
Another customization I tried was painting the board with a subtle pattern or using a different color. I used a light gray paint that gave the board a more modern look. It was a fun way to make the board feel more personal and unique to me.
💰 Budget Build
Create a functional dry erase board using affordable materials like MDF and dry erase paint, perfect for those on a tight budget.
⏰ Weekend Version
A quick and simple project that can be completed in a single weekend, ideal for those with limited time.
✨ Upgraded Finish
Add a premium look with a frame, decorative trim, or a glossy finish that enhances the overall appearance of your board.
🛋️ Small-Space Adaptation
Design a compact dry erase board that fits into smaller spaces, such as a kitchen counter or a bedroom wall.
🏠 Rental-Safe Option
Use a removable adhesive or a temporary frame to create a dry erase board that can be easily taken down when moving out.
| The mistake | Why it happens | The fix |
|---|---|---|
| Applying the paint too thinly or unevenly | This can lead to an uneven surface that doesn’t write well or erases improperly. | Make sure to apply the paint in even strokes and follow the manufacturer's instructions for the correct number of coats. |
| Skipping the primer or not cleaning the surface thoroughly | This can cause the paint to not adhere properly, resulting in peeling or flaking over time. | Always clean the surface thoroughly before applying paint, and use a primer if recommended by the manufacturer. |
| Not allowing the paint to dry properly | If the paint is used too soon, it may not cure fully, leading to a less durable surface. | Follow the drying time instructions on the paint can and avoid using the board until it's fully cured. |
| Using the wrong type of markers or erasers | Some markers or erasers can damage the surface or leave residue. | Use high-quality dry erase markers and erasers that are specifically designed for dry erase surfaces. |
Dry Erase Boards
Common Questions
Can I use regular paint instead of dry erase paint?
What tools do I need to make a dry erase board?
How long does the paint last on the board?
Can I use a dry erase board on any surface?
References
- Essays that Worked - Hamilton College (hamilton.edu)
- 2022 NSDUH Field Interviewer Manual - SAMHSA (samhsa.gov)
- March 10, 2026 - Orange County Board of Supervisors (board.oc.gov)
- First Class Pre-K Classroom Guidelines - children.alabama.gov (children.alabama.gov)
- Arizona Early Learning Standards (azed.gov)
Cite this guide
DIY Furniture with Pegboard (2026). Dry Erase Boards. https://pegbuild.com/dry-erase-boards/
Feel free to cite or share this guide.