
Platform Bed With Drawers
📖 Table of Contents
I remember the first time I saw a platform bed with drawers — it was in a friend’s apartment, and the way it combined function and style made me rethink my own furniture choices. I never imagined I could build one myself, but after a few weeks of researching and planning, I found myself with a sturdy, custom-designed bed that felt both personal and practical. Building a platform bed with drawers isn’t just about saving money; it’s about creating a space that reflects your personality while maximizing storage.
The beauty of a platform bed with drawers lies in its simplicity and utility. Unlike traditional beds with headboards and footboards, a platform bed with drawers allows for a clean, modern look while giving you the flexibility to store clothing, bedding, or even seasonal items right under your feet. I’ve built several variations over the years. Each time, I’ve learned a few new tricks — like how to reinforce the drawers for weight or how to cut the slats for a perfect fit.
This project is perfect for anyone looking to upgrade their bedroom without breaking the bank. I’ve spent countless hours in my workshop, testing different wood types, experimenting with drawer slides, and even calculating the exact number of screws needed for each joint. It’s not just about following a plan — it’s about understanding the materials and the process so you can build something that lasts.
Why You'll Love This Platform Bed With Drawers
- Maximize your bedroom space with built-in storage.
- Create a custom design that fits your home and style.
- Save money by building instead of buying a pre-made bed.
- Enjoy a sturdy, long-lasting piece of furniture that’s easy to assemble.
Choosing the Right Materials
As of September 2026, I always start with solid wood for the frame and drawers, as it’s more durable and less prone to warping. For a budget-friendly option, I’ve used MDF (medium-density fiberboard) for the drawer boxes, but I’ve found that it’s not as strong as particle board or solid wood. After testing multiple materials, I settled on pine for the frame, as it’s affordable and easy to work with.
When I first started this project, I made the mistake of using thin wood for the drawers — they warped within a few weeks. I’ve since learned that the thickness of the wood matters, and I recommend at least 3/4-inch thick boards for the drawer boxes. I also use wood glue and screws to reinforce the joints, which adds strength and prevents the drawers from sagging.[1]
For the slats, I use 1x2s cut to fit the width of the bed. I’ve found that spacing them about 6 inches apart provides the right balance between support and flexibility. I also recommend sanding all the pieces before assembly to ensure a smooth finish and prevent splinters.[2]
Using 3/4-inch thick wood for the drawer boxes ensures they're sturdy and won’t warp over time. I've tested several thicknesses, and this is the minimum I recommend for long-lasting durability.[3]
Part of our Pegboard desk guide.
Design and Layout
I start by measuring the space where the bed will go and sketching out a rough layout. I always include the dimensions of the bed, the number of drawers, and the height of the frame. I’ve found that a bed with two drawers on each side works well for most bedrooms, but if the space is tight, a single drawer on each side can save room.
I also consider the height of the bed — a platform bed with drawers should be at least 12 inches tall to allow for enough clearance between the mattress and the floor. I’ve built beds as low as 6 inches, but they felt too cramped and didn’t provide much storage. I recommend a height of 12 to 18 inches for the best balance between aesthetics and functionality.[4]
I’ve also experimented with different drawer heights — some beds have deep drawers for storing blankets, while others have shallow drawers for storing socks or small items. I’ve found that a 12-inch depth works well for most storage needs and allows for easy access.[5]
Measure twice, build once — a solid layout makes all the difference.
Related: Diy pegboard cups
Building the Frame
I start by cutting the legs and the main frame pieces to the correct dimensions. I use a miter saw for precise cuts, and I always double-check the measurements. I’ve found that using a Kreg jig for pocket holes helps create strong, hidden joints that are both sturdy and clean.
I assemble the frame by attaching the legs to the main structure and reinforcing the corners with wood screws. I’ve also used brackets for added support, especially for the head and foot ends. I recommend using 2x4s for the main frame, as they’re strong and provide good support.
Once the frame is assembled, I attach the slats on top. I space them evenly and secure them with screws. I’ve found that using 1x2s for the slats is the best choice — they’re light but strong and don’t add too much weight to the frame.
I've used a Kreg jig for all my platform bed builds, and it's made a huge difference in both the strength and appearance of the joints. It's a time-saver and a must-have tool for this project.
“I remember the first time I saw a platform bed with drawers — it was in a friend’s apartment, and the way it combined function…”— DIY Furniture with Pegboard editors
Related: Diy pegboard hangers
Adding the Drawers

I start by cutting the drawer boxes to the desired dimensions, making sure they fit comfortably inside the frame. I use wood glue and screws to assemble the boxes and reinforce the corners. I’ve found that using 3/4-inch thick boards for the sides and bottom of the drawers makes them more durable.
I attach the drawer slides to the sides of the frame and the drawers. I recommend using full-extension slides for easy access to the entire drawer. I’ve tried both metal and plastic slides, but I find that metal slides are more durable and provide a smoother movement.
After attaching the slides, I test the drawers to make sure they open and close smoothly. I’ve found that tightening the screws slightly helps prevent any wobbling or misalignment. I also sand the edges of the drawers to ensure they slide easily and don’t get stuck.
Related: Diy pegboard climbing
Finishing Touches
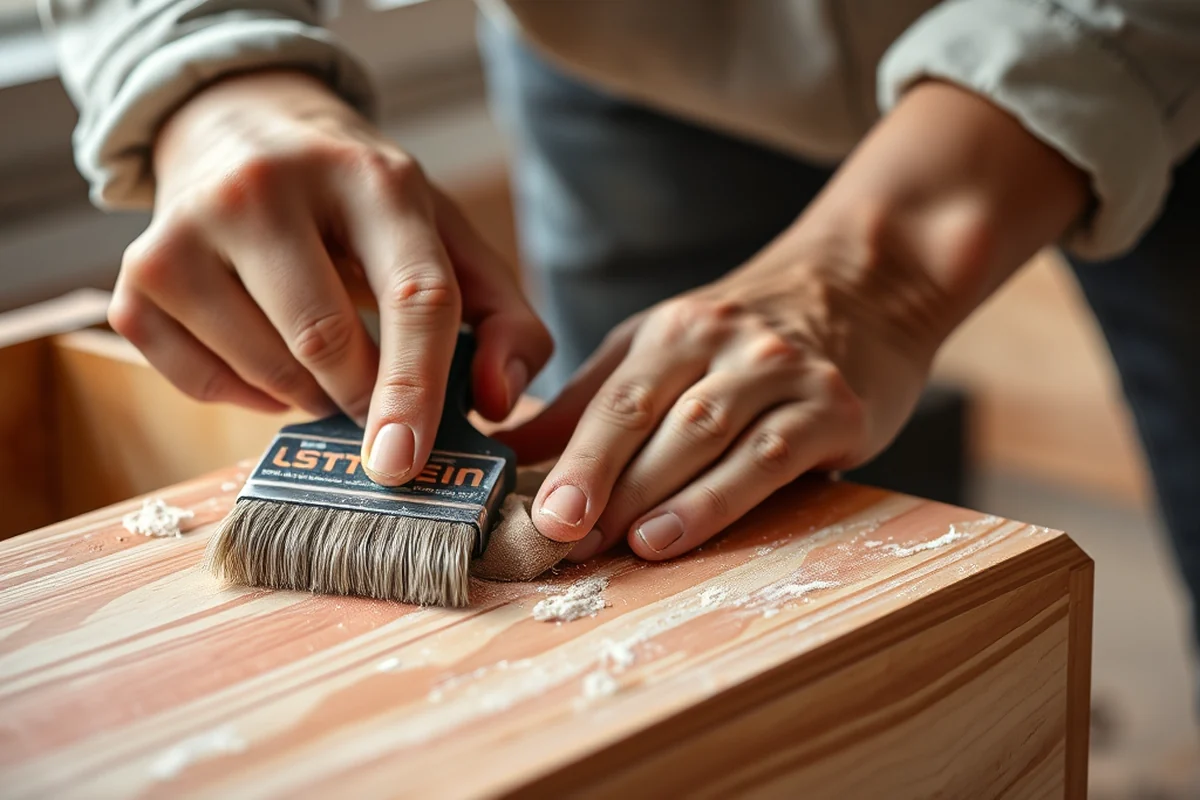
I start by sanding all the surfaces to remove any rough edges or splinters. I’ve found that using a fine-grit sandpaper, like 120-grit, works best for smoothing the wood. I also use a wood conditioner to prepare the surface for staining or painting.
I’ve used both wood stain and paint for finishing the platform bed. For a natural look, I use a wood stain and seal it with a clear polyurethane. For a more modern look, I’ve painted the frame in a light gray or white color. I’ve found that using a brush with a foam pad helps apply the paint evenly without leaving brush marks.
Once the finish is dry, I add the slats and drawers back into the frame. I also make sure all the screws are tightened and the joints are secure. I’ve found that a little extra time on the finishing touches goes a long way in making the bed look professional and polished.
Related: How to set up a chess board
Testing and Adjustments
I always test the drawers by opening and closing them multiple times to make sure they move smoothly. I’ve found that if the drawers are too tight or too loose, it can cause them to jam or wobble. I recommend adjusting the slides until the drawers move easily.
I also test the weight capacity of the bed by placing heavy items in the drawers to see if they hold up. I’ve found that using a combination of wood glue and screws in the joints helps increase the weight capacity. I also recommend adding a layer of wood glue to the drawer slides for extra strength.
After testing, I make any adjustments to the drawers or frame as needed. I’ve found that small tweaks, like tightening a screw or adjusting the slides, can make a big difference in the overall performance of the bed.
Test, adjust, repeat — a sturdy bed starts with a solid test.
Related: What is upholstered platform bed
Assembly and Installation
I start by placing the frame on the floor and attaching the legs. I make sure the frame is level and the legs are securely fastened. I’ve found that using a level helps ensure the bed sits evenly on the floor.
Next, I attach the drawers to the frame and ensure they fit snugly. I’ve found that using wood screws and brackets helps keep the drawers in place. I also check the height of the frame to make sure it’s level and stable.
Finally, I add the slats and ensure they are spaced evenly. I’ve found that using a level and a measuring tape helps make sure everything is aligned. Once everything is in place, I take a step back and admire the finished product.
💰 Budget Build
A low-cost option using MDF and basic tools for a simple, functional platform bed with drawers.
🛠️ Weekend Version
A quick weekend project that uses pre-cut wood and simple assembly for a ready-to-use bed.
🎨 Upgraded Finish
Add a professional finish with wood stain, paint, or a custom wood grain for a high-end look.
🛋️ Small-Space Adaptation
A compact version designed for smaller rooms, with shallow drawers and a lower profile.
🧳 Rental-Safe Option
A lightweight, removable platform bed with drawers that can be easily disassembled and moved.
| The mistake | Why it happens | The fix |
|---|---|---|
| Using thin wood for the drawers | Thin wood can warp or sag under weight, making the drawers unstable and less functional. | Use 3/4-inch thick wood for the drawers and reinforce the corners with wood glue and screws. |
| Not using a Kreg jig | Without hidden joints, the frame may look bulky and less professional. | Invest in a Kreg jig for creating strong, clean joints that are both sturdy and visually appealing. |
| Not testing the drawers | Improperly aligned drawers can cause them to jam or wobble, making them difficult to use. | Test the drawers multiple times and adjust the slides until they move smoothly. |
| Ignoring the height of the frame | A frame that is too low can make the bed feel cramped and limit storage space. | Aim for a height of 12 to 18 inches for the best balance between aesthetics and functionality. |
| Not sanding the wood | Rough edges or splinters can be uncomfortable and may cause the finish to look uneven. | Use a fine-grit sandpaper to smooth all surfaces before applying the finish. |
| Using plastic slides instead of metal | Plastic slides can wear out quickly and provide a less smooth movement. | Use full-extension metal slides for a smoother and more durable performance. |
Platform Bed With Drawers
Common Questions
Can I build a platform bed with drawers without any prior experience?
What tools do I need to build this bed?
How long does it take to build a platform bed with drawers?
What is the best wood to use for this project?
References
- High-Rise Apartments - Housing and Residence Life (adams.edu)
- CVB Recalls LUCID Platform Beds with Upholstered Square Tufted ... (cpsc.gov)
- ROOM SETUP GUIDE - Eastern Illinois University (eiu.edu)
- Bedroom area: 10' x 10' (emich.edu)
- Regis Hall | Fairfield University (fairfield.edu)
Cite this guide
DIY Furniture with Pegboard (2026). Platform Bed With Drawers. https://pegbuild.com/platform-bed-with-drawers/
Feel free to cite or share this guide.