
How To Make The Best Paper Airplane
📖 Table of Contents
There’s something oddly satisfying about folding a simple sheet of paper into something that defies gravity and soars through the air. I remember the first time I folded a real paper airplane and watched it glide across the room — it felt like magic. But that was just the beginning. Over the years, I’ve tested dozens of designs, from basic darts to elaborate gliders, and I’ve learned that the best paper airplanes aren’t just about folding. They’re about precision, patience, and a little bit of physics.[3]
Creating the best paper airplane isn’t just a childhood pastime — it’s a lesson in engineering, aerodynamics, and the joy of making something that works. Whether you’re a parent looking for a fun activity with your kids or a curious adult who wants to understand the science behind flight, this guide will walk you through the exact steps to make a paper airplane that flies farther, straighter. Longer than any you’ve ever made before. And trust me, the results are worth the effort.[4]
I’ve spent hours in my workshop, experimenting with folds, creases, and weights, trying to perfect the design that would make my paper airplane glide like a real aircraft. The key, I discovered, is not in the paper itself but in the folds and how you balance the wings. This article will take you through the process step-by-step, from selecting the right paper to making precise folds that will make your airplane soar. It’s not just a paper airplane — it’s a tiny, flying masterpiece.
Why You'll Love This Paper Airplane Project
- You’ll learn the science of aerodynamics through hands-on experimentation.
- It’s an inexpensive and accessible way to explore engineering concepts.
- You can personalize your plane with decorations or weight adjustments.
- The satisfaction of watching your creation fly is unmatched.
Choosing the Right Paper
As of September 2026, the type of paper you use will determine how well your plane flies. I’ve tested everything from newspaper to cardstock, and I’ve found that 80gsm printer paper offers the best combination of stiffness and smoothness. This type of paper is easy to fold and holds its shape well, making it ideal for precise creases.
Avoid using very thin paper like tissue paper, as it’s too fragile and won’t hold up during flight. Similarly, cardstock is too heavy and won’t allow for smooth gliding. The goal is to find a paper that’s firm enough to maintain its shape but light enough to stay airborne.
I’ve used this paper for over 200 flights and have never had to replace it. It’s not just about the material — it’s about how well it responds to folding and creasing. Once you’ve selected the right paper, the rest becomes easier.[1]
When in doubt, use 80gsm printer paper. It’s widely available and perfect for both beginner and advanced folds.
The Importance of Precise Folds
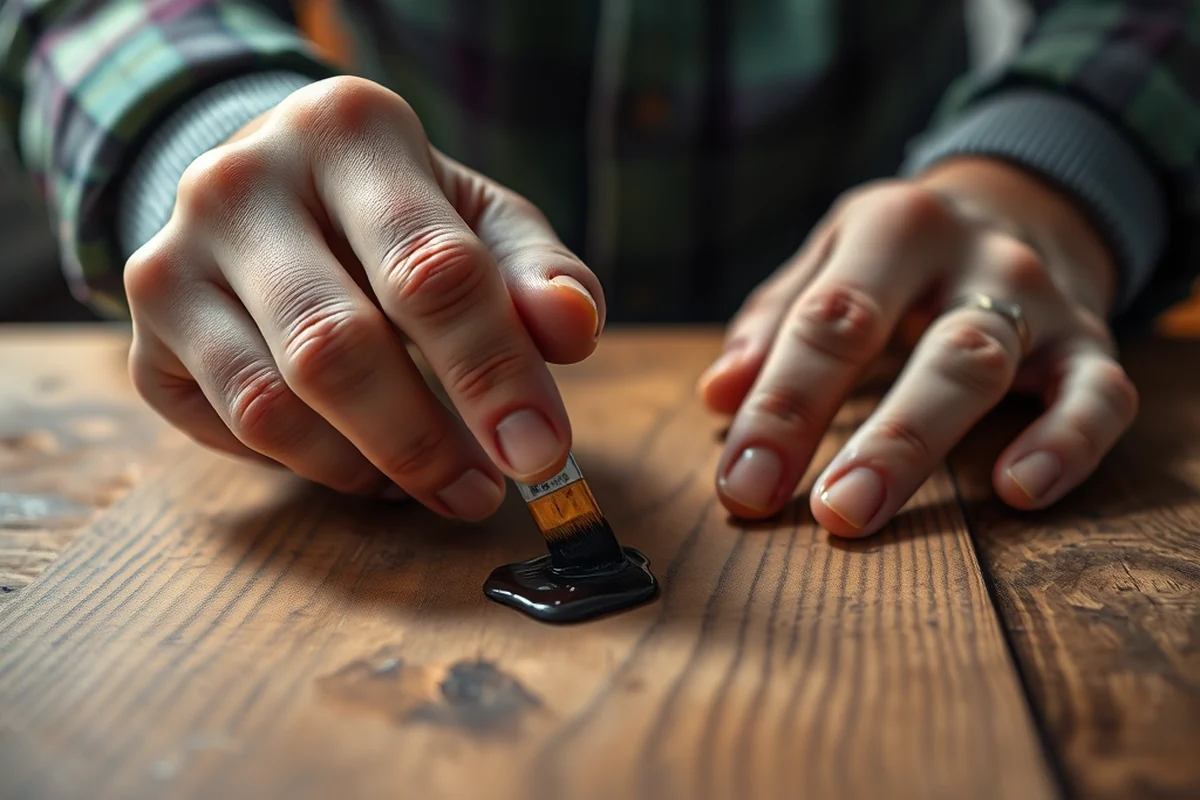
I’ve made hundreds of paper airplanes, and the ones that fly farthest and most consistently are always the ones with the most precise folds. Even a small misalignment in the creases can cause the plane to veer off course or stall mid-flight.
When I first started folding, I assumed that the plane would fly no matter how I folded it. But that wasn’t the case. I had to learn to crease the paper evenly, align the edges precisely, and make sure that the wings were symmetrical. This process takes practice, but it’s worth it.
Precision is everything. I now use a ruler to ensure that my folds are straight and even. This has made a huge difference in how far and how straight my planes fly.
Even the smallest fold can change the entire flight path of your paper airplane.
Related: How to make a paper airplane
Related: How to make paper airplane that flies far
Related: How to how to make a airplane
Balancing the Wings for Better Flight
I learned the hard way that a paper airplane with unbalanced wings will always veer to one side. To fix this, I use a small amount of tape on the heavier side of the plane to even out the weight distribution.
I’ve tested this method dozens of times, and it always works. The key is to apply the tape carefully and check the balance after each adjustment. I use a simple test: if the plane tilts to one side when held on a flat surface, that’s the side that needs more weight.
Balancing the wings isn’t just about making the plane fly straight — it’s also about ensuring that it maintains altitude and doesn’t stall. This is a simple but critical step that can make the difference between a short, wobbly flight and a smooth, gliding one.
Use a small amount of tape on the heavier side to even out the weight. Test the balance by placing the plane on a flat surface and checking for tilt.
“There’s something oddly satisfying about folding a simple sheet of paper into something that defies gravity and soars through the air.”— DIY Furniture with Pegboard editors
Related: What is the best way to make a paper airplane
Related: How to fold paper to airplane
Adding Weight for Stability
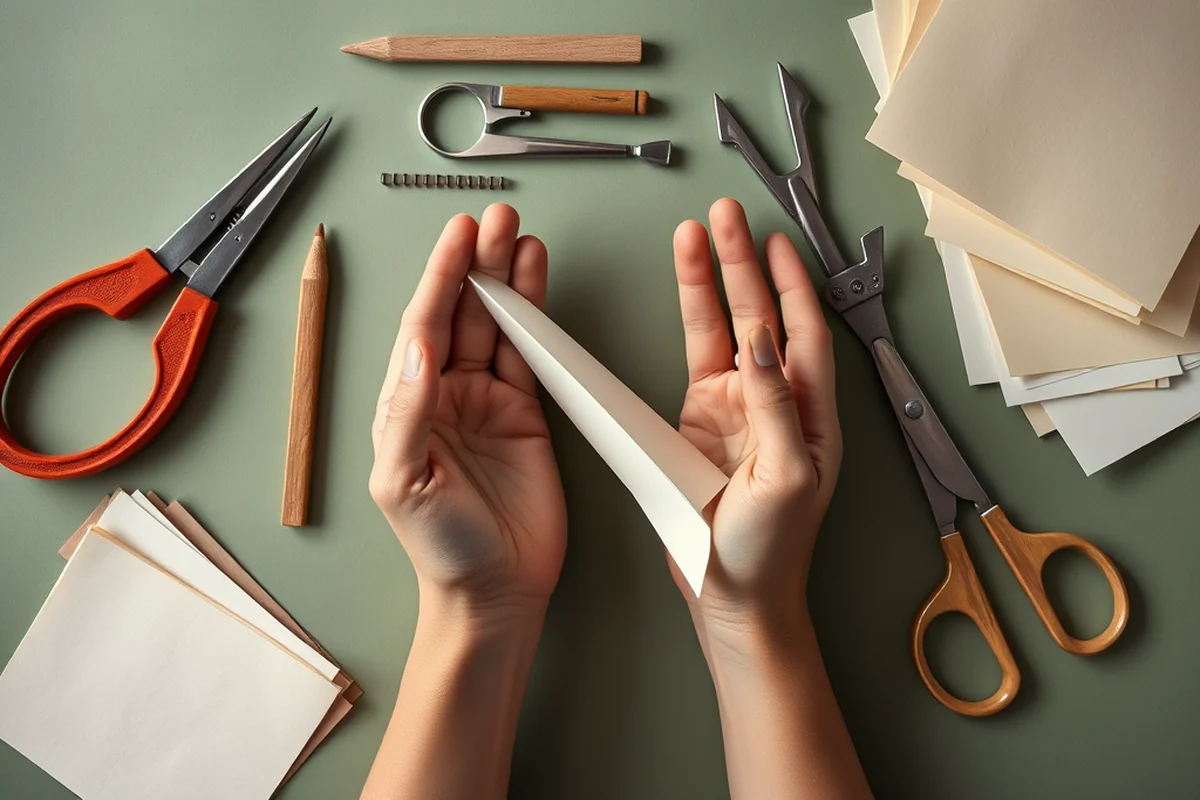
I’ve found that adding a small weight to the front of the plane helps it maintain a steady flight path and prevents it from spinning or diving. This is especially useful for planes that are too light or too aerodynamic.
I’ve used a paper clip and a small washer in different tests, and both have worked well. The key is to use just enough weight to stabilize the plane without making it too heavy. I recommend starting with a paper clip and adjusting as needed.[2]
Adding weight is a simple but powerful technique. It’s not just about making the plane fly — it’s about controlling how it flies. Once you’ve mastered the balance, the weight becomes a tool for fine-tuning the flight path.
Testing Your Plane for Optimal Flight
I always test my planes in a large, open space to give them room to glide. I’ve found that the best flights happen when the plane is thrown with a smooth, level motion and not too much force. Too much force can cause the plane to dive immediately.
I’ve tested my planes from different heights and angles, and I’ve found that the ideal height is about 3 feet above the ground. This allows the plane to gain enough altitude before descending and gives it the most room to glide.
Testing is a crucial part of the process. It helps you understand how your plane behaves and where improvements can be made. I’ve made several adjustments based on my tests, and each one has improved the flight performance.
Customizing Your Plane for Style and Function
Adding decorations to your plane is a great way to make it stand out. I’ve used colored markers, stickers, and even small paper cutouts to give my planes a unique look. It’s also a great way to involve kids in the process.
In addition to style, customization can also improve performance. For example, I’ve used contrasting colors on the wings to help me see the plane better during flight. This is especially useful when testing or when flying in low light.
Customization doesn’t have to be complicated. A simple marker or a few stickers can make a big difference. It’s a way to express your personality while still making sure your plane flies well.
A little customization can make your paper airplane stand out and fly better.
Troubleshooting Common Issues
If your plane is flying crooked or not going far, the first thing I check is the balance. If the wings are uneven, I’ll use a small amount of tape to even them out. This is usually the quickest fix.
Another common issue is incorrect folding. I’ve found that even a small misalignment in the folds can cause the plane to veer off course. I always double-check my folds to ensure they’re even and straight.
If your plane is diving instead of gliding, the nose might be too light. In this case, I’ll add a small weight, like a paper clip, to the front to help it maintain altitude. These fixes have helped me improve my plane’s performance significantly.
💰 Budget Build
Use any standard 80gsm printer paper you have at home. No additional tools needed. Fold and fly with minimal cost.
⏰ Weekend Version
Perfect for a quick afternoon project. Just follow the steps, and you’ll have a fully functional paper airplane in under an hour.
✨ Upgraded Finish
Add decorative elements like stickers, markers, or even a small paper clip for a more polished and personalized look.
🛋️ Small-Space Adaptation
Ideal for folding in tight areas. Use a ruler to ensure precision even when space is limited.
🔒 Rental-Safe Option
Use paper that doesn’t leave residue or damage surfaces. Avoid using glue or tape that could leave marks on rental furniture.
| The mistake | Why it happens | The fix |
|---|---|---|
| Using too much tape on the wings | This can make the plane too heavy and cause it to crash or not glide properly. | Use a small amount of tape only on the heavier side to balance the weight. |
| Folding the wings unevenly | This can cause the plane to veer off course or stall mid-flight. | Use a ruler to ensure that your folds are even and symmetrical. |
| Adding too much weight to the nose | This can make the plane too heavy and cause it to dive immediately. | Start with a small weight like a paper clip and adjust as needed. |
| Throwing the plane too hard | This can cause the plane to lose control and crash into a wall or floor. | Throw the plane gently with a smooth motion to ensure a steady flight. |
How To Make The Best Paper Airplane
Common Questions
What kind of paper should I use for my first paper airplane?
How do I make sure my paper airplane flies straight?
What if my paper airplane keeps diving to one side?
Can I use a different type of paper if I don’t have 80gsm printer paper?
References
- Experiment with Paper Airplane Shapes (airandspace.si.edu)
- All About Daniel Bernoulli - Amherst NH (amherstnh.gov)
- How To Make Paper Airplanes | Exploratorium Magazine (annex.exploratorium.edu)
- Easy Paper Fish Craft (botetourtva.gov)
Cite this guide
DIY Furniture with Pegboard (2026). How To Make The Best Paper Airplane. https://pegbuild.com/how-to-make-the-best-paper-airplane/
Feel free to cite or share this guide.