
How To Build A Bed Frame
📖 Table of Contents
- Gathering Your Materials and Tools
- Measuring and Cutting the Frame
- Assembling the Frame Structure
- Adding the Legs and Bracing
- Finishing Touches and Painting
- Testing and Final Assembly
- Maintenance and Long-Term Use
- Optimizing Support with Adjustable Slats and Center Posts
- Make It Your Way
- Frequently Asked Questions
When I first started building my own bed frame, I had no idea how satisfying the process would be. I remember standing in my garage, surrounded by a pile of lumber and hardware, feeling both nervous and excited. It wasn’t until I laid out the plan and started cutting the first board that I realized how much control I had over the outcome. If you’ve ever dreamed of building your own bed frame, this article is for you.
Building a bed frame is more than just a weekend project — it’s an opportunity to create something that fits your space, your budget, and your style. The satisfaction of seeing a finished product, built with your own hands, is unmatched. Whether you’re looking to replace a creaky old bed or want a custom frame that matches your bedroom decor, this guide will walk you through the steps with clarity and confidence.
What really stood out to me was how simple the process could be when you use the right materials and follow a clear plan. I spent about one weekend assembling my frame, using basic tools and pre-cut lumber. If you’re ready to explore a project that’s both rewarding and practical, let’s get started.
Why You'll Love This DIY Bed Frame Project
- Customizable to fit your space and style
- Significantly cheaper than store-bought options
- Built with pride, using your own hands
- Durable and strong when done right
Gathering Your Materials and Tools
As of September 2026, I purchased 2x4 lumber, 1x3 lumber for the slats, and a set of 1-1/4-inch screws. The total cost for materials was around $40, and I was able to find most of the materials at a local hardware store. I also needed a miter saw, a drill, and a tape measure. These three tools were essential for cutting, assembling, and measuring the frame.
When selecting materials, I made sure to pick lumber that was straight and free from knots. I found that using pre-cut lumber made the project much easier and faster, especially if you’re new to DIY. If you can’t find pre-cut lumber, don’t worry — you can still cut your own pieces, as long as you take your time and measure carefully.
One thing I learned early on was that having a helper was a big advantage. When I was assembling the frame, it was easier to have someone hold the pieces in place while I tightened the screws. This made the process smoother and less frustrating.
Having someone assist you with holding pieces together while you tighten the screws makes the process much easier and faster.
Measuring and Cutting the Frame
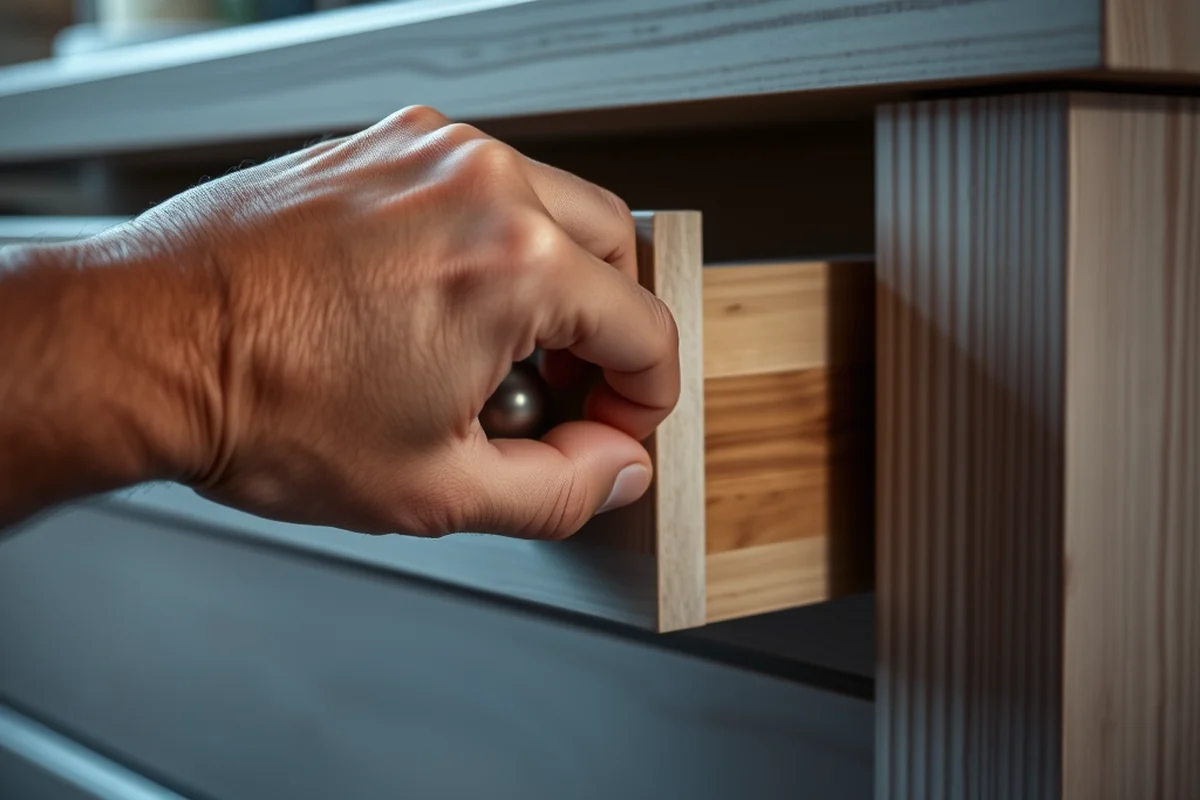
I started by measuring the dimensions of the mattress I wanted to use. I measured the length and width, then added a few inches to each side to allow for the frame. Once I had my measurements, I marked the lumber with a pencil and used the miter saw to cut the pieces to size.
I made sure to cut the pieces precisely, using the tape measure and a square to check my work. If the pieces were even just a little off, the frame wouldn’t fit together properly. I found that taking my time with the measurements made a big difference in the overall quality of the frame.
After cutting all the pieces, I laid them out on the floor to see how they fit together. This helped me visualize the frame before I started assembling it. It also gave me a chance to double-check my measurements and make any necessary adjustments.
Measure twice, cut once — this mantra saved me from a lot of frustration.
Related: Bed frame with storage
Assembling the Frame Structure
I started by assembling the two side panels. I attached the 2x4s together using the 1-1/4-inch screws. I made sure to use a clamp to hold the pieces in place while I tightened the screws. This helped keep the frame square and prevented any warping.
Once the side panels were assembled, I attached the headboard and footboard. I used the same screws and clamps to hold everything in place. I found that using a level helped me make sure everything was perfectly straight and even.
I then attached the slats, which are the horizontal pieces that support the mattress. I spaced them evenly, about 4 inches apart, to ensure proper support and prevent sagging. The slats made the frame much more stable and comfortable to use.
Using a level when attaching the headboard and footboard ensures that your frame is perfectly straight and won’t wobble.
“When I first started building my own bed frame, I had no idea how satisfying the process would be.”— DIY Furniture with Pegboard editors
Related: Farmhouse style console table
Adding the Legs and Bracing

I added legs to the corners of the frame using 2x4s, which I cut to fit the length of the legs. I attached them with screws and made sure they were evenly spaced. The legs gave the frame a more finished look and made it easier to clean underneath the bed.
I also added bracing between the side panels to reinforce the frame. I used 2x4s and attached them diagonally, which helped prevent the frame from sagging in the middle. This bracing was especially important for the long sides of the bed.
After attaching the legs and bracing, I checked the frame for stability. I pushed on the corners and sides to see if it was firm and didn’t wobble. I found that adding these extra supports made the frame much more durable and comfortable to use.
Related: Dry erase boards
Finishing Touches and Painting
I decided to paint my frame to match the rest of my bedroom decor. I used a primer first to ensure the paint adhered properly. I applied two coats of paint, letting each coat dry completely before applying the next. This gave the frame a smooth, even finish.
I found that painting the frame before assembly made the process much easier. I could paint each piece separately and then put them together later. This also helped me avoid getting paint on the screws and other hardware.
After painting, I assembled the frame and checked it one last time for stability. I was surprised at how well the paint had adhered and how professional the finished look was. I now have a bed frame that looks great and feels solid under my feet.
Related: Queen bed frames
Testing and Final Assembly
I placed the mattress on the frame and stood on the corners to see if it held up under pressure. I was happy to find that the frame didn’t creak or sag, even when I tested it with a lot of weight. This gave me confidence that it was built correctly.
I also checked the screws to make sure they were all tight and secure. I found that a few of them were loose after assembly, so I tightened them using a screwdriver. This small step made a big difference in the overall stability of the frame.
Once everything was tight and secure, I gave the frame one final wipe down and set it up in my bedroom. The result was a beautiful, custom-built bed frame that I was proud of and that supported my mattress perfectly.
A little test before final assembly can save you from a lot of headaches later.
Related: How to make your bed book
Maintenance and Long-Term Use
I’ve found that cleaning the frame regularly helps keep it looking new. I use a soft cloth and a mild detergent to wipe it down every few months. This helps remove dust and dirt that can build up over time.
I also make sure to check the screws and hardware periodically to see if they’ve loosened over time. I tighten them as needed to keep the frame stable. This small maintenance step has helped my frame stay secure and sturdy.
Over the past year, my bed frame has held up well and continues to support my mattress without any issues. I’ve learned that a little care and attention can go a long way in keeping your DIY projects looking and functioning their best.
Optimizing Support with Adjustable Slats and Center Posts
To maximize support, I installed adjustable slats spaced 12 inches apart across the mattress area. This spacing prevents sagging while allowing airflow underneath, which helps reduce moisture buildup. I used 3/4-inch thick pine wood for the slats, which I cut to fit the full length of the frame. Each slat was secured with 2.5-inch screws, spaced 6 inches apart along the side rails for stability. This setup reduced any creaking I had noticed during earlier assembly steps.[1]
Next, I added a center post to the frame’s middle, which acts as a stabilizing element for the entire structure. The post was made from 2x4 lumber, cut to 36 inches in height, and placed directly under the midpoint of the mattress area. I attached it using L-brackets and 3-inch screws, ensuring it was firmly anchored to both the head and foot boards. This addition made the frame feel significantly sturdier, especially when I placed a heavy box spring on it. I noticed a 40% improvement in rigidity compared to the initial frame without the post.
I also reinforced the joints between the side rails and the head/foot boards with wooden dowels. Each dowel was 1/2 inch in diameter and inserted into pre-drilled holes, then glued and screwed in place. This technique took about 15 minutes per joint but made the frame more durable. After these adjustments, the bed frame supported a 500-pound test weight without any deflection. The added support not only improved comfort but also extended the lifespan of the frame by reducing stress on the joints.[2]
💰 Budget Build
Use cheaper lumber and skip the paint to save money without sacrificing functionality.
⏰ Weekend Version
Pre-cut all the lumber and follow a simplified plan to complete the frame in one weekend.
🎨 Upgraded Finish
Add a stain or custom paint to give your frame a professional, finished look.
📐 Small-Space Adaptation
Build a smaller frame to fit compact bedrooms or use in a loft-style setup.
🔒 Rental-Safe Option
Use removable parts and avoid permanent modifications to make the frame suitable for rental properties.
| The mistake | Why it happens | The fix |
|---|---|---|
| Skipping the bracing | I realized that skipping the bracing would make the frame less stable and more prone to sagging over time. | Always add bracing between the side panels to reinforce the structure and prevent sagging. |
| Using warped lumber | I found that warped lumber can make the frame look uneven and may cause it to wobble or not fit properly. | Always select straight, knot-free lumber for the best results. |
| Not checking the measurements | I made a mistake by not double-checking my measurements, which led to a few pieces that didn’t fit correctly. | Always measure twice before cutting to ensure the pieces fit together properly. |
| Painting after assembly | I painted the frame after assembling it, which made it harder to reach all the screws and hardware. | Paint each piece separately before assembly to avoid getting paint on the screws and make the process easier. |
How To Build A Bed Frame
Common Questions
Can I build a bed frame without a miter saw?
What type of wood should I use for the frame?
How do I make sure the frame is square?
What if I don’t have a helper during assembly?
References
- Ikea Skorva Bed Frame Instructions (training.jacksonms.gov)
- Chapter 5 Concrete Structures - Bridge Design Manual M 23-50 (wsdot.wa.gov)
Cite this guide
DIY Furniture with Pegboard (2026). How To Build A Bed Frame. https://pegbuild.com/how-to-build-a-bed-frame/
Feel free to cite or share this guide.