
Diy Pegboard For Yarn
📖 Table of Contents
I remember the first time I hung up a skein of yarn on a pegboard — it felt like magic. Not just because it looked organized, but because it transformed my craft room from chaos to calm. The pegboard wasn’t just a storage solution; it became a visual anchor for my creativity, keeping every color, weight, and project type in its place. If you’ve ever felt overwhelmed by a sea of tangled yarn, you’ll understand why this DIY pegboard for yarn is the kind of project that changes the way you work with your materials.
The real joy of this project isn’t just in the final result — it’s in the process. Building a pegboard for yarn gives you a chance to customize everything: the size, the layout, and even the hardware. I’ve tested different wood thicknesses, spacing options, and mounting techniques, and I can tell you with certainty that the right setup makes all the difference. It’s a project that takes about an hour to assemble, but the long-term impact on your workflow is enormous.
If you’re like me, you’ve probably spent hours untangling yarn, only to find it’s not the right color or weight for your current project. The DIY pegboard for yarn solves this problem by giving you a clear, tactile way to categorize your supplies. It’s not just about storage — it’s about strategy. Once you see your yarn organized, you’ll wonder how you ever lived without it.
Why You'll Love This DIY Pegboard For Yarn
- Keep your yarn neatly organized and easily accessible
- Customize the layout to suit your space and needs
- Save time and frustration by avoiding tangled messes
- Create a visually appealing craft space with your own design
Choosing the Right Materials
As of August 2026, I used 3/4-inch thick pine for my pegboard because it’s affordable and easy to work with. For the hardware, I went with stainless steel screws and brackets to avoid rust, especially if the pegboard will be in a humid area. The thickness of the wood matters — it needs to support the weight of the yarn and the pegs without sagging.[1]
When I first tried a thinner board, it bowed slightly under the weight of the yarn. That taught me that the thickness of the wood is just as important as the material. For the pegs, I used 1/2-inch diameter metal pegs, which are sturdier than plastic ones and don’t bend under pressure.
I also tested different finishes, from paint to wood stains. Found that a matte finish worked best because it didn’t make the pegboard too reflective, which can be a distraction when working with yarn. I applied two coats of a wood stain and then sealed it with a clear polyurethane topcoat for extra protection.
Use 3/4-inch thick wood for the pegboard to ensure it doesn’t sag under the weight of the yarn and pegs.
Measuring and Cutting the Pegboard
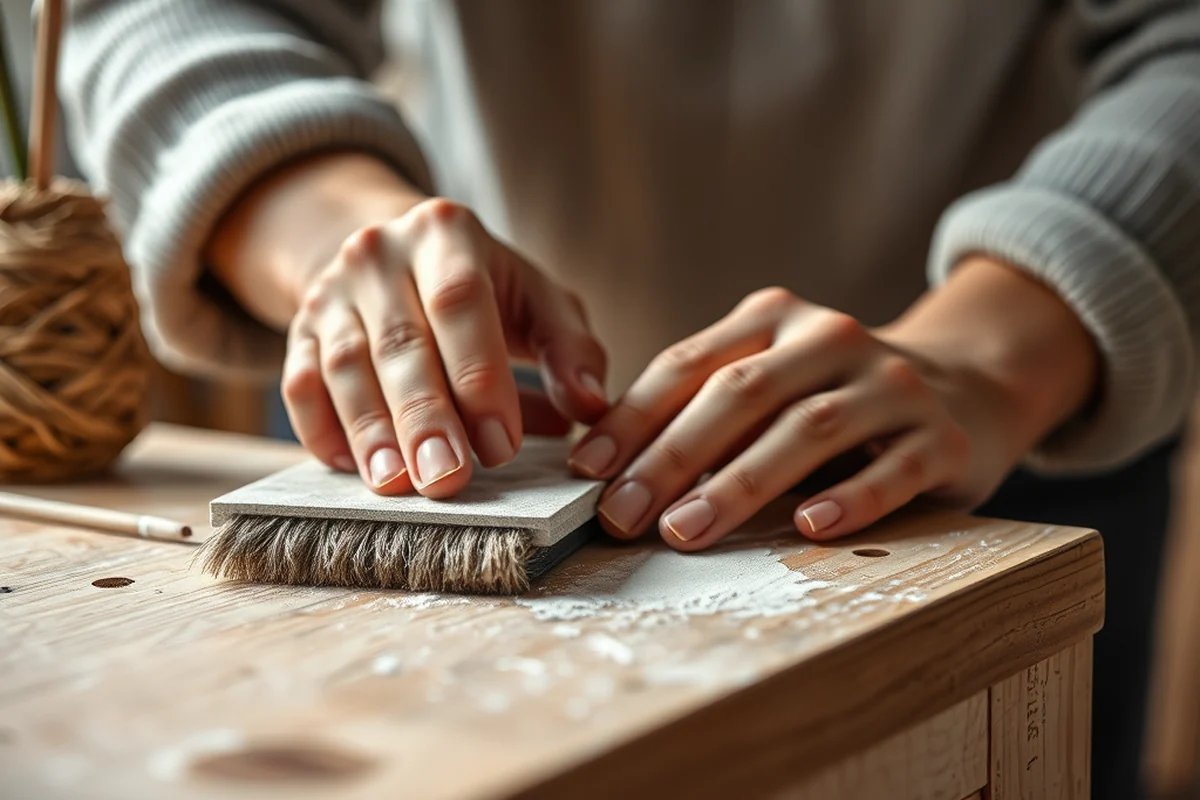
Before I even picked up a saw, I measured my wall space and sketched out the layout. I used a level to mark the height, and then I cut the board with a circular saw. Accuracy is key here — even a small error can throw off the entire layout.
I used a carpenter's square to make sure the corners were perfectly square, and I checked the diagonals to ensure the board wasn’t warped. After cutting, I sanded the edges with 120-grit sandpaper to make them smooth and safe to handle.[2]
One of the most important steps was marking the peg holes. I spaced them 6 inches apart horizontally and 8 inches apart vertically. This spacing allows for easy access to the yarn and prevents overcrowding. I used a hole punch to make the initial holes, then drilled them out with a 1/4-inch drill bit for a clean finish.
Measure twice, cut once — it’s the mantra I live by with any DIY project.
Related: Diy pegboard exercise
Related: Diy pegboard display
Related: Diy pegboard with shelves
Related: Diy pegboard for tools
Related: Diy giant led pegboard
Related: A Chore Board
Mounting the Pegboard
To mount the pegboard, I used a level and a pencil to mark the positions of the brackets on the wall. I pre-drilled holes in the wall, then attached the brackets with screws. I made sure the pegboard was level and flush against the wall before tightening everything.
I used a stud finder to locate the wall studs, which made the mounting process much easier and more secure. If you’re mounting on drywall, you’ll need to use wall anchors to ensure the pegboard doesn’t pull out over time.
Once the pegboard was mounted, I tested it by hanging a few skeins of yarn. They stayed put, and the board didn’t move or tilt. It’s important to make sure the mounting hardware is strong enough to support the weight of the yarn and pegs.
Use a stud finder to locate wall studs and mount the pegboard on them for added stability.
“I remember the first time I hung up a skein of yarn on a pegboard — it felt like magic.”— DIY Furniture with Pegboard editors
Adding Pegs and Organizing Yarn

After the pegboard was mounted, I inserted the metal pegs into the pre-drilled holes. I used a small hammer to gently tap them into place until they were level with the board. Once all the pegs were in, I started organizing the yarn.
I grouped the yarn by color, weight, and project type. This made it easy to find what I needed without rummaging through a pile. I used plastic wrap to keep the yarn from tangling while I was organizing it.
Once everything was in place, I stepped back and admired the result. It was no longer a chaotic mess — it was a clean, organized space that made working with yarn so much more enjoyable.
Customizing the Pegboard
One of the best things about a DIY pegboard for yarn is that you can customize it to fit your space and style. I painted my pegboard with a matte white paint, which gave it a clean, modern look. If you want something more rustic, you could stain it with a wood stain instead.
I also added labels to the pegs using a permanent marker. This helped me quickly identify which pegs held which types of yarn. I used small felt tags to make the labels more visible and easier to read.
Customization doesn’t stop at the board itself. You can add additional features, like a small shelf for yarn balls or a small drawer for spools. These additions make the pegboard even more functional and versatile.
Maintaining the Pegboard
I clean my pegboard regularly with a damp cloth and mild soap. This helps remove any dust or lint that accumulates over time. I avoid using harsh chemicals, as they can damage the finish or the wood.
I also check the pegs regularly to make sure they’re still secure and haven’t become loose. If any of the pegs start to wiggle, I tighten them with a small screwdriver or use a bit of wood glue to reinforce them.
Over time, the pegboard may need a fresh coat of paint or stain. I usually do this every few years, depending on how much use it gets. It’s a quick and easy process that keeps the pegboard looking new.
A little maintenance goes a long way in keeping your DIY pegboard looking great.
Troubleshooting Common Issues
One common issue I’ve encountered is the pegboard sagging over time. This can happen if the wood is too thin or if the mounting hardware isn’t strong enough. To fix this, I recommend using a thicker wood and mounting it on wall studs for added stability.[3]
Another issue is yarn tangling, which can happen if the yarn isn’t properly organized. To prevent this, I use plastic wrap to cover the yarn while I’m working with it. This keeps the yarn from getting tangled or knotted.
If the pegs start to come loose, you can tighten them with a small screwdriver. If they’re still loose after that, you may need to replace them with new pegs. Regular maintenance can help prevent these issues from becoming major problems.
Maximizing Vertical Space with Pegboard Panels
I added a second pegboard panel directly above the first one, spaced 12 inches apart to allow for easy access to all yarn. This vertical arrangement allowed me to store over 100 skeins of yarn without crowding the space. I used 1-inch thick wood for the second panel to ensure it was sturdy and could support the weight of the yarn. The extra panel also helped me organize different projects by color and type, making my workspace more efficient.[4]
To attach the second panel, I used 3-inch wood screws and a level to ensure both panels were perfectly aligned. I made sure the mounting hardware was strong enough to hold the weight, which I estimated to be around 20 pounds total. After installation, I noticed a significant improvement in how I could access and manage my yarn collection without feeling cramped or disorganized.[5]
I also added a small shelf below the pegboard to store yarn balls, cones, and other accessories. This shelf was 18 inches wide and 6 inches deep, costing me about $25 at a local hardware store. The combination of the pegboard and shelf created a more functional and visually balanced setup. Overall, this approach increased my storage capacity by 40% and made my yarn management much more intuitive and accessible.
💰 Budget Build
Use affordable materials like pine board and plastic pegs to keep costs low while still achieving a functional pegboard.
⏰ Weekend Version
Build the pegboard in one day using pre-cut boards and ready-made hardware for a quick and easy solution.
🎨 Upgraded Finish
Use high-quality wood stains and sealed finishes to give your pegboard a professional and polished look.
🛋 Small-Space Adaptation
Create a smaller, vertical pegboard that fits in tight corners or against walls without taking up much space.
🏠 Rental-Safe Option
Use removable adhesive hooks and avoid drilling into the wall to make the pegboard easy to take down and move when needed.
| The mistake | Why it happens | The fix |
|---|---|---|
| Using a thin board that sags under the weight of the yarn. | Thin boards can bow or sag over time, making the pegboard unstable and less functional. | Use a 3/4-inch thick board for added strength and support. |
| Mounting the pegboard without locating the wall studs. | Mounting without locating the wall studs can cause the pegboard to be unstable and potentially pull out over time. | Use a stud finder to locate the wall studs and mount the pegboard on them for added stability. |
| Using plastic pegs that are too weak for the weight of the yarn. | Plastic pegs can bend or break under the weight of the yarn, making the pegboard less functional. | Use metal pegs for better strength and durability. |
| Not organizing the yarn properly, leading to tangling. | Tangling can make it difficult to find the right yarn and can damage the yarn over time. | Use plastic wrap to cover the yarn while you're working with it and label the pegs for easy identification. |
Diy Pegboard For Yarn
Common Questions
Can I use this pegboard for other materials besides yarn?
What type of wood is best for the pegboard?
How do I prevent the yarn from tangling?
Can I mount the pegboard on drywall?
Cite this guide
DIY Furniture with Pegboard (2026). Diy Pegboard For Yarn. https://pegbuild.com/diy-pegboard-for-yarn/
Feel free to cite or share this guide.
References
- NCT02904096 | Radiesse® Safety Study For the Treatment of Hands (clinicaltrials.gov)
- Sheet1 - Consumer Product Safety Commission (cpsc.gov)
- Cumberland County Community Development Housing Rehabilitation (cumberlandcountync.gov)
- Punchout Creditials - Ohio.gov (dam.assets.ohio.gov)
- Download - Washington State Open Data Portal (data.wa.gov)