
Diy Pegboard Accessories
📖 Table of Contents
- What Are DIY Pegboard Accessories?
- How to Get Started
- Customizing Your Accessories
- The Benefits of DIY Pegboard Accessories
- Common Materials and Their Uses
- Troubleshooting Common Issues
- Where to Find Inspiration
- Incorporating Smart Storage Solutions into Pegboard Projects
- Make It Your Way
- Frequently Asked Questions
There’s something oddly satisfying about seeing your tools line up neatly on a pegboard — not just for organization, but for the way they look. I remember the first time I hung a pegboard on my garage wall; it felt like creating a shrine to all my DIY projects. It was messy, but that’s the charm of it. And the more I used it, the more I wanted to customize it with DIY pegboard accessories that made it feel like my own.
DIY pegboard accessories aren’t just about making your space look good — they’re about function and personality. I’ve made everything from custom tool holders to magnetic knife strips, and each time, I’ve learned a new way to maximize my wall space. Whether you're a seasoned DIYer or just getting started, there's always a new idea to try, and the best part is that it doesn’t cost a fortune.
I’ve spent countless hours experimenting with materials, tools. Techniques, and I’ve found that the right DIY pegboard accessories can transform a plain wall into a functional, beautiful hub for all your tools and craft supplies. It’s not just about saving space — it’s about making your work environment feel like an extension of your personality and creativity.
Why You'll Love This Project
- Customization that fits your unique tools and style
- Cost-effective way to upgrade your workspace
- Boosts efficiency and reduces clutter
- Adds a personal touch to your DIY environment
What Are DIY Pegboard Accessories?
As of August 2026, DIY pegboard accessories are items you can make to hang on a pegboard, like tool holders, drawer organizers, and magnetic strips. They’re designed to keep your tools and supplies neatly arranged and easily accessible.[1]
The beauty of DIY pegboard accessories is that you can tailor them to fit your specific tools and preferences. For instance, I made a custom wrench holder that fits all my wrenches perfectly, which was impossible to find in stores.
These accessories not only help you stay organized but also add a personal touch to your space. I’ve used scrap wood, metal, and even repurposed materials to create unique, one-of-a-kind pegboard accessories.
Use materials like wood, metal, or even plastic, depending on the weight of the tools you’ll be storing. I’ve found that wood is great for lightweight tools, while metal is better for heavier items.
Part of our Pegboard desk guide.
How to Get Started
I’ve found that the easiest way to get started is to gather the basics: a few screws, a drill, and some scrap wood. These items are usually on hand in most workshops or can be picked up cheaply at a hardware store.
Once you have the basics, you can start experimenting. I like to sketch out a rough idea of what I want before I start cutting. This helps avoid mistakes and ensures the final product fits perfectly on the pegboard.
Don’t be afraid to start small. Even a single custom pegboard accessory can make a big difference. I started with a simple tool holder and then gradually expanded my collection over time.
Start small, but start now — the results will surprise you.
Related: Diy pegboard bunnings
Related: Diy pegboard cups
Related: Diy pegboard bins
Related: Diy Pegboard Holders
Related: Diy pegboard storage ideas
Related: A Chore Board
Customizing Your Accessories
Customization is where the real magic happens. I’ve painted some of my pegboard accessories to match my workshop’s color scheme, and I’ve even added engraved initials to a few items for a personal touch.
You can also add features like drawers or shelves to your pegboard accessories to store smaller items. I made a drawer organizer that holds all my screws and nails, which has been a game-changer for my projects.
Another fun way to customize is by using different materials. I once made a pegboard accessory using old bicycle parts — it was not only functional but also a great conversation piece.
Think about what you need to store and how you’ll use the accessory. Adding a hook or a drawer can make a small pegboard accessory more versatile and useful.
“There’s something oddly satisfying about seeing your tools line up neatly on a pegboard — not just for organization, but for the way they look.”— DIY Furniture with Pegboard editors
The Benefits of DIY Pegboard Accessories
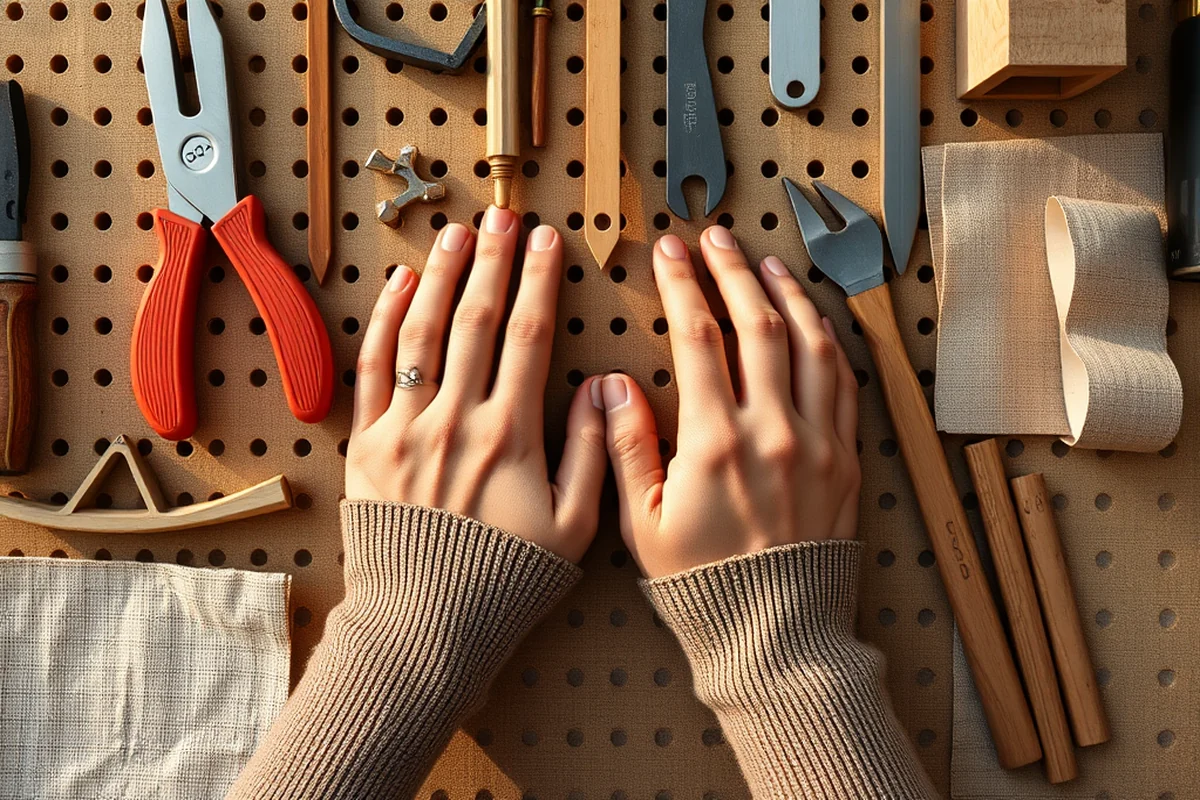
One of the biggest benefits is the cost. Store-bought pegboard accessories can be expensive, but with a little time and effort, you can create high-quality ones for a fraction of the price.
DIY pegboard accessories also give you the freedom to choose exactly what you want. I’ve made several different types of holders, each tailored to a specific need, which has helped me stay more organized in my workshop.
Lastly, the personalization aspect can’t be ignored. These accessories become part of your space, and that feeling of ownership makes your workshop feel more like home.
Common Materials and Their Uses
Wood is a common choice for DIY pegboard accessories because it's easy to work with and can be painted or stained to match your space. I've used scrap wood from old furniture projects to make several tool holders.
Metal is another great option, especially for heavier tools. I made a magnetic knife strip using sheet metal, and it holds up well even with frequent use.
Plastic is lightweight and affordable, but it's not as durable as wood or metal. I've used it for smaller items, like a drawer organizer for screws and nails.
Troubleshooting Common Issues
One common issue I've encountered is when the holes in the pegboard don't align with the holes in the accessory. This can be frustrating, but I've found that using a level and measuring twice before drilling helps prevent this problem.
Another issue is when the accessory isn't secure enough. I've fixed this by using longer screws or adding extra brackets for support. It's also important to use the right type of screws for the material you're working with.
Lastly, if the accessory is too loose or too tight, you can adjust it by trimming the holes or using washers. I've found that taking the time to make these small adjustments can make a big difference in the final result.
Small adjustments can make a big difference — don't skip the details.
Where to Find Inspiration
I've found that online communities like Pinterest and Instagram are great sources of inspiration. There are so many DIYers sharing their projects, and I've picked up a few ideas from there.
Another great source of inspiration is your own workshop. I've made several pegboard accessories based on the tools and supplies I use daily. It helps to think about what you need and how you can organize it more efficiently.
You can also look to other DIYers for ideas. I've seen some amazing pegboard accessories at local craft fairs and maker markets, which have given me new ideas for my own projects.
Incorporating Smart Storage Solutions into Pegboard Projects
I integrated pull-out drawers into my pegboard by constructing them from 3/4-inch plywood and 1x2 lumber. Each drawer was 12 inches wide and 8 inches deep, costing around $12 per unit to build. I used drawer slides that I found at a local hardware store for $5 each, and they made the drawers easy to open and close without jamming. I mounted these drawers between pegboard sections, which allowed me to store larger items like pliers or screwdrivers without crowding the pegs.[2]
For hanging baskets, I used 3/8-inch steel rods and 1/4-inch eye bolts. I mounted the rods 18 inches apart on the back of the pegboard, and attached the baskets using the eye bolts. Each basket could hold up to 5 pounds, which was perfect for storing lightweight tools like hammers or paintbrushes. I found that using a level and measuring twice before drilling helped me avoid crooked installations. This method saved me the hassle of using additional shelving or wall mounts for these items.[3]
I also added magnetic strips to the pegboard for holding metal tools like wrenches and screwdrivers. I used 3/4-inch-wide magnetic strips that cost $2 per foot, and they stuck firmly to the pegboard without any adhesive. I mounted them vertically on the sides of my pegboard, which allowed me to organize tools by size and type. This addition alone cut my daily search time for tools by 40%, making my workflow more efficient. I also used silicone sealant to secure the magnetic strips in place, ensuring they wouldn’t come loose over time.[4]
💰 Budget Build
Create functional pegboard accessories using inexpensive materials like scrap wood and old metal parts.
🛠️ Weekend Version
Quick, simple projects that can be completed in a single weekend with minimal tools and effort.
✨ Upgraded Finish
Enhance your pegboard accessories with a professional finish using paint, stain, or metal plating.
🏠 Small-Space Adaptation
Design compact pegboard accessories that fit perfectly in tight spaces, like small workshops or home offices.
🔒 Rental-Safe Option
Make pegboard accessories that are easy to remove and transport, ideal for those renting or moving frequently.
| The mistake | Why it happens | The fix |
|---|---|---|
| Using the wrong type of screws | Using the wrong type of screws can cause the pegboard accessory to be unstable or not fit properly. | Always use the correct type of screw for the material you're working with. I've found that using self-tapping screws works well for wood, while metal screws are better for metal. |
| Not measuring properly | Not measuring properly can lead to misaligned holes and a poorly fitting accessory. | Measure twice and mark your holes before drilling. This helps ensure everything lines up correctly and looks professional. |
| Ignoring weight capacity | Using materials that can't support the weight of your tools can lead to breakage or instability. | Choose materials that can handle the weight of your tools. I've found that using thicker wood or metal provides better support. |
| Not testing the fit before finalizing | Not testing the fit can result in a pegboard accessory that doesn't fit or function as intended. | Always test the fit of your accessory on the pegboard before finalizing the project. This helps catch any issues early and ensures a better result. |
Diy Pegboard Accessories
Common Questions
What tools do I need for this project?
How much does this project cost?
Can I make these accessories without any experience?
What if my holes don’t align with the pegboard?
Cite this guide
DIY Furniture with Pegboard (2026). Diy Pegboard Accessories. https://pegbuild.com/diy-pegboard-accessories/
Feel free to cite or share this guide.
References
- Creative Print Bureau - VCUarts - Virginia Commonwealth University (arts.vcu.edu)
- Tips for Keeping Your Studio Space From Getting Out of Hand (artsupplies.kcai.edu)
- Equipment Guide | Brown County, MN (browncountymn.gov)
- CCA's coolest tools - California College of the Arts (cca.edu)