
How To Hang Pegboard Wall
📖 Table of Contents
- Planning Your Pegboard Wall Layout
- Selecting the Right Pegboard and Hardware
- Marking and Drilling Holes for the Pegboard
- Mounting the Pegboard on the Wall
- Adding Pegs, Hooks, and Custom Attachments
- Finishing Touches and Customization
- Maintaining and Updating Your Pegboard Wall
- Make It Your Way
- Frequently Asked Questions
I remember the first time I hung a pegboard wall in my garage — it felt like unlocking a hidden room of organization and potential. Before that, I had boxes everywhere, and nothing made sense. Hanging a pegboard wall was not just about storage; it was a revelation. It transformed chaos into calm, and I’ve been hooked on DIY furniture ever since.
The idea of hanging a pegboard wall came from a need for better organization in my home workshop. I had tools, hardware, and supplies all over the place, and I knew there had to be a better way. After doing some research and experimenting, I found that a pegboard wall is not only functional but also a great way to display tools, kitchenware, or even decorative items in a clean, accessible way.[1]
What I discovered along the way was that hanging a pegboard wall isn’t as intimidating as it sounds. With the right tools and a bit of patience, it’s a project that even a beginner can tackle in a weekend. The real magic, though, is in the customization — you can arrange the pegs, hooks, and panels however you want to suit your space and lifestyle.
Why You'll Love This DIY Pegboard Wall Project
- Maximize vertical space with customizable storage solutions.
- Create a personalized, organized space tailored to your needs.
- Add a rustic, industrial or modern aesthetic to your home or workshop.
- Build it in a weekend with minimal cost and tools.
Planning Your Pegboard Wall Layout
As of September 2026, the first step in hanging a pegboard wall is to plan your layout carefully. Measure the wall where you want to install the pegboard, and sketch a rough design. Think about where you’ll place hooks, pegs, and panels. If you're using a pegboard for tools, consider the weight and size of each item. For a kitchen pegboard, plan where you’ll hang utensils, spices, or containers.
I recommend using a 1-inch square grid for planning, which makes it easy to align pegs and hardware. I used a tape measure and a level to mark where the pegboard would go. I also used a laser level, which made things much faster and more accurate. Planning ahead helps avoid mistakes and rework later.
If you're unsure, start with a smaller section and build out from there. This gives you a chance to see how the pegboard works in practice. Once you're happy with the layout, you can expand to cover more of the wall.
Use a laser level or a traditional bubble level to keep your pegboard wall straight. Even a slight tilt can throw off your whole layout.
Part of our Pegboard wall guide.
Selecting the Right Pegboard and Hardware
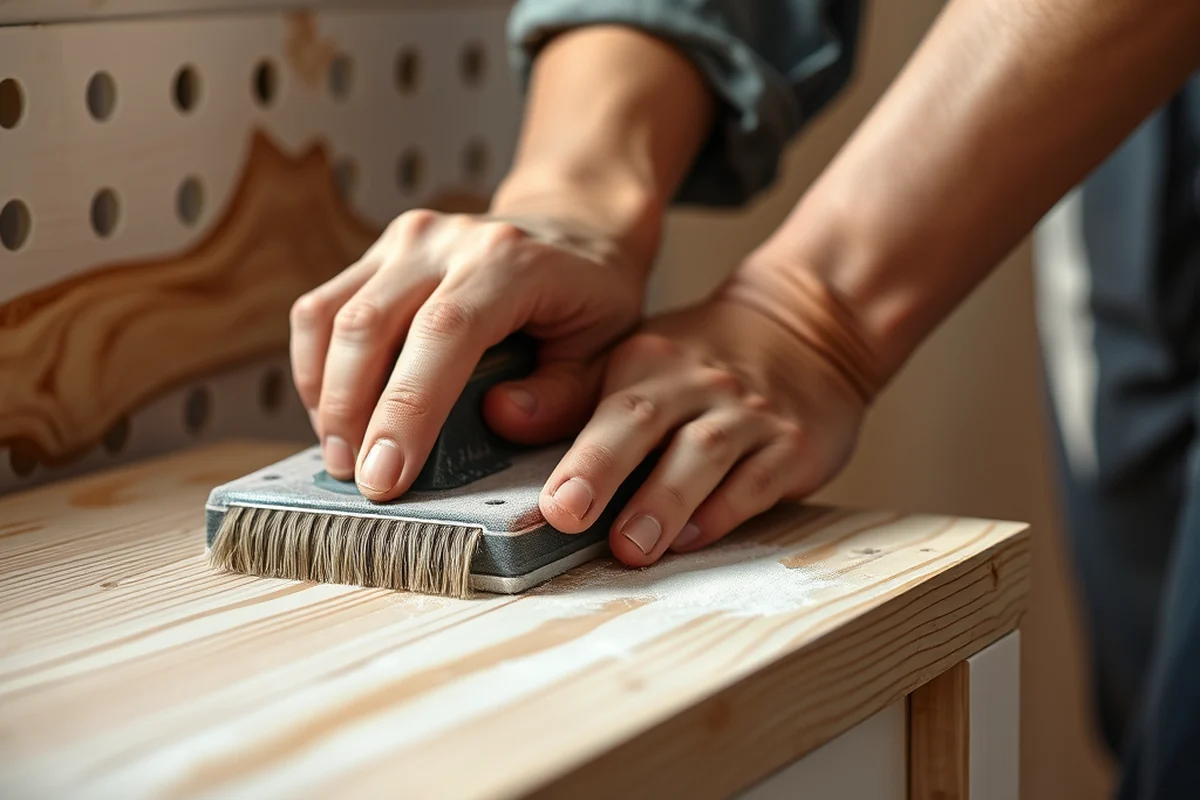
Pegboards are typically made from hardboard, which is durable and lightweight. I bought a 4x8-foot sheet of 1/4-inch thick hardboard from a local hardware store. It cost me about $25 and was plenty for my project. I also bought a pack of 1-inch pegs, which fit perfectly into the holes in the pegboard.
For hardware, you’ll need screws, wall anchors, and a drill. I used 2.5-inch wood screws and plastic wall anchors for my drywall, which is standard. If you're hanging on concrete, you’ll need masonry bits and appropriate anchors. I used a 3/16-inch drill bit and 2.5-inch screws for my project. The quality of your hardware matters — cheap anchors can break under the weight of your items.
Don’t forget to buy a few extra screws and anchors just in case. I always overbuy a bit, and it’s been helpful more than once. You can also look for pegboards with pre-drilled holes, which make installation easier. I found one that came with pre-drilled peg holes, and it saved me a lot of time.
Choose the right pegboard and hardware — it sets the foundation for your entire project.
Related: How to use pegboard in garage
Related: Build Pegboard Wall
Related: Diy pegboard at home
Related: Diy pegboard stand
Related: What is the cork board
Related: How To Install Pegboard Wall
Related: How To Cork Board A Wall
Related: What Is A Pegboard Shelf
Marking and Drilling Holes for the Pegboard
After I had my layout sketched and measured, I used a pencil to mark the positions for the screws on the back of the pegboard. I used a ruler and a square to make sure the marks were straight and evenly spaced. I also used a level to ensure everything was aligned horizontally and vertically.
I used a drill bit that matched the size of the screws I was using. I drilled each hole carefully, making sure not to go through the front of the pegboard. I found that using a steady hand and taking it slow helped avoid mistakes. It’s easy to drill too deep, so I measured the depth of the hole and stopped when I reached the right point.
I recommend using a drill guide to keep the holes consistent. I used a simple guide from a hardware store, and it made a big difference. After drilling, I double-checked the positions with my level and made sure everything was even. This step is crucial because it affects how the pegboard will look once it’s mounted.
A drill guide ensures all your holes are the same depth and position, which is especially useful if you're installing multiple pegboards or working with multiple people.
“I remember the first time I hung a pegboard wall in my garage — it felt like unlocking a hidden room of organization and potential.”— DIY Furniture with Pegboard editors
Mounting the Pegboard on the Wall

After I had all the holes drilled and the pegboard ready, I moved to the wall. I used a level to ensure the pegboard was perfectly straight before I started screwing it in. I placed the pegboard against the wall and aligned the holes with the marks I’d made earlier. It was crucial to be precise here because any shift later would be a pain to fix.
I started by screwing in the top and bottom screws first, then worked my way down the sides. I made sure not to over-tighten the screws, as that could warp the pegboard or damage the wall. I used a screwdriver to hand-tighten them first, then finished with a drill for a secure fit.
I checked the pegboard again with my level after each screw to ensure it remained straight. I also made sure the pegboard was flush with the wall — no gaps or bulges. This step took the longest, but it was worth it to ensure the final result was perfect.
Adding Pegs, Hooks, and Custom Attachments
After the pegboard was securely mounted, I added the pegs. I inserted each one into the pre-drilled holes, making sure they were snug but not stuck. I used a small amount of wood glue on the ends of the pegs to keep them from coming loose over time. This was especially important for heavier items like tools.
For added functionality, I also added a few hooks. I used 1-inch hooks that I found at a hardware store. They fit perfectly into the holes, and I used them to hang larger items like mops or cleaning supplies. I also used some custom brackets for hanging kitchenware in my home kitchen pegboard.
I tested each peg and hook to ensure they were secure. I hung some items and let them sit for a while to see if anything shifted. This step was a bit time-consuming, but it helped prevent future issues. I also used a small brush to clean any dust or debris from the pegboard, which made it look neater and more professional.
Finishing Touches and Customization
After the pegboard was fully set up, I added some finishing touches. I painted the edges of the pegboard with a coat of white paint to make it look neater and more professional. I also used some decorative screws and wall anchors to give it a more finished look.
I added some labels to the pegs for better organization. I used a small label maker and attached each one to the pegs. This helped me find items faster and keep everything in place. I also used some colored pegs to differentiate between tools, which made the whole setup more visually appealing.
I took a few pictures of the finished pegboard to look back on and see how it turned out. I was really happy with the result — it was exactly what I had imagined. The pegboard not only organized my space but also added a nice touch of style to my home.
A little customization can make a big difference in how your pegboard looks and functions.
Maintaining and Updating Your Pegboard Wall
After the pegboard was installed, I made a point to maintain it regularly. I used a soft cloth and a bit of rubbing alcohol to clean off any dust or grime that built up over time. This kept the pegboard looking fresh and well-maintained.
I also took the time to check the screws and anchors every few months to ensure they were still secure. I found that some of the screws had loosened over time, so I tightened them up to keep everything stable. This was an easy fix, but it was important to prevent any damage or accidents.
I also updated the pegboard occasionally, swapping out pegs and hooks for new ones. This helped keep the space looking new and functional. I found that using interchangeable pegs and hooks made it easy to adapt the wall to changing needs. It was a small effort, but it made a big difference in how the pegboard looked and worked.
💰 Budget Build
Create a functional pegboard wall with minimal cost, using affordable materials and DIY techniques.
⏱️ Weekend Version
Finish your pegboard wall in a single day — perfect for those with limited time.
🌟 Upgraded Finish
Add a polished, professional look with paint, hardware, and decorative elements.
🛋️ Small-Space Adaptation
Install a smaller pegboard in tight corners or alcoves for maximum storage in minimal space.
🚪 Rental-Safe Option
Use removable adhesive hooks and wall anchors that don’t damage walls — ideal for apartments and rentals.
| The mistake | Why it happens | The fix |
|---|---|---|
| Drilling too deep into the wall. | This can cause damage to the wall and make it harder to install the pegboard securely. | Use a drill guide or measure the depth of your hole carefully before drilling. Stop when you reach the right depth. |
| Over-tightening the screws. | This can warp the pegboard or damage the wall, especially if you're working with drywall. | Screw them in just enough to secure the pegboard, then use a level to check the alignment. |
| Ignoring the weight capacity of the pegboard. | Pegboards have weight limits, and exceeding them can lead to damage or breakage. | Check the manufacturer’s specifications and avoid hanging overly heavy items. Use reinforced brackets if needed. |
| Not planning the layout properly. | A poorly planned layout can lead to frustration and wasted time later. | Sketch your layout on paper first and test it with temporary markers before drilling. |
How To Hang Pegboard Wall
Common Questions
How do I ensure the pegboard is level after mounting?
Can I install the pegboard on a concrete wall?
What if I want to move the pegboard later?
How do I clean the pegboard?
References
- ED 039 929 INSTITUTION SPONS AGENCY PUB DATE ... - ERIC (files.eric.ed.gov)
Cite this guide
DIY Furniture with Pegboard (2026). How To Hang Pegboard Wall. https://pegbuild.com/how-to-hang-pegboard-wall/
Feel free to cite or share this guide.