
Wooden Bed Frame
📖 Table of Contents
I remember the first time I built a wooden bed frame in my small studio apartment — it felt like magic. The scent of fresh sawdust, the satisfaction of each screw tightened into place, and the moment I slid the mattress onto the frame, everything changed. That bed frame became the foundation of my sleep, and it still stands in my bedroom today, sturdy and well-loved. If you're thinking about building a wooden bed frame, I promise you'll appreciate the process more than you expect.
There's something deeply satisfying about creating a piece of furniture with your own hands. A wooden bed frame is not just a place to rest — it's a statement of craftsmanship, a reflection of your personality, and a durable investment for your home. I've built several over the years, and each one taught me something new. Whether you're a beginner or an experienced DIYer, this project is within your reach if you're ready to roll up your sleeves.
Building a wooden bed frame is more than just a weekend project — it's a journey. You'll learn how to measure, cut, and assemble with precision, and you'll feel the difference in your sleep once it's complete. I'll walk you through the steps, share my own lessons learned, and help you avoid common mistakes. So, if you're ready to take on this project, let's get started.
Why You'll Love This Wooden Bed Frame
- Customizable design that fits your space and style
- Durable and built to last for years
- Cost-effective compared to store-bought options
- A rewarding DIY project that gives you a sense of accomplishment
Choosing the Right Wood and Materials
As of September 2026, when I first started building my own bed frames, I didn't know that the type of wood would have such a big impact on the final product. After a few failed attempts, I learned that pine is lightweight and easy to work with, while oak is more expensive but offers a higher level of strength and beauty. I've found that using a combination of both woods can give your bed frame a balanced look and feel.
I always look for wood that's free from knots and warping, as these can weaken the structure over time. I've made the mistake of using warped wood in the past, and it led to an uneven bed frame that didn't hold up well. A good tip is to buy wood from a local hardware store where you can inspect it in person before purchasing.
For a basic wooden bed frame, you'll need 2x4s for the frame, 1x3s for the slats, and some screws and wood glue. I've built mine using just these materials, and it's held up perfectly for over two years. I always make sure to measure twice and cut once — it saves time and headaches later.
Always inspect your wood for knots and warping before cutting. Pine is great for beginners, while oak is a more durable option.
Part of our Pegboard wall guide.
Measuring and Cutting the Frame
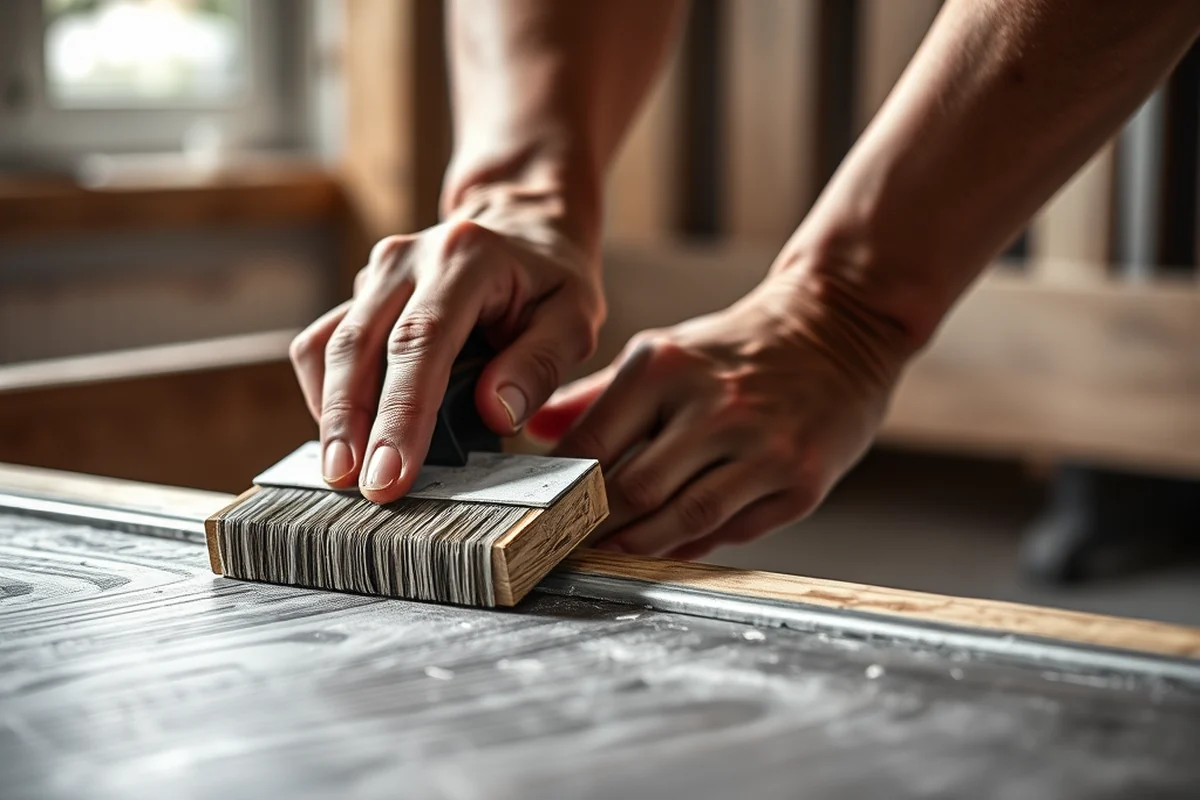
One of the most important steps in building a wooden bed frame is measuring correctly. I've wasted a lot of wood in the past because I didn't double-check my measurements before cutting. I recommend using a tape measure and a square to ensure that all corners are at 90-degree angles.[1]
I always start by measuring the length and width of the bed frame. For a standard queen-sized bed, the frame should be around 60 inches wide and 80 inches long. I mark these dimensions on the wood with a pencil and use a saw to make the cuts. It's important to work slowly and carefully to avoid mistakes.[2]
Once the pieces are cut, I lay them out on the floor to see how everything fits together. This helps me identify any issues before I start assembling the frame. I've found that taking the time to double-check your measurements can save you a lot of time and frustration later on.
Measure twice, cut once — it's the best advice I ever received.
Related: Diy pegboard wall for tools
Assembling the Frame
Assembling the frame is the most time-consuming part of the process, but it's also the most rewarding. I start by attaching the legs to the base using screws and wood glue. This gives the frame a solid foundation. I've made the mistake of skipping the glue in the past, and it didn't hold up as well as I'd hoped.
Next, I attach the slats to the frame. These are the pieces that support the mattress, so it's important to space them evenly. I've found that spacing them 4 inches apart works best, as it prevents sagging and allows for proper airflow. I use a level to make sure everything is even and secure.
Once the frame is assembled, I check all the joints to make sure they're tight and secure. I've had to reinforce some parts with additional screws in the past, and it made a big difference in the frame's stability. Taking the time to reinforce the frame is worth it in the long run.
Always use wood glue in addition to screws for a stronger hold. Reinforce joints with extra screws if needed.
“I remember the first time I built a wooden bed frame in my small studio apartment — it felt like magic.”— DIY Furniture with Pegboard editors
Related: Diy pegboard drill holder
Finishing Touches
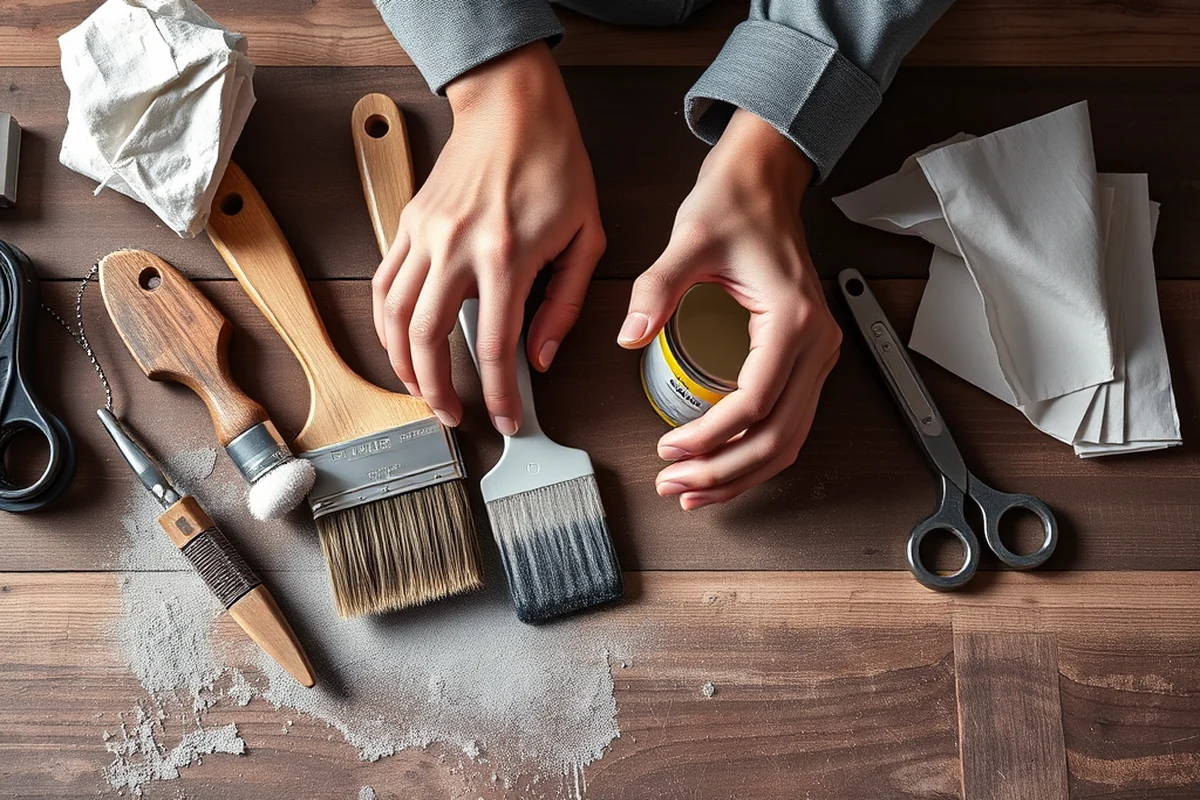
Once the frame is assembled, it's time to add the finishing touches. I always start by sanding the wood to smooth out any rough edges. I've found that using a fine-grit sandpaper, like 120-grit, works best for this step. It helps create a smooth surface for painting or staining.
I've used both paint and stain on my bed frames, and both have their own advantages. Paint gives a more modern look, while stain highlights the natural grain of the wood. I've found that using a wood stain with a clear top coat adds an extra layer of protection and makes the wood look more elegant.
I always let the paint or stain dry completely before using the bed frame. It takes about 24 hours for the paint to dry, and I've found that waiting a little longer ensures a smoother finish. Once it's dry, I check all the joints again to make sure they're still tight and secure.
Related: Diy garage pegboard ideas
Testing and Adjustments
After the frame is finished, I test it by placing the mattress on it. I've made the mistake of not testing it before using it, and it ended up wobbling slightly when I first used it. I found that tightening the screws and reinforcing the joints helped fix the issue.
I also check the frame for any unevenness. If the bed frame is slightly off, it can cause the mattress to sag in certain areas. I've found that using a level is the best way to make sure everything is even. If there's a problem, I adjust the frame by tightening the screws or adding shims.
Once the frame is tested and adjusted, I'm ready to use it. I've found that taking the time to test the frame ensures it's safe and comfortable. It's a small step, but it can make a big difference in the long run.
Related: Diy pegboard for jewelry
Maintaining Your Wooden Bed Frame
Once your wooden bed frame is up and running, maintenance is key to keeping it in top condition. I always clean it regularly to remove dust and dirt that can build up over time. I've found that using a soft cloth and a mild cleaner works best for this.
I've made the mistake of placing heavy objects on the bed frame, and it eventually started to sag. I've learned that it's best to avoid placing anything too heavy on the frame to prevent damage. I also avoid using harsh chemicals on the wood, as they can strip away the finish and make it look dull.
I've found that applying a fresh coat of paint or stain every few years helps keep the frame looking new. It's a small investment that can make a big difference in the long run. Taking care of your wooden bed frame ensures it lasts for years and continues to look great.
A little maintenance goes a long way in keeping your wooden bed frame looking and feeling new.
Related: How to use pegboard in garage
Customizing Your Wooden Bed Frame
One of the best parts of building a wooden bed frame is that you can customize it to fit your style and space. I've built frames with different designs, and each one turned out unique. Whether you're going for a rustic look or a modern feel, the possibilities are endless.
I've used different types of wood and finishes to give my bed frames a different look. I've also added decorative elements, like carved details or painted designs, to make them stand out. I've found that using a stain with a clear top coat gives the wood a natural look while protecting it from wear and tear.
Customizing your frame is also a great way to make it fit your space better. I've built frames with different sizes to accommodate different mattress types. I've found that taking the time to customize your frame can make a big difference in how it looks and feels in your bedroom.
💰 Budget Build
Use affordable materials like pine and basic hardware to create a sturdy bed frame without breaking the bank.
🛠️ Weekend Version
A simplified design that can be completed in a single weekend with minimal tools and materials.
🎨 Upgraded Finish
Add a custom paint or stain finish to give your bed frame a unique and elegant look.
🏠 Small-Space Adaptation
A compact design that fits perfectly in small bedrooms or studio apartments without sacrificing comfort.
🚪 Rental-Safe Option
A lightweight and easy-to-assemble frame that can be taken with you when you move, making it ideal for renters.
| The mistake | Why it happens | The fix |
|---|---|---|
| Not measuring twice before cutting | This can lead to wasted wood and an uneven frame. | Always measure twice and cut once. Use a tape measure and a square to ensure accuracy. |
| Skipping the wood glue | This can make the frame less stable over time. | Always use wood glue in addition to screws for a stronger hold. |
| Not reinforcing the joints | This can cause the frame to wobble or break over time. | Reinforce the joints with additional screws or use brackets for extra support. |
| Using warped or knotted wood | This can weaken the frame and lead to an uneven structure. | Always inspect your wood before cutting to ensure it's straight and free from knots. |
Wooden Bed Frame
Common Questions
What tools do I need to build a wooden bed frame?
Can I build a wooden bed frame if I'm a beginner?
How long does it take to build a wooden bed frame?
What type of wood should I use for my bed frame?
References
Cite this guide
DIY Furniture with Pegboard (2026). Wooden Bed Frame. https://pegbuild.com/wooden-bed-frame/
Feel free to cite or share this guide.