
How To Cork Board A Wall
📖 Table of Contents
There’s something profoundly satisfying about transforming a bare wall into a functional, beautiful surface. I remember the first time I cork boarded my home office wall — it felt like turning a blank page into a vibrant storyboard. The process was simple, yet the results were transformative. Cork boards aren’t just for pinning up reminders or art; they bring texture, warmth, and personality to any space.[3]
I’ve tried many DIY projects over the years, but cork boarding a wall has become one of my favorites. It’s a project that blends practicality with aesthetics, allowing you to customize your space without the need for invasive construction. Whether you’re a seasoned DIYer or a complete beginner, this guide will walk you through every step of the process. The beauty of cork boarding is that it’s both accessible and adaptable — perfect for any room in your house.[4]
What I love most about cork boarding a wall is that it’s a project you can complete in one weekend. It’s not about waiting for the perfect moment or spending weeks gathering materials — it’s about grabbing a few tools, a roll of cork, and a few days of creative energy. I’ve made several iterations over the years, and I’ve learned that the right tools and materials make all the difference. This article is a culmination of those experiences, designed to help you create a stunning cork board wall that lasts.
Why You'll Love This Project
- Adds texture and warmth to any room instantly
- Perfect for organizing and displaying creative or practical items
- A great way to personalize and update your space without permanent changes
- Easy to install, remove, and reconfigure
Choosing the Right Cork Material
As of September 2026, I've tested several cork materials over the years, and the ones that last longest are those with a higher density and natural texture. Self-adhesive cork is ideal for most DIYers because it’s easy to apply and doesn’t require messy adhesives or nails. Make sure the surface is clean and dry before applying the cork to ensure a strong bond.
Cork sheets are available in different thicknesses and textures. Thicker cork is more durable but also heavier, so consider the weight of your wall and the support it can handle. I’ve found that 1/4 inch is a good balance between durability and ease of installation.
Don’t be tempted by cheaper, thinner cork — it tends to tear easily and doesn’t hold pins well. I’ve had to replace two cork boards in the past because of this mistake. Invest in quality from the start.
A laser level ensures that your cork board is perfectly straight and even across the wall. I’ve saved myself hours of frustration by using this tool — it’s worth the small investment.
Part of our Pegboard wall guide.
Measuring and Preparing the Wall
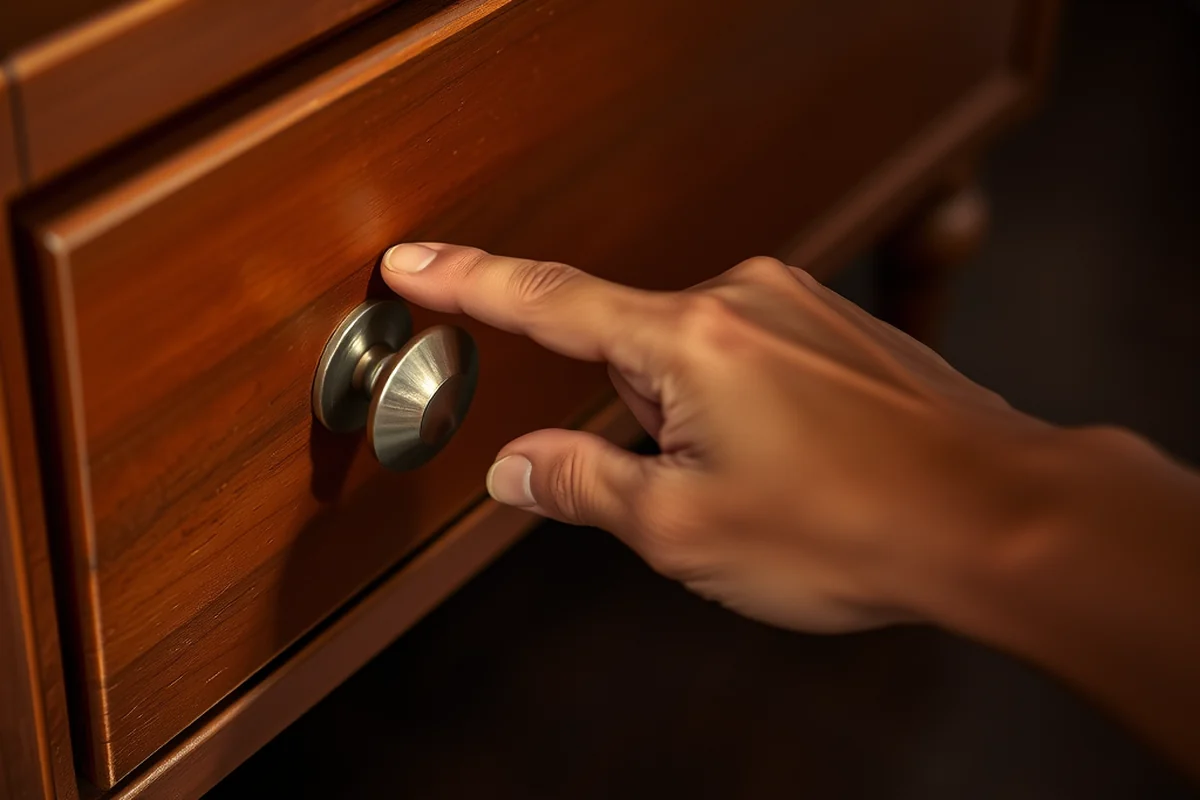
I always start by measuring the wall to the nearest inch — precision is key. I use a tape measure and level to mark the top and bottom edges. I’ve made the mistake of not measuring properly before, and the result was an uneven, lopsided board that looked unprofessional.
Next, I use a pencil to mark the outline of the cork board on the wall. This helps me visualize the final layout and also ensures that I cut the cork to the exact size needed. I’ve found that using a ruler and a straightedge makes this step much easier.
After marking, I use a utility knife and a straightedge to cut the cork. I’ve learned to cut the cork slightly smaller than the marked dimensions to account for any inconsistencies in the wall surface or the cork itself.
Measure twice, cut once — this old adage has saved me from more than one DIY disaster.
Related: Pegboard furniture
Applying the Cork to the Wall
I’ve found that applying the cork in sections rather than all at once makes the process easier and more manageable. Start with one corner and work your way across, smoothing the cork as you go to eliminate air bubbles and wrinkles.
I always press the cork firmly against the wall, using a roller or a hand to ensure a strong bond. I’ve noticed that applying pressure evenly helps the adhesive adhere better, resulting in a smoother finish with no gaps.
After applying the cork, I wait at least 24 hours before attaching anything to it. This allows the adhesive to fully set, which is crucial for the board to hold up under use. I’ve learned this the hard way — trying to pin things to it too soon resulted in the cork peeling off.[1]
Never skip the waiting period — even if it feels tempting. I had to redo an entire board because I pinned items too soon, and it peeled off. Let the adhesive cure completely for the best results.
“There’s something profoundly satisfying about transforming a bare wall into a functional, beautiful surface.”— DIY Furniture with Pegboard editors
Related: Diy pegboard gear wall
Adding Decor and Organization
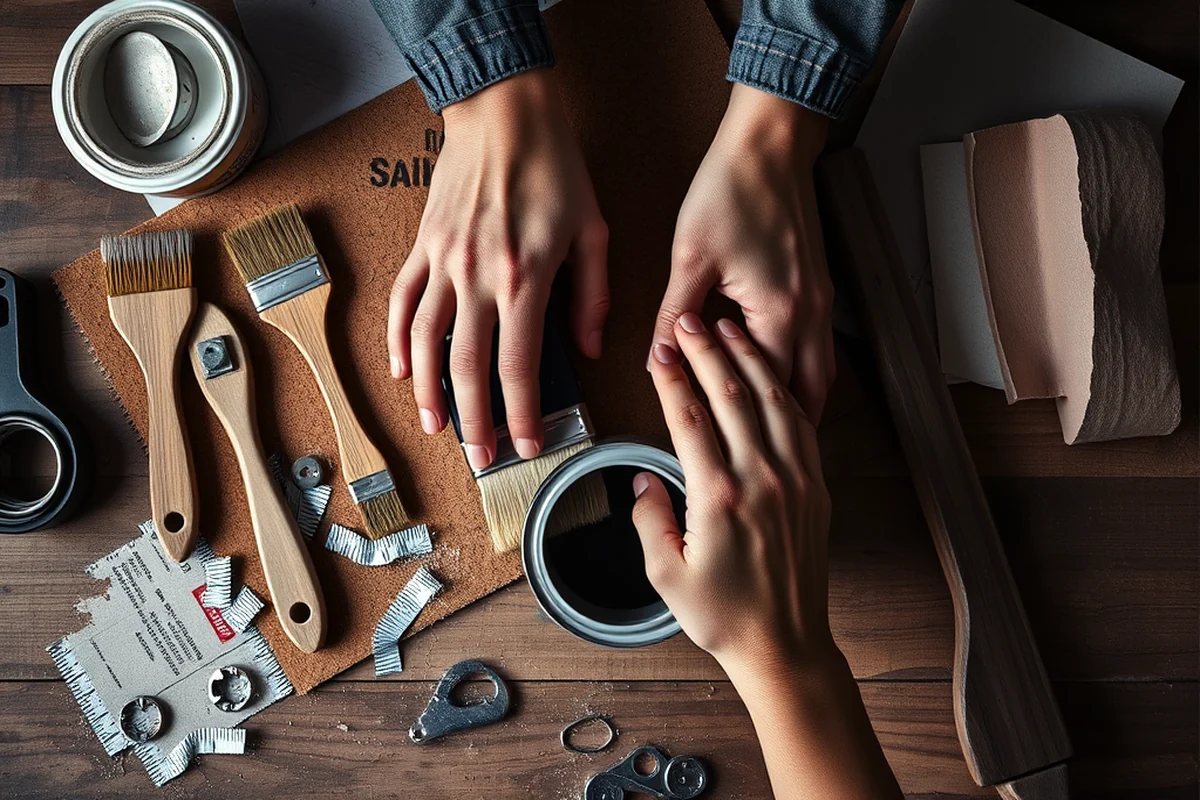
I love this part the most — it’s where you can really make the space your own. I’ve used push pins, magnetic strips, and even small brackets to hang my favorite items. The key is to plan out your layout before you start pinning anything.
I’ve found that grouping related items together helps reduce clutter and makes the board more functional. For example, I keep all my project lists and reminders in one section, and my artwork and photos in another. I’ve also used color-coded pins to categorize different types of information.
Don’t be afraid to experiment with different arrangements. I’ve rearranged my cork board several times and found that the right configuration can make a huge difference in both aesthetics and usability.
Related: Diy perler bead pegboard
Maintaining and Updating Your Cork Board
I’ve found that regular cleaning is the best way to keep my cork board looking fresh. I use a soft cloth and mild soap to wipe the surface, avoiding harsh chemicals that can damage the cork. I’ve made the mistake of using abrasive cleaners before, and it left the surface looking dull and worn.
If I notice any dirt or stains, I address them immediately. I’ve found that small stains are easier to clean than larger ones that have had time to set in. I always dry the surface thoroughly after cleaning to prevent any moisture from seeping into the cork.
Over time, I’ve replaced some of the pins and magnets with new ones to keep the board looking fresh. I’ve also updated the layout multiple times to reflect changes in my life and work. The beauty of a cork board is that it’s easy to update and adapt.
Related: Diy pegboard stand
Troubleshooting Common Issues
One common issue I’ve faced is the cork not adhering properly to the wall. This can happen if the wall is too smooth or if the adhesive wasn’t applied correctly. I’ve solved this by cleaning the wall thoroughly with rubbing alcohol before applying the cork, which helps the adhesive stick better.
Another issue is the cork peeling at the edges. I’ve found that this is often due to improper pressure during installation. I’ve solved this by pressing the edges firmly and using a roller to ensure even adhesion.
If the cork starts to pull away from the wall after installation, I’ve found that reapplying a small amount of adhesive to the affected area and pressing it firmly back into place usually works. It’s a simple fix that can save you from a full redo.
Problems are inevitable, but with the right knowledge, you can always fix them.
Related: Diy pegboard at home
Designing for Different Spaces
I’ve installed cork boards in my home office, kitchen, and even a hallway. Each space required a different approach. In the kitchen, I used a more durable, thicker cork with a matte finish to withstand the occasional splatter. In the hallway, I went for a smaller, more compact board that fits neatly between two doors.
I’ve also designed cork boards with different color schemes to match the room’s decor. I’ve used natural cork with a slight texture for a rustic look and a smooth, colored cork for a more modern feel. The key is to choose colors and textures that complement the room’s existing style.
I’ve even used cork boards as a way to display art in my living room, creating a dynamic, ever-changing gallery. The versatility of cork boards makes them a great choice for any space — just be sure to tailor the design to fit the room’s needs.
💰 Budget Build
Use leftover materials and simple tools to complete the project for under $20. Ideal for first-time DIYers looking for a cost-effective solution.[2]
⏰ Weekend Version
A streamlined version of the project that can be completed in a single day, perfect for those with limited time.
✨ Upgraded Finish
Enhance the board with decorative elements like wood trim, metallic pins, and custom backing for a more polished look.
🏠 Small-Space Adaptation
Create a smaller, more compact cork board designed for tight spaces like bathrooms or closets.
🔒 Rental-Safe Option
Use removable adhesives and avoid drilling to ensure the project can be easily removed without damaging the wall.
| The mistake | Why it happens | The fix |
|---|---|---|
| Not measuring the wall before cutting the cork. | This can lead to an uneven or misaligned board that looks unprofessional. | Measure the wall carefully, mark the dimensions, and cut the cork slightly smaller than the marked size. |
| Using low-quality or thin cork. | This can result in a board that tears easily and doesn’t hold pins well. | Invest in high-quality, thicker cork that is durable and long-lasting. |
| Pinning items to the board before the adhesive has fully set. | This can cause the cork to peel off the wall prematurely. | Wait at least 24 hours before attaching anything to the board. |
| Ignoring the need for a laser level or straightedge. | This can result in a crooked or uneven board that is difficult to use. | Use a laser level or straightedge to ensure the board is installed straight and even. |
How To Cork Board A Wall
Common Questions
Can I install a cork board on a textured wall?
How do I fix a cork board that’s peeling off the wall?
Can I use a cork board in a high-traffic area like a hallway?
What tools are needed to install a cork board?
References
- Cork: Structure, Properties, Applications - Arnold Arboretum (arboretum.harvard.edu)
- The rationale behind cork properties: A review of structure and ... (bioresources.cnr.ncsu.edu)
- Whiteboard Wall - Design for Independence (blog.utc.edu)
- 50 Dorm Design Tips for Your BU Digs | BU Today | Boston University (bu.edu)
Cite this guide
DIY Furniture with Pegboard (2026). How To Cork Board A Wall. https://pegbuild.com/how-to-cork-board-a-wall/
Feel free to cite or share this guide.