
Cork Boards For Walls
📖 Table of Contents
- Choosing the Right Cork Board for Your Wall
- Preparing the Wall for Installation
- Mounting the Cork Board with Adhesive Strips
- Securing the Cork Board with Screws
- Customizing Your Cork Board with Paint or Stickers
- Maintaining and Cleaning Your Cork Board
- Adding Functional Elements to Your Cork Board
- Make It Your Way
- Frequently Asked Questions
The first time I mounted a cork board on my living room wall, I felt like I'd unlocked a secret compartment of organization and creativity. It wasn't just about the practicality of pinning notes and artwork — it was about the tactile experience of running my fingers over the soft, natural surface. Cork boards for walls are more than a functional solution; they're a sensory and aesthetic upgrade to any space. I remember the exact moment I realized how much better my home felt after installation, and it’s been a game-changer ever since.
Cork boards for walls are a simple yet effective way to add texture, warmth, and utility to any room. I’ve tested several types over the years, from pre-cut sheets to full panels, and I’ve learned that the right approach can make all the difference. Whether you're looking to create a dedicated workspace, a gallery wall, or a command center for your family, cork is a versatile and affordable material that brings both style and function to your project.
What sets cork boards for walls apart is their unique combination of durability, sound absorption, and eco-friendliness. I’ve found that they can withstand the wear and tear of daily use, especially in high-traffic areas like kitchens or home offices. Plus, cork is a renewable resource, which makes it an excellent choice for environmentally conscious DIYers. After installing mine, I noticed a subtle but significant improvement in the acoustics of my space — it made a world of difference for my concentration and comfort.
Why You'll Love This DIY Project
- Adds a natural, warm texture to any space
- Perfect for pinning notes, photos, and art
- Improves acoustics in your home
- Eco-friendly and easy to install
Choosing the Right Cork Board for Your Wall
As of September 2026, when I first started looking for cork boards for walls, I was overwhelmed by the options. I quickly learned that not all cork boards are created equal. I ended up choosing a 1/4-inch thick board with a matte finish, which provided the right balance of durability and aesthetics. Thinner options are more flexible but may not hold up as well over time.
I also considered the size of the board and where I would install it. A 36 x 24 inch board was perfect for my kitchen, giving me enough space to pin my grocery lists, recipe cards, and calendars. It's important to measure the area beforehand and ensure the board fits the space without any gaps or overhangs.[1]
I recommend looking for cork boards that are pre-primed or have a surface that can be painted. I used a light sanding technique on mine before painting it a soft gray, which made it blend seamlessly with the rest of the room. This added a personal touch and allowed me to customize the board to my preferences.[2]
Always measure the wall and the cork board twice before drilling. Even the smallest miscalculation can throw off the entire layout.
Part of our Pegboard wall guide.
Preparing the Wall for Installation
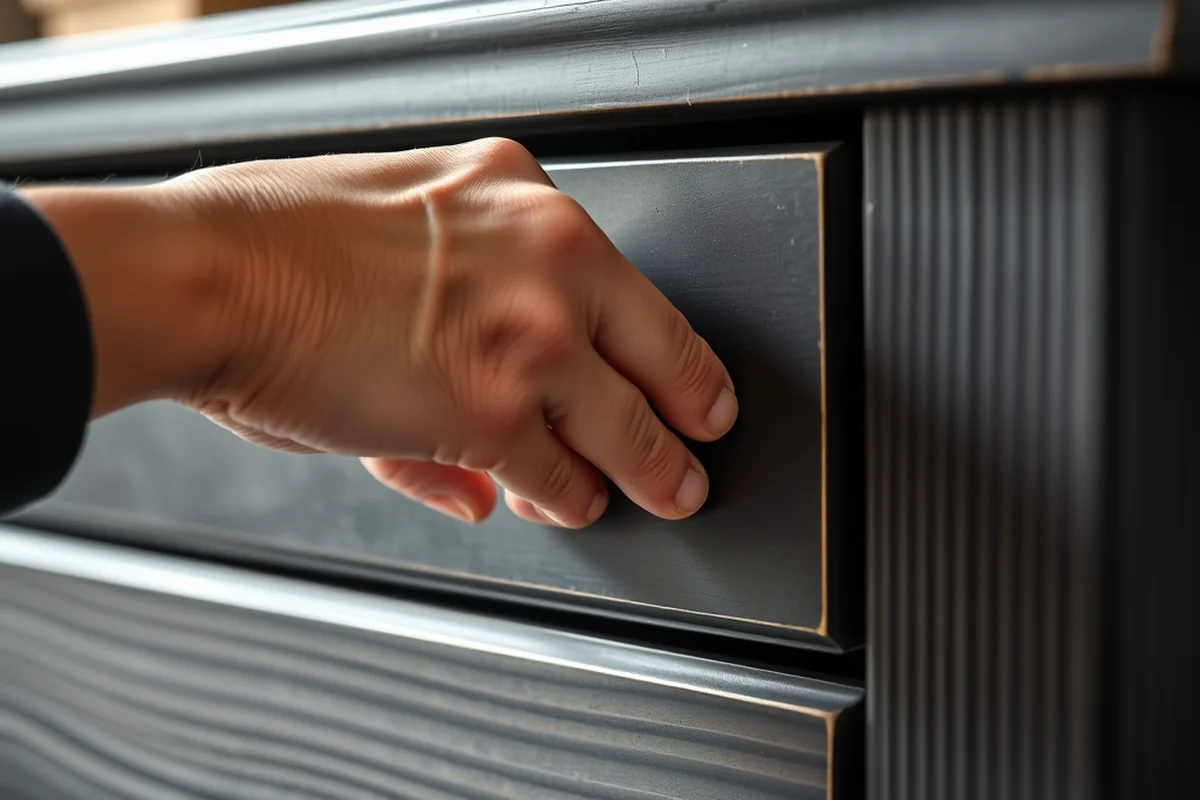
Before mounting my cork board, I spent time preparing the wall. I used a stud finder to locate the wall studs, which is essential for ensuring the board is securely anchored. I also cleaned the wall surface with a damp cloth to remove any dust or debris that could interfere with adhesion.
I applied a thin coat of construction adhesive to the back of the cork board and let it dry for about 15 minutes. This made the installation process much smoother. I also used a level to ensure the board was perfectly aligned, which is crucial for a professional-looking finish.[3]
One of the key things I learned was to avoid installing the board over any electrical outlets or switches. I marked the positions and made sure to avoid them during installation. This simple step saved me from having to drill holes in the wrong places later.
A little preparation goes a long way in making your cork board installation look seamless.
Related: What is the cork board
Related: Safest Cutting Boards
Related: Cork Board Background
Related: Dry Erase Boards
Related: E Foil Boards
Related: Boat Trailer Bunk Boards
Mounting the Cork Board with Adhesive Strips
One of the easiest ways to mount a cork board is by using adhesive strips. I purchased a set of double-sided mounting strips, which I found to be incredibly effective. They are easy to apply and provide a strong hold without leaving any residue behind.
I placed the strips evenly across the back of the cork board, spacing them about 6 inches apart. I then pressed the board firmly against the wall and used a level to ensure it was straight. This method worked well for my kitchen, where I needed a quick and temporary solution.
One advantage of using adhesive strips is that they allow for easy removal if needed. I’ve used this method on several projects and found it to be reliable. Just be sure to press the strips firmly into place to avoid any slippage.
If the adhesive strips aren’t sticking well, try using a heat gun to warm the surface slightly. This can increase the adhesion without damaging the cork.
“The first time I mounted a cork board on my living room wall, I felt like I'd unlocked a secret compartment of organization and creativity.”— DIY Furniture with Pegboard editors
Related: Diy pegboard wall
Related: How To Cork Board
Securing the Cork Board with Screws
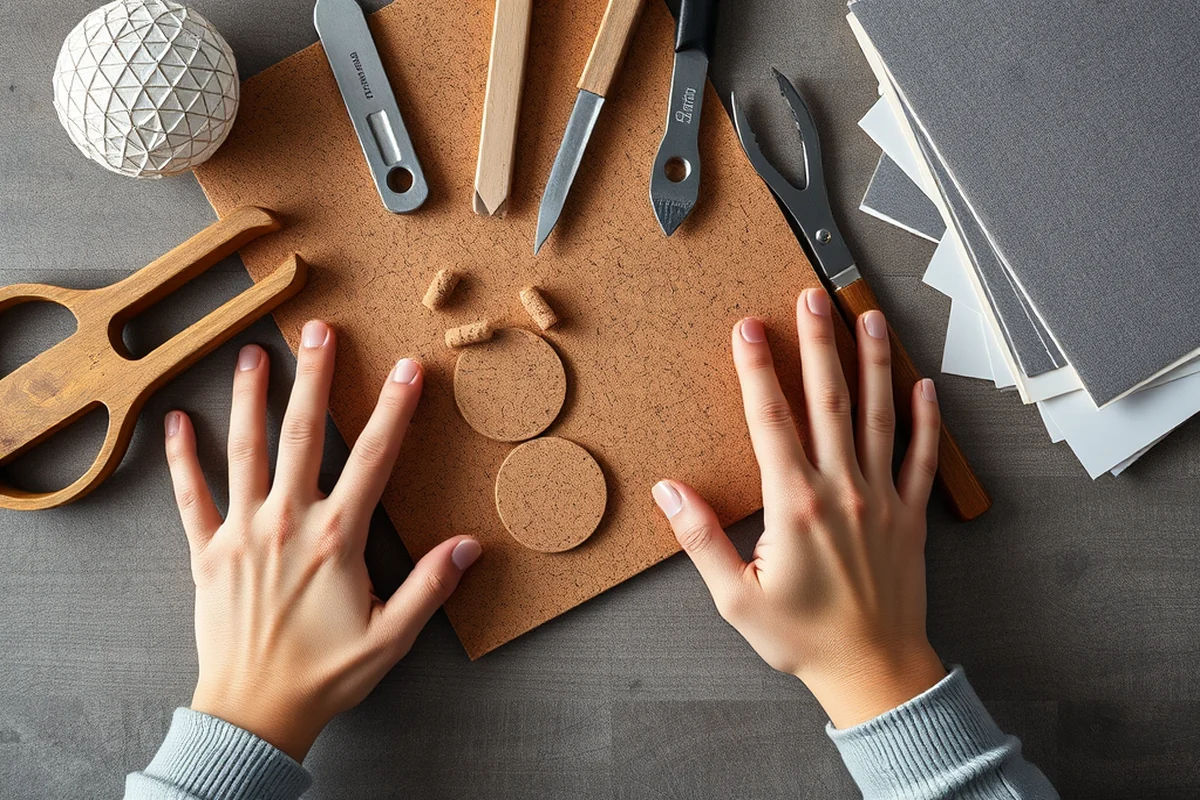
For a more permanent and sturdy installation, I opted for screws and wall anchors. I used toggle bolts for drywall, which provided a secure hold without damaging the wall. This method is ideal if you plan to keep the cork board in place for a long time.
I drilled holes into the wall where the screws would go, inserted the toggle bolts, and then attached the board. I made sure to leave a small gap between the board and the wall to allow for some flexibility. This helped prevent the board from warping over time.
One important tip I learned was to use a level during the installation process. Even a slight tilt can be noticeable, so taking the time to ensure the board is perfectly aligned is essential. I found that this method gave my board a more professional and durable finish.
Related: Build pegboard wall
Related: Cork Bulletin Board
Customizing Your Cork Board with Paint or Stickers
After the board was installed, I wanted to add some personality to it. I decided to paint the back of the board with a light gray spray paint, which gave it a clean and modern look. This not only protected the cork but also allowed me to blend it with the surrounding decor.
I also used some decorative stickers and washi tape to add visual interest to the board. These small touches made the board feel more like a part of my home rather than just a functional item. I found that these additions also helped with organization by visually separating different sections of the board.
I recommend testing the paint on a small area first to ensure it doesn’t bleed through the cork. I also used a clear sealant after painting to protect the surface from moisture and wear. This gave the board an extra layer of durability and made it easier to clean in the future.
Related: How to install pegboard wall
Maintaining and Cleaning Your Cork Board
Over time, I noticed that my cork board started to accumulate dust and fingerprints. I found that wiping it down with a soft, damp cloth once a week kept it looking clean and fresh. I also made sure to avoid using harsh chemicals or abrasive materials, which could damage the surface.
I learned that it's important to avoid getting the cork board too wet. If I accidentally spilled something on it, I used a paper towel to blot it up immediately and then wiped the area with a dry cloth. This helped prevent any water damage and kept the board in good condition.
One of the benefits of cork is that it’s naturally resistant to mold and mildew, which made maintenance even easier. I found that a simple wipe down was enough to keep it looking great. I also made it a habit to move the pins around occasionally to prevent the cork from becoming too compressed in certain spots.
A little care goes a long way in keeping your cork board looking pristine and functional.
Related: How to pegboard wall
Adding Functional Elements to Your Cork Board
To make my cork board more functional, I added some extra elements like a small whiteboard section and a magnetic strip. The whiteboard allowed me to write down quick notes, grocery lists, and reminders, while the magnetic strip made it easy to pin up metal items like recipe cards and calendars.
I also used some colored washi tape to create sections for different purposes, like a to-do list area and a gallery space. This helped me stay organized and made the board more visually appealing. I found that these small additions made the board a more versatile and useful part of my home.
I recommend experimenting with different tools and accessories to find what works best for your space. Whether it’s a calendar, a notepad, or a set of colored pins, adding these elements can make your cork board even more functional and personal.
💰 Budget Build
A simple cork board with adhesive strips and a pre-primed surface, perfect for those looking to save on materials.
⏰ Weekend Version
A quick and easy installation using adhesive strips and a pre-cut cork board, ideal for a weekend DIY project.
✨ Upgraded Finish
Add a custom paint finish and decorative elements to create a more refined and personalized look.
📏 Small-Space Adaptation
Use a smaller cork board and creative layout for small spaces like bathrooms or entryways.
🏠 Rental-Safe Option
Install the board with removable adhesive strips to ensure no damage is left on the wall when you move out.
| The mistake | Why it happens | The fix |
|---|---|---|
| Not measuring the wall and board correctly | This can lead to gaps or misalignment, making the board look unprofessional. | Always measure twice before cutting or drilling to ensure a proper fit. |
| Using the wrong type of adhesive for the wall | Some adhesives may not hold well on certain surfaces, leading to the board falling off over time. | Choose an adhesive that is suitable for the type of wall you are using, such as drywall or concrete. |
| Not allowing the adhesive to dry properly | This can lead to poor adhesion and a weak hold for the board. | Follow the manufacturer’s instructions and allow the adhesive to dry fully before attaching the board. |
| Using excessive force during installation | This can cause the cork board to crack or warp, especially if it's not supported properly. | Apply even pressure and use a level to ensure the board is properly aligned and secured. |
Cork Boards For Walls
Common Questions
Can I install a cork board on a textured wall?
How do I choose between adhesive strips and screws?
Can I paint the cork board after installation?
What’s the best way to clean a cork board?
References
- 1 Town Of Hartford Town Staff Significant Activity Report, August 22 (hartfordvt.gov)
- DOE HANDBOOK TABLE-TOP JOB ANALYSIS (energy.gov)
- addendum #1 - Departamento de Educación de Puerto Rico (de.pr.gov)
Cite this guide
DIY Furniture with Pegboard (2026). Cork Boards For Walls. https://pegbuild.com/cork-boards-for-walls/
Feel free to cite or share this guide.