
How To Build A Raised Garden Bed
📖 Table of Contents
I still remember the first time I built a raised garden bed in my backyard — it was a Saturday morning, the sun was just warming the grass. I had a bag of cedar wood and a dream of growing tomatoes. Raised beds are a game-changer for gardeners who want to avoid the backbreaking work of digging through clay soil or dealing with weeds. I built mine in just one weekend, and it transformed my gardening experience from a chore into a joy. If you're wondering how to build a raised garden bed, this guide will walk you through every step, from sourcing materials to filling the bed with soil.
Raised garden beds are not just for experienced gardeners; they're perfect for beginners who want to start small and keep their plants healthy. I chose cedar for my first bed because it's naturally resistant to rot and insects, and I found it at a local hardware store for about $40. I had no prior experience with gardening or DIY projects, but the process was straightforward once I laid out the plan. Whether you're trying to grow herbs on a balcony or raise a vegetable patch in your yard, a raised bed gives you control over the soil quality, drainage, and plant health.[1]
There's something deeply satisfying about watching your own hands build a space where life can grow. When I finished my first raised garden bed, I planted a few rows of marigolds and basil, and by the end of the summer, I had a thriving patch of greenery. The raised bed elevated the soil, made it easier to reach the plants, and protected the roots from the cold. If you're looking to learn how to build a raised garden bed, this article will give you the tools, materials, and confidence you need to get started — no matter your skill level.
Why You'll Love This Raised Garden Bed Project
- Improved soil quality and drainage for healthier plants
- Easier maintenance and accessibility for all gardeners
- A cost-effective way to grow food in small or poor soil spaces
- A customizable design that fits your garden’s unique layout
Choosing the Right Materials
As of October 2026, I went with cedar for my first raised bed because it’s naturally resistant to insects and decay. Cedar boards are available at most hardware stores, and I found a 4x8-foot sheet for about $20. I also bought a few 2x4s for support, which I used to create a frame for the bed. If you’re looking for a more affordable option, pressure-treated lumber is another choice, but it’s not ideal for growing edible plants because of the chemicals involved.[2]
I measured my space carefully before buying materials, and I made sure the dimensions were even on all sides. I ended up using 10 boards to create the sides of the bed, each one cut to 4 feet in length. The boards were stacked three high to make the bed 18 inches tall, which is a common height for raised gardens. It’s important to pick lumber that’s at least 2 inches thick to ensure the bed is sturdy enough for long-term use.[3]
For the corners of the bed, I used galvanized screws and L-brackets to reinforce the structure. I also added a layer of landscape fabric at the bottom to keep weeds from growing up through the soil. By the time I was done, I had a solid frame that was both functional and aesthetically pleasing.
For added stability, use galvanized L-brackets at each corner of your raised bed. This prevents the structure from warping over time, especially if you're using softer woods like cedar or pine.
Assembling the Frame
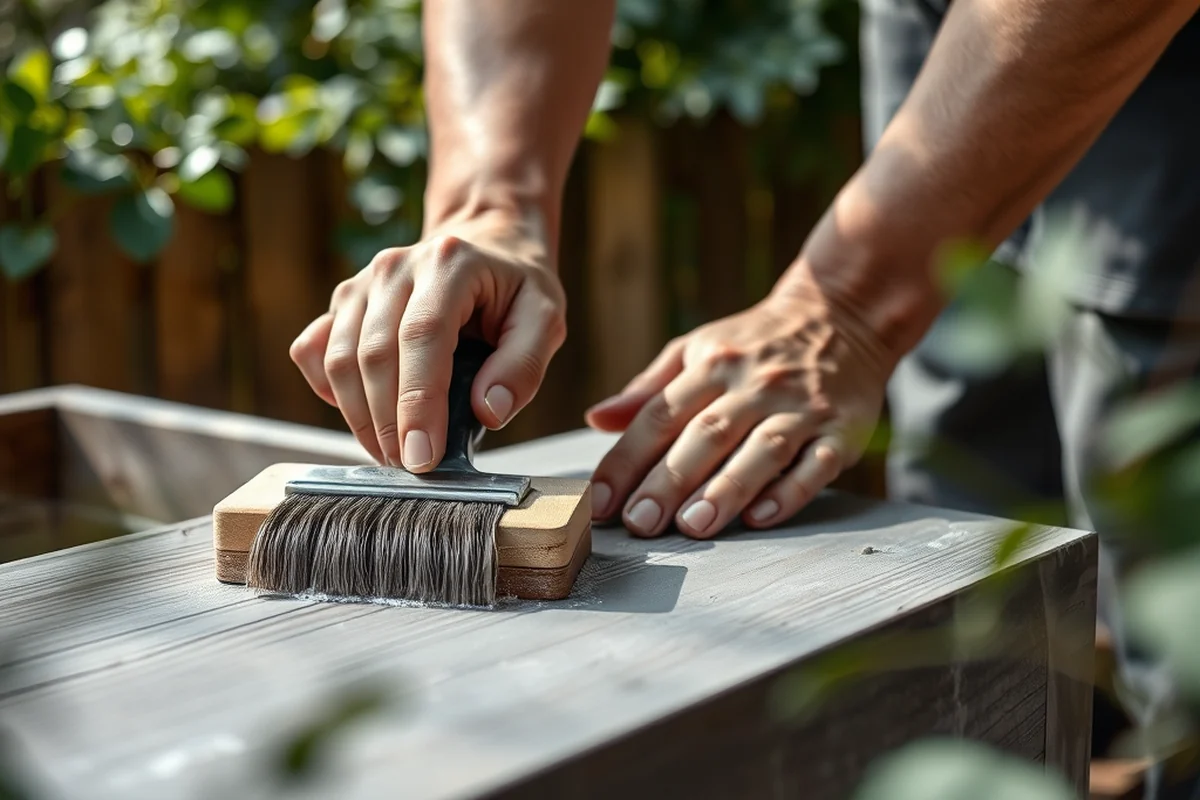
I laid out the boards on a flat surface and aligned them to form a rectangle. I used a tape measure and a level to make sure the corners were square. Once the frame was set, I attached the boards together using 2.5-inch screws and a power drill. It took about an hour to put the frame together, and I was surprised at how quickly it came together once the pieces were aligned properly.
I used a carpenter’s square to double-check the corners and made sure each side was even. This step is crucial because any misalignment can cause the frame to sag or warp over time. I also made sure to leave a small gap between the boards to allow for expansion and contraction of the wood, especially in different weather conditions.
After assembling the frame, I lifted it into place and set it in the spot where I wanted my raised garden bed. I used a few rocks around the base to stabilize it and keep it from shifting. This step was easy, and I was pleased with how stable the frame was even without any additional support.
A well-assembled frame is the foundation of a long-lasting garden bed.
Related: How To Build A Bed Frame
Related: How to lift heavy furniture by yourself
Adding Drainage and Soil
I started by laying down a layer of landscape fabric at the bottom of the frame to keep weeds from growing up through the soil. Then, I added a 2-inch layer of crushed gravel to help with drainage. This step is important because it prevents water from pooling at the bottom of the bed, which can lead to root rot.
After the gravel, I added a layer of compost and topsoil. I used a mix of 60% compost and 40% topsoil, which I found at a local nursery for about $25. I used a wheelbarrow to move the soil into the bed and a rake to spread it out evenly. I made sure the soil was loose and well-aerated to promote healthy root growth.[4]
I also added a few inches of mulch on top of the soil to help retain moisture and suppress weeds. I used pine straw, which is a good choice for raised beds because it breaks down slowly and adds organic matter to the soil. This final step made the bed look finished and helped keep the soil moist during dry spells.
A 2-inch layer of crushed gravel at the bottom of your raised bed ensures proper drainage and prevents water from stagnating, which can harm your plants’ roots.
“I still remember the first time I built a raised garden bed in my backyard — it was a Saturday morning, the sun was just…”— DIY Furniture with Pegboard editors
Related: What Is To Make A Bed
Related: How to lift furniture by yourself
Planting Your Garden

I started by planting a few rows of marigolds and basil, which I chose for their ability to attract pollinators and repel pests. I used a trowel to dig small holes in the soil and planted the seedlings about 12 inches apart. This spacing allowed enough room for the plants to grow without overcrowding.
I also scattered some seeds directly into the soil, like carrots and radishes, which are easy to grow and don’t need much space. I used a seed spreader to distribute the seeds evenly and then covered them with a thin layer of soil. I made sure to water the plants thoroughly after planting to help them establish roots.
After a few weeks, I saw green shoots popping up through the soil, and it was incredibly satisfying to see my hard work coming to life. I kept the bed watered regularly and used natural pest control methods like neem oil to protect the plants from insects.
Related: What Is A Table Bed
Maintaining Your Raised Garden Bed
I made it a habit to water the plants every morning, especially during dry spells. I used a garden hose with a spray nozzle to avoid overwatering and ensure even distribution. I also checked the soil regularly to make sure it wasn’t too dry or too wet, adjusting my watering schedule as needed.
I used a hand weeder to remove any weeds that popped up between the plants. This step was quick and easy, and it helped prevent competition for nutrients and water. I also added a layer of compost every few weeks to keep the soil rich in nutrients.
I made sure to rotate the plants in my raised bed each season to prevent soil depletion and reduce the risk of disease. This simple practice kept my garden healthy and productive for years.
Designing for Aesthetic Appeal
I added a few decorative stones around the edges of the bed to give it a finished look. I also used a few wooden planters to grow some trailing plants like ivy, which softened the look of the bed and added a touch of greenery.
I painted the sides of the bed with a weather-resistant paint to match the color of my garden fence. This small detail made the bed stand out and blended it into the overall landscape. I also added a few garden flags and wind chimes to add some visual interest.
By the end of the season, my raised garden bed had become a focal point in my yard. It was not only a place where I could grow my own food, but also a space where I could relax and enjoy the beauty of nature.
A little design can turn a garden bed into a statement piece in your outdoor space.
Expanding Your Garden
I decided to build a second raised bed next to the first one, using the same materials and techniques I used before. This allowed me to grow more vegetables and herbs without taking up too much space. I also added a trellis to support climbing plants like tomatoes and beans.
I used a wheelbarrow to move soil and plants between the beds, which made the process easier and more efficient. I also added a few garden tools to keep everything organized and within reach. This small investment in tools made the maintenance of the garden much more manageable.
As I expanded my garden, I experimented with different plant combinations and soil mixtures. I found that mixing compost with peat moss created a rich, well-draining soil that was perfect for growing a wide variety of plants.
💰 Budget Build
A simple raised bed built with repurposed lumber and minimal tools, perfect for gardeners on a tight budget.
⏰ Weekend Version
A quick and easy raised bed that can be built in just a few hours, ideal for those with limited time.
✨ Upgraded Finish
A raised bed with decorative elements like painted wood and stone edging, designed for both function and style.
🏠 Small-Space Adaptation
A compact raised bed built for patios or balconies, using lightweight materials and space-saving techniques.
🔒 Rental-Safe Option
A portable raised bed that can be easily moved and stored, perfect for renters or those who want to avoid permanent installations.
| The mistake | Why it happens | The fix |
|---|---|---|
| Not adding a drainage layer | Without a drainage layer, water can pool at the bottom of the bed, leading to root rot and poor plant health. | Add a 2-inch layer of crushed gravel at the bottom of the bed to ensure proper drainage. |
| Overwatering the plants | Overwatering can suffocate the roots and lead to root rot, especially in poorly drained soil. | Water the plants regularly but allow the soil to dry slightly between waterings. Use a moisture meter to check the soil’s condition before watering. |
| Planting too close together | Crowding the plants too closely can lead to competition for nutrients, water, and sunlight, which can weaken the plants and reduce the yield. | Follow spacing guidelines for each type of plant and use a ruler or measuring tape to ensure proper spacing. |
How To Build A Raised Garden Bed
Common Questions
Can I build a raised garden bed on concrete?
What is the best wood to use for a raised garden bed?
How deep should my raised garden bed be?
Can I use landscape fabric in my raised garden bed?
References
- Building a Raised Bed Garden - Texas A&M AgriLife Extension ... (agrilifeextension.tamu.edu)
- How to Build a Raised Garden Bed | City of Arlington, TX (arlingtontx.gov)
- Raised Bed Gardening - CDC (atsdr.cdc.gov)
- One of the Easiest Garden Beds to Build - UF/IFAS Blogs (blogs.ifas.ufl.edu)
Cite this guide
DIY Furniture with Pegboard (2026). How To Build A Raised Garden Bed. https://pegbuild.com/how-to-build-a-raised-garden-bed/
Feel free to cite or share this guide.