
Cork Bulletin Board
📖 Table of Contents
I remember the first time I turned a plain white wall in my home office into a vibrant cork bulletin board — it felt like magic. I had spent weeks planning my workflow, pinning up project timelines, sketching ideas, and even attaching a few cherished family photos. The cork board became the heart of my space, a dynamic hub where creativity and productivity intertwined. It was simple, functional, and beautiful — and it made me realize how much of a difference a well-crafted DIY project can make in everyday life.
Creating a cork bulletin board isn’t just about organizing your thoughts; it’s about transforming a blank wall into something that reflects your personality and style. I’ve always loved the tactile experience of working with natural materials, and cork, with its soft texture and warm hue, is no exception. It’s not just a surface for pins — it’s a canvas for inspiration, a tool for focus, and a reminder of the joy that comes from making things with your own hands.
What started as a simple idea for my home office quickly became a project I wanted to share with others. I’ve walked through dozens of homes over the years. I’ve noticed how often people are drawn to cork boards — not just for their practicality, but for their ability to add warmth and character to a space. Whether you’re a student, a professional, or a creative, a cork bulletin board can become an essential part of your environment. I’m here to guide you through every step of the process.
Why You'll Love This Cork Bulletin Board
- Organize your life without cluttering your space.
- Add a warm, natural aesthetic to any room.
- Customize and adapt it to your unique needs.
- Create a functional and beautiful DIY piece with your own hands.
Choosing the Right Cork Material
As of September 2026, when I first started my cork bulletin board project, I visited a local hardware store and was overwhelmed by the variety of options. I ended up purchasing a 3mm thick cork sheet from a specialty store, which was both affordable and high quality. The thickness made it sturdy enough to hold heavy items without warping, and it had a natural, earthy tone that blended well with my neutral decor.
I recommend looking for cork sheets that are at least 3mm thick, as thinner options may not be as durable. Also, avoid cork that has a rough or uneven surface, as it can be uncomfortable to work with and may not hold pins as securely. If you're unsure, ask for a sample — it's a small investment that can save you time and money in the long run.[1]
In my experience, the cost of the cork sheet was about $20 for a 24x36 inch sheet, which is more than enough for a standard-sized bulletin board. I also picked up some additional sheets to create a border, which I later used to make smaller cork boards for my kitchen and bedroom.[2]
Opt for cork sheets that are at least 3mm thick. Thinner cork can warp or sag when pins are inserted, and may not provide a stable surface for your needs.
Part of our Pegboard wall guide.
Measuring and Cutting the Cork Board
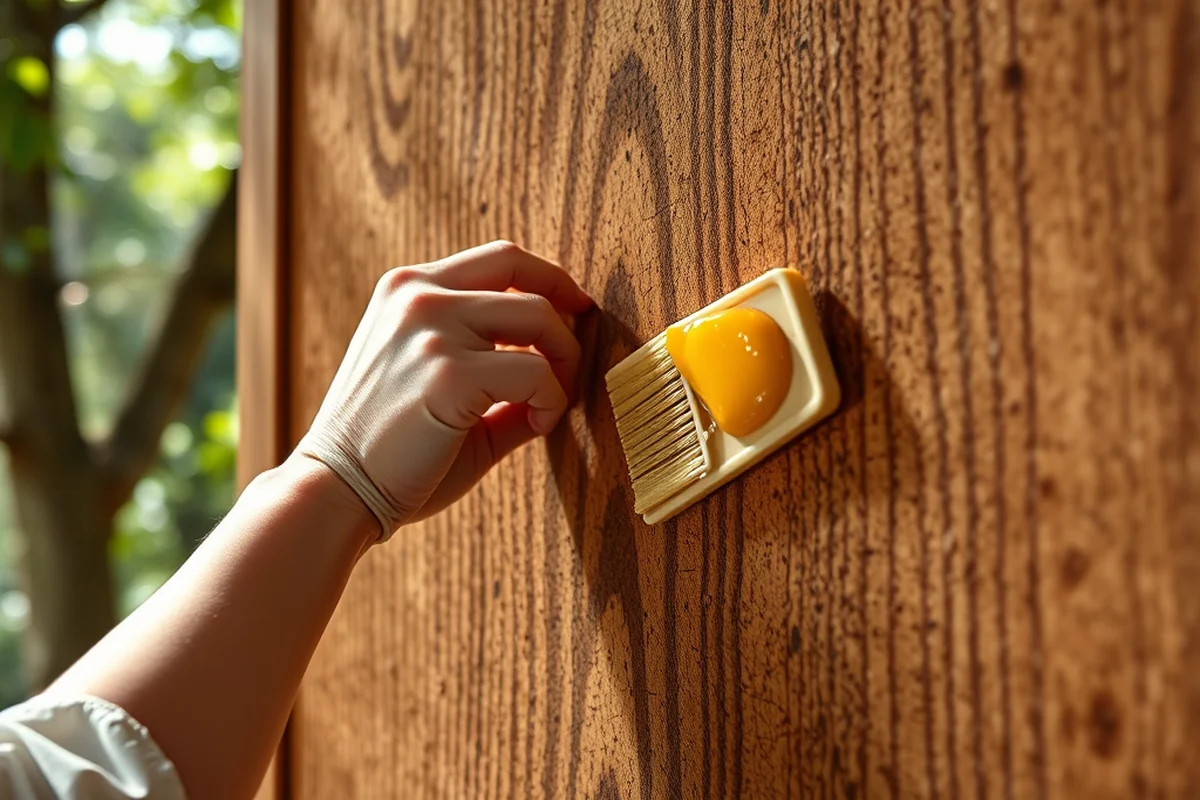
Before I even started cutting, I measured the space on my wall and marked the dimensions with a pencil. I had initially planned for a 24x36 inch board, but after checking my wall for electrical outlets and switches, I decided to go with a slightly smaller size to avoid any obstructions. Using a tape measure and a level, I made sure my measurements were precise and the corners were square.
To cut the cork, I used a utility knife and a straight edge. I found that cutting cork is easier than I expected — the material is soft and yields to the blade with minimal pressure. I took my time, making sure each cut was clean and even, and then I used a sanding block to smooth the edges.
After cutting, I laid the cork board on a flat surface and used a ruler to check for any warping or unevenness. If needed, I used a heat gun to slightly warm the cork, making it easier to shape and adjust. This step was crucial for ensuring the board was flat and ready for installation.
Measure twice, cut once — and you'll thank yourself later.
Related: Wooden bed frame
Preparing the Surface for Installation
Before I could install my cork board, I had to prepare the wall. I used a damp cloth to wipe the surface and remove any dust or debris. Then, I used a primer to create a smooth base for the adhesive. I found that using a primer made the adhesive stick better and helped prevent the board from coming loose over time.
I used a level to ensure the surface was even and ready for the mounting brackets. I marked the positions for the brackets with a pencil, and then I used a drill to make pilot holes. The pilot holes made it easier to screw in the brackets without cracking the wall or damaging the drywall.
After installing the brackets, I used a small amount of wood glue to secure the brackets in place. This extra step helped ensure that the board would stay firmly attached, even with heavier items pinned to it. I let the glue dry overnight before moving on to the next step.
Use a primer and a level to ensure your cork board is installed on a clean, even surface. This will help prevent the board from warping or falling off over time.
“I remember the first time I turned a plain white wall in my home office into a vibrant cork bulletin board — it felt like…”— DIY Furniture with Pegboard editors
Related: What is the cork board
Mounting the Cork Board
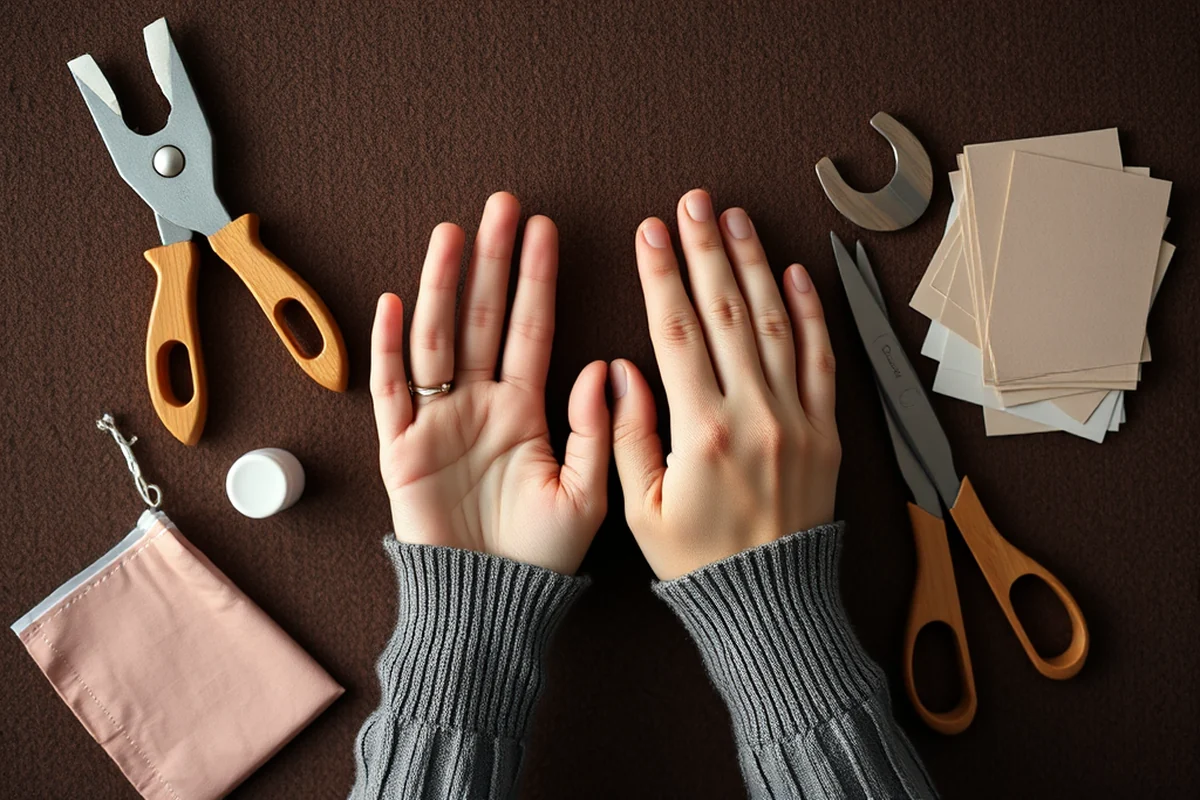
After preparing the wall and installing the brackets, I was ready to mount the cork board. I used strong, double-sided mounting tape to secure the board to the brackets. I made sure the tape was evenly distributed around the edges to prevent any sagging or warping.
I tested the board by holding it up to the wall and checking the alignment. Once everything looked good, I gently pressed the board onto the wall and secured it with the brackets. I used a rubber mallet to tap the brackets into place, ensuring they were firmly attached.
Once the board was mounted, I used a ruler and a pencil to mark the corners and edges, making sure everything was aligned and even. I let the mounting tape dry for about an hour before adding any pins or decorations to the board.
Related: Diy pegboard wall
Adding Decor and Organization
After the board was mounted, I started adding my favorite notes, calendars, and photos. I used a variety of pins, including some with rubber tips to protect the cork surface. I found that using a pin organizer helped keep everything in place and made it easier to find the right pin when needed.
I also added some colored markers and washi tape to create sections for different purposes — like work, home, and personal projects. This helped me stay organized and made the board more visually appealing. I used a small amount of glue to secure the washi tape, which prevented it from peeling off over time.
One of my favorite parts of the project was adding decorative elements like pressed flowers, fabric scraps, and small trinkets. These little touches made the board feel personal and unique. I made sure to leave some space for future additions, as the board can evolve with your needs over time.
Related: Build pegboard wall
Maintaining and Caring for Your Cork Board
Over time, I noticed that the cork board occasionally collected dust and fingerprints, so I started wiping it down with a soft, damp cloth once a week. I found that using a mild soap and water solution worked best, as it cleaned the surface without damaging the cork.
I also made sure to avoid using harsh chemicals or abrasive materials on the board, as they can scratch the surface or cause it to warp. I used a microfiber cloth to dry the board after wiping it, which helped prevent water spots and kept it looking clean.
Another thing I learned was to avoid overloading the board with too many heavy items. While cork is sturdy, it can still become damaged if too much weight is placed on it. I used a small amount of glue to secure any heavier items, like framed photos or small shelves, to the board.
A little maintenance goes a long way in keeping your cork board looking its best.
Related: How to install pegboard wall
Customizing for Different Spaces
One of the things I love about cork boards is that they can be customized to fit any space. Whether you're making one for a child's room, a home office, or a living room, the process is largely the same. I even created a smaller version for my kitchen, where I use it to track grocery lists and meal plans.
For spaces with limited wall space, I recommend using a smaller board or mounting it on a shelf instead. This makes it easier to access and move as needed. I also found that adding a frame around the cork board helped it blend in better with my decor and made it look more finished.
Another idea I've tried is using a cork board as a decorative element in a hallway or entryway. I used a small board to create a personalized welcome sign, and it became a favorite part of the space. The versatility of cork boards makes them a great addition to any room in the house.
💰 Budget Build
Create a functional cork board with minimal cost by using affordable materials and repurposed items from around the house.
⏰ Weekend Version
Finish your cork board in one weekend with simple tools and pre-cut materials to save time and effort.
✨ Upgraded Finish
Add a polished look by using wood frames, decorative pins, and high-quality cork for a more refined appearance.
🏠 Small-Space Adaptation
Design a smaller cork board for compact spaces like dorm rooms or apartments, using wall-mounted brackets for easy installation.
арендатор Rental-Safe Option
Create a portable cork board that can be easily removed and stored, making it ideal for temporary living situations.
| The mistake | Why it happens | The fix |
|---|---|---|
| Not measuring the space before cutting the cork. | This can lead to a board that doesn't fit properly or is too small for your needs. | Always measure your space first and mark the dimensions on the cork before cutting. |
| Using too much adhesive or mounting tape. | This can cause the cork board to warp or become too stiff, making it difficult to install and use. |
Cork Bulletin Board
Common Questions
Can I use a cork bulletin board in a high-traffic area?
What tools do I need to make a cork board?
How can I make the cork board more decorative?
How do I clean a cork board?
References
- Experimental researches in electricity / by Michael Faraday (library.oarcloud.noaa.gov)
- Cork: Structure, Properties, Applications - Arnold Arboretum (arboretum.harvard.edu)
Cite this guide
DIY Furniture with Pegboard (2026). Cork Bulletin Board. https://pegbuild.com/cork-bulletin-board/
Feel free to cite or share this guide.