
How To Make Furniture Polish With Olive Oil
📖 Table of Contents
- Why Olive Oil Is the Perfect Base for DIY Furniture Polish
- Step-by-Step Guide to Making Olive Oil Furniture Polish
- Customizing Your Polish for Different Wood Types
- How to Apply the Polish for Maximum Shine and Protection
- Tips for Storing and Reusing Your Olive Oil Polish
- Make It Your Way
- Frequently Asked Questions
I remember the first time I used olive oil to polish an old oak table from my grandmother’s home. It was a dusty, chipped relic, and I had no idea how to restore it without spending a fortune. But then I stumbled upon a simple DIY method — mixing olive oil with beeswax and a drop of lemon — and the transformation was nothing short of magical. The table shone with a warm, natural luster, and the scent of fresh citrus lingered in the air. It was the first time I realized how powerful a few everyday items could be when applied with care and knowledge.[1]
Since that day, I’ve experimented with countless furniture polish recipes, and olive oil has become my go-to base. It’s not just about the shine it gives, though that’s impressive — it’s about how it nourishes the wood and brings out its natural character. Unlike harsh chemical polishes that strip away the wood’s soul, olive oil is gentle, renewable, and deeply satisfying to work with. It’s a small act of care that makes a huge difference in how your furniture feels and looks for years to come.
This article is about how to make furniture polish with olive oil — a method that’s simple, cost-effective, and kind to both your furniture and the environment. I’ll take you through each step of the process, from choosing the right materials to applying the polish with the proper technique. Whether you’re a seasoned DIYer or just starting out, this guide will help you restore, protect. Enhance your furniture with a natural, homemade solution that’s easy on the wallet and gentle on the soul.
Why You'll Love This Furniture Polish
- It’s a natural, non-toxic alternative to commercial polishes.
- It deep-conditioned wood and prevents dryness and cracking.
- It enhances the grain and color of natural wood surfaces.
- It’s cost-effective and can be made with ingredients you likely already have at home.
Why Olive Oil Is the Perfect Base for DIY Furniture Polish
As of August 2026, Olive oil has been used for centuries not just in cooking, but in wood care and furniture restoration. Its high concentration of oleic acid makes it an excellent moisturizer for wood, preventing it from drying out and cracking over time. Unlike synthetic oils, which can sometimes clog the wood’s pores, olive oil is easily absorbed, leaving a smooth, non-greasy finish. It’s also non-toxic and safe for use on surfaces that come into contact with food or are used by children.
One of the things I love about using olive oil is that it’s widely available and relatively inexpensive. You can find it at any grocery store, and it’s often on sale or in bulk. The versatility of olive oil also means you can adjust the formula based on the type of wood you’re working with — a bit more beeswax for durability on a dining table, or a lighter mix for delicate surfaces.
In my own experience, olive oil has a unique ability to restore the natural luster of wood. When I used it on my grandmother’s table, it didn’t just polish the surface — it revived the wood’s deep, rich color and made it feel like new. The result was a finish that looked professional, but was made entirely from natural ingredients.
Use extra virgin olive oil for the best results. It has a higher concentration of beneficial compounds and a more neutral scent compared to lower-quality oils.
Step-by-Step Guide to Making Olive Oil Furniture Polish
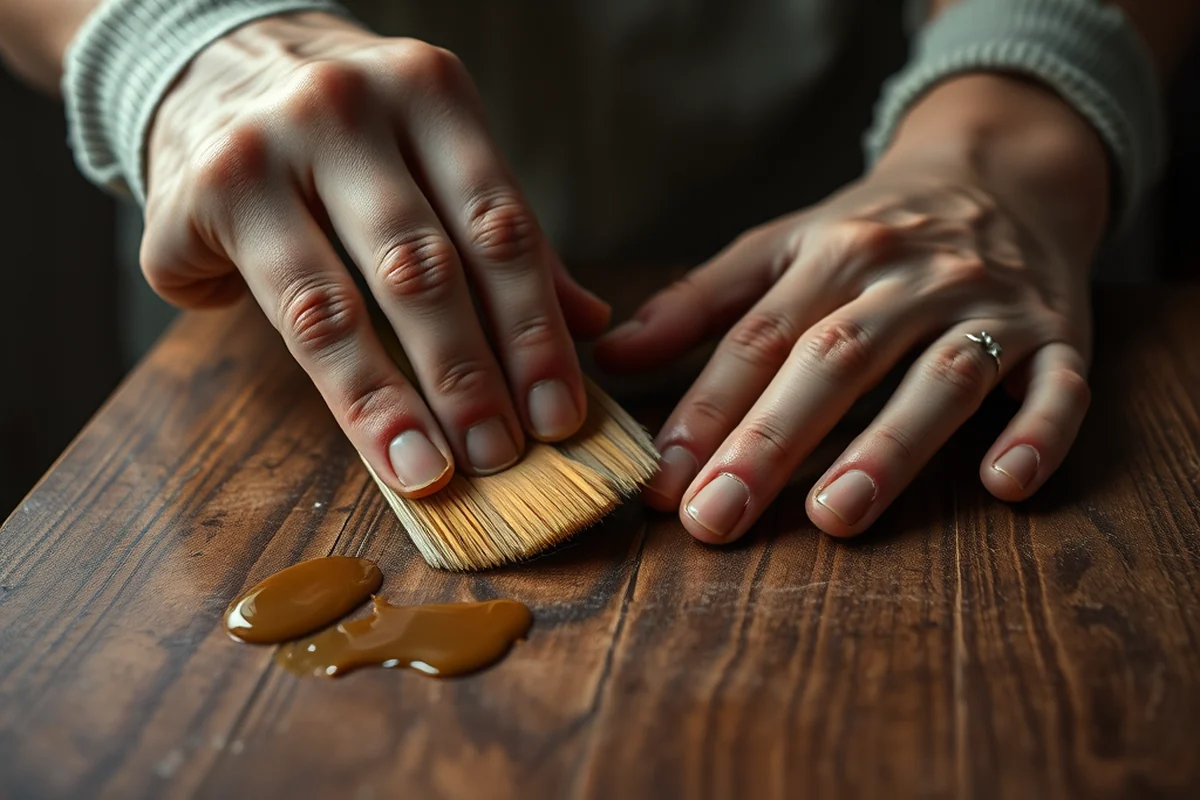
Start by gathering your materials: olive oil, beeswax (optional), a small bowl, a whisk or spoon, and a clean cloth. The basic recipe calls for a few tablespoons of olive oil and a teaspoon of beeswax for every cup of polish. Mix the ingredients in a bowl until the beeswax is fully melted and the mixture is smooth.
Once the mixture is ready, apply it to your furniture using a clean, lint-free cloth. Work in small sections, rubbing the polish in circular motions to ensure even coverage. Let the polish sit for 10-15 minutes to allow the oil to be absorbed into the wood. Then, use a second clean cloth to buff the surface to a shine.[2]
I’ve found that this process works best on unfinished or lightly used wood. If the furniture has a lacquer or varnish finish, you’ll want to test the polish on a small, inconspicuous area first. I always do this to avoid damaging the existing finish and to ensure that the polish doesn’t leave a film or residue.
A little goes a long way — this polish can be used on multiple pieces of furniture with just a small amount.
Related: How to make furniture look distressed
Related: How to make furniture polish at home
Related: Diy furniture polish with olive oil
Related: What Is The Purpose Of Furniture Pads
Related: How To How To Make A Paper Boat
Related: Furniture Leg Protectors
Related: How To Make A Bed In Terraria
Related: How To Make Your Bed
Related: How To Make With Cardboard
Related: How To Make A Good Paper Airplane
Related: How To Make A Paper Hat
Related: What Is Padded Headboard
Related: How To Make In Cardboard
Customizing Your Polish for Different Wood Types
Not all wood is the same, and not all furniture requires the same type of polish. Hardwoods like oak and maple benefit from a richer blend that includes beeswax for added protection. Softer woods like pine or cedar may require a lighter formula with less beeswax to avoid making the surface too slick.
I’ve experimented with different ratios of oil to beeswax over the years. I’ve found that a 3:1 ratio of oil to beeswax provides a balanced finish that’s neither too greasy nor too dry. For a more durable finish on high-traffic areas like tables or chairs, I might increase the beeswax slightly.
Another thing to consider is the age of the wood. Older pieces may need more thorough conditioning to restore their natural luster, while newer furniture might only need a light application to enhance the finish. I always start with a thin coat and build up as needed, checking the results after each step.
Before applying the polish to the entire surface, test it on a small, hidden area to ensure it doesn’t react negatively with the wood or existing finish.
“I remember the first time I used olive oil to polish an old oak table from my grandmother’s home.”— DIY Furniture with Pegboard editors
How to Apply the Polish for Maximum Shine and Protection
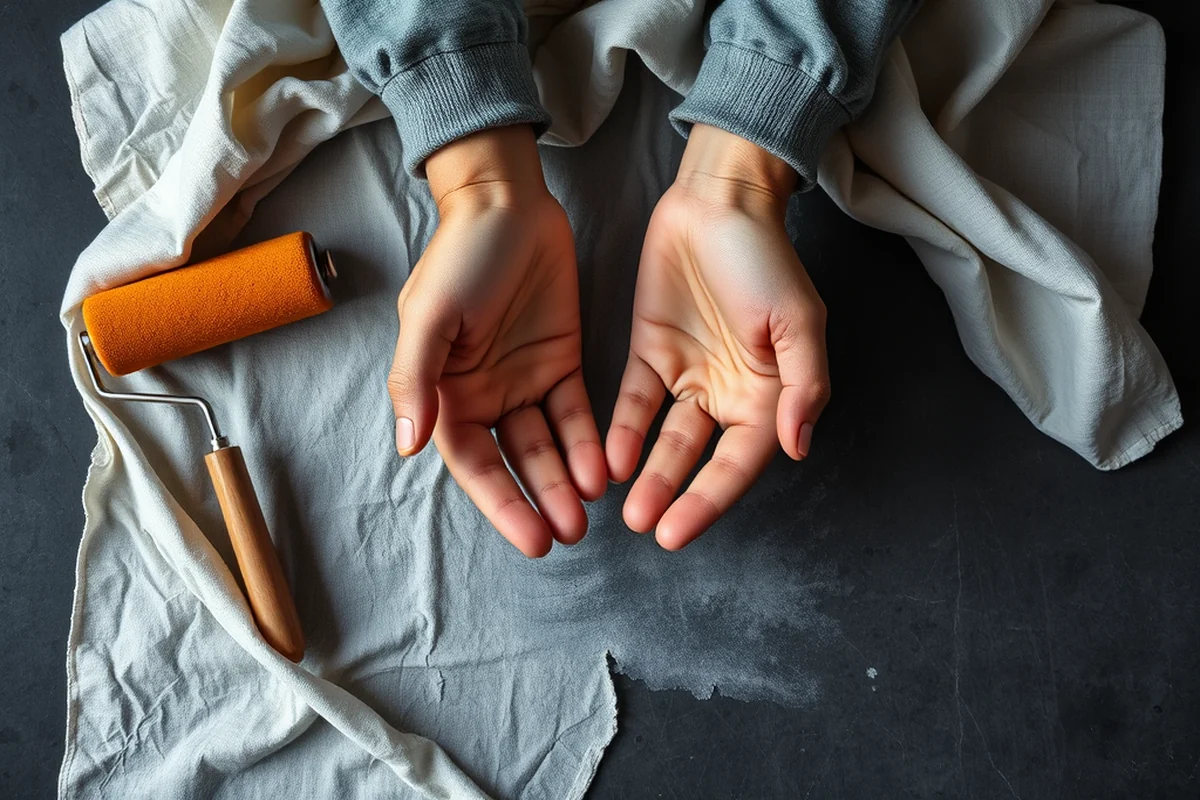
After mixing your polish, it’s important to apply it in the right way. I recommend using a soft, lint-free cloth and working in small sections to ensure even coverage. Apply the polish in circular motions, allowing it to penetrate the wood. This helps the oil bond with the surface and provides better protection.[3]
Once the polish has been applied, let it sit for a few minutes — this allows the oil to be fully absorbed into the wood. Then, use a second clean cloth to buff the surface. Buffing not only enhances the shine but also helps remove any excess oil that might leave a residue.
I’ve found that the best results come when the furniture is clean and dry before applying the polish. I always dust the surface thoroughly with a microfiber cloth and wipe it down with a slightly damp cloth to remove any dirt or grime. This ensures that the polish adheres properly and doesn’t trap any particles in the wood.
Tips for Storing and Reusing Your Olive Oil Polish
If you’re not using your polish immediately, it’s best to store it in an airtight container to prevent it from oxidizing or going rancid. I keep mine in a small, labeled jar in a cool, dark place — my kitchen cabinet works well for this. Olive oil can last for several months when stored properly, but I always check for any changes in smell or texture before using it again.
One of the things I love about this polish is that it can be reused multiple times. If the mixture starts to harden or thicken, I simply add a small amount of fresh olive oil and whisk it again to restore its consistency. This is a great way to reduce waste and save money in the long run.
I’ve also found that if you use a small amount of polish on multiple pieces of furniture, it can last for weeks. I often apply a thin coat to a few items at a time, which means the polish doesn’t go bad before I can use it up. This approach is especially useful if you’re working on a big restoration project over several days.
💰 Budget Build
Use only olive oil and a clean cloth for a quick, inexpensive polish. Ideal for small projects or quick touch-ups.
⏰ Weekend Version
Mix olive oil with beeswax and apply over the course of a weekend for a deep, lasting finish.
✨ Upgraded Finish
Add a drop of lemon oil or a few drops of essential oil for a scented, enhanced finish that deepens the wood’s natural color.
🛋️ Small-Space Adaptation
Use a small jar and a microfiber cloth to polish furniture in tight spaces without making a mess.
🏠 Rental-Safe Option
Use a water-based polish or a light application of olive oil to avoid damaging rental furniture.
| The mistake | Why it happens | The fix |
|---|---|---|
| Using too much polish at once | Applying too much can leave a greasy residue that’s difficult to remove and may dull the wood’s finish over time. | Apply a thin, even coat and wipe away any excess immediately with a clean cloth. |
| Using the wrong type of cloth | Linty or abrasive cloths can scratch the wood or leave behind fibers that are hard to remove. | Use a soft, lint-free microfiber cloth to apply and buff the polish. |
| Storing the polish in an open container | Exposure to air and light can cause the oil to go rancid and lose its effectiveness over time. | Store the polish in an airtight, dark container in a cool, dry place. |
How To Make Furniture Polish With Olive Oil
Common Questions
Can I use olive oil on all types of wood?
How long does the polish last once applied?
Can I use other oils instead of olive oil?
Is it safe to use this polish on furniture that comes into contact with food?
References
- Invest in Our Planet - Ventura County (venturacounty.gov)
- Natural Alternative Household cleaning Products Recipe (poncatribe-ne.gov)
- washing, cleaning, and polishing materials - GovInfo.gov (govinfo.gov)
Cite this guide
DIY Furniture with Pegboard (2026). How To Make Furniture Polish With Olive Oil. https://pegbuild.com/how-to-make-furniture-polish-with-olive-oil/
Feel free to cite or share this guide.