
Pegboard Wall Organizer
📖 Table of Contents
- How to Choose the Right Pegboard and Mounting Hardware
- Layout and Planning — The Secret to a Functional System
- Installation Tips — How to Make It Perfect on the First Try
- Customizing Your Pegboard with Hooks, Pegs, and Shelves
- Organizing Your Tools and Supplies — Keeping Everything in Its Place
- Maintaining Your Pegboard Wall Organizer — Keeping It Looking Great
- Expanding Your Pegboard System — Going Beyond the Basics
- Make It Your Way
- Frequently Asked Questions
The first time I installed a pegboard wall organizer in my garage, it felt like unlocking a secret compartment in my brain — suddenly, tools, hardware. Odds and ends had a place that made sense. Before that, my garage was a chaotic maze of clutter, and I’d spend 10 minutes hunting for a single screwdriver. Now, with a pegboard system, I can find what I need in under 30 seconds. It’s that simple, and that powerful.[1]
Building a pegboard wall organizer was one of the most satisfying DIY projects I’ve ever done. It took just one weekend, cost under $40, and required only a few basic tools. The satisfaction of watching an empty wall transform into a functional, organized space was worth every minute. And the best part? It didn’t take any advanced skills — just a little patience and a willingness to measure twice.[2]
What started as a simple idea to keep my garage organized quickly turned into a full-blown system that I use daily. I’ve since expanded the concept to my home office, my kitchen, and even my child’s playroom. A pegboard wall organizer isn’t just a storage solution — it’s a lifestyle upgrade that brings clarity, efficiency, and a sense of control to any space.
Why You'll Love This Pegboard Wall Organizer
- Transforms cluttered spaces into organized, functional areas
- Customizable for any tool, hardware, or kitchen gadget
- Adds a sleek, modern aesthetic to any room
- Built in one weekend with minimal cost and effort
How to Choose the Right Pegboard and Mounting Hardware
As of September 2026, I chose a 48x48-inch pegboard made of 100% recycled plastic, which is lightweight yet strong enough to hold tools and hardware. The material is also water-resistant, which was a big plus for my garage. Mounting hardware should be sturdy — I used 3/8-inch screws and wall anchors to ensure it could support even heavier items like paint cans or large tools.[3]
I recommend measuring the wall space first to determine the size and placement of the pegboard. I used a level to make sure the board was perfectly aligned, which was crucial for the look. I also measured the weight of the items I planned to hang to ensure the wall could handle the load. For a garage, I used a combination of drywall anchors and toggle bolts for added security.
One tip I learned was to pre-drill holes in the pegboard before mounting it. This made the installation process much smoother. I also made sure to keep the pegboard slightly lower on the wall, so I could easily reach items without stretching. The right choice of pegboard and mounting hardware can make the difference between a flimsy system and one that lasts for years.
For garage use, go with recycled plastic or metal pegboards. For home offices or kitchens, wood or painted pegboards can add style.
Part of our Pegboard wall guide.
Layout and Planning — The Secret to a Functional System
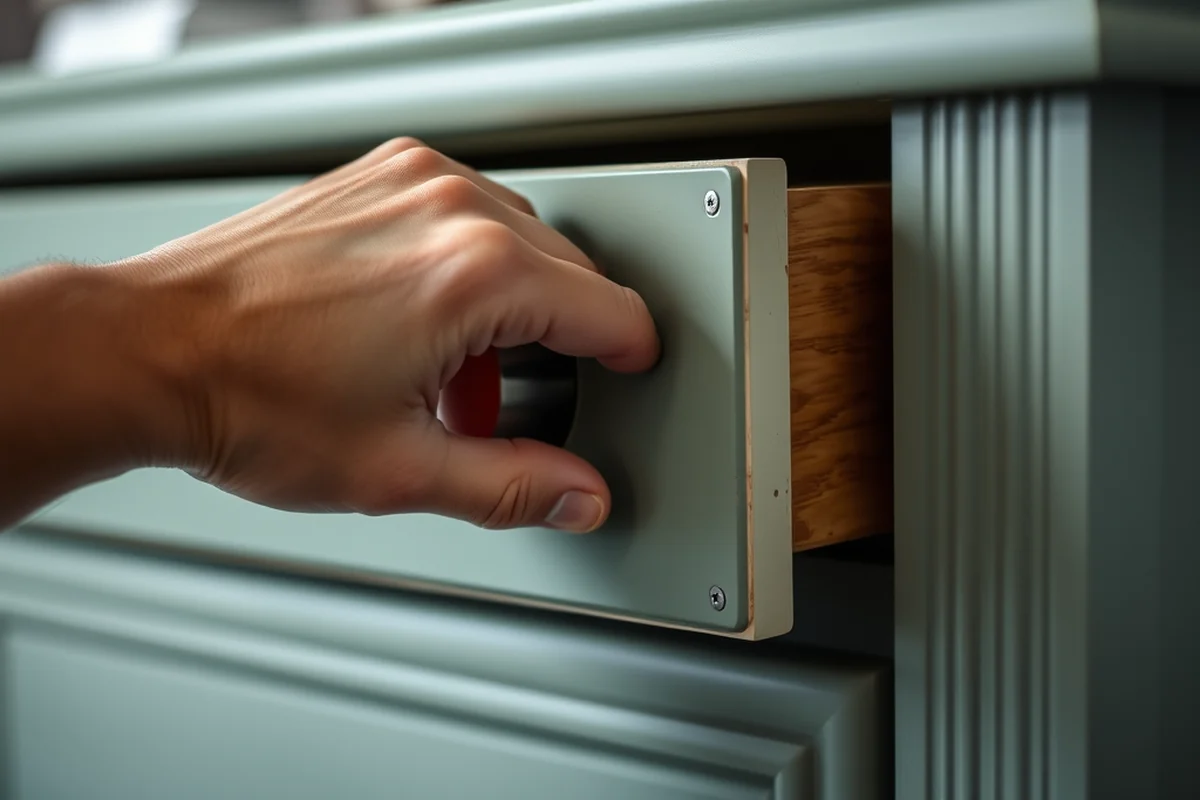
I spent an afternoon planning the layout of my pegboard. I listed all the tools, hardware, and items I wanted to store, then grouped them by usage. For example, I grouped all my hand tools in one section and hardware like screws and nails in another. This helped me visualize how much space I needed for each category.
I used graph paper and a pencil to sketch my plan, marking the size and spacing of each peg, hook, and shelf. I also considered the height at which I’d place items. For example, I placed frequently used tools at waist level, and less-used items higher up. I made sure to leave space between sections for future additions.
One key decision I made was to use a mix of pegs, hooks, and shelves. Pegs were perfect for hanging screwdrivers, pliers, and hammers. Hooks held paint cans and buckets. Shelves gave me a place to store larger items like measuring tools and paint rollers. This flexible layout has made my pegboard system both functional and adaptable.
Plan your layout like a puzzle — every piece has a place.
Related: Build pegboard wall
Installation Tips — How to Make It Perfect on the First Try
Once I had the layout planned, I marked the wall with a pencil to indicate where the pegboard would go. I used a level to ensure it was straight. I then drilled pilot holes and attached the mounting hardware. I secured the pegboard to the wall using the screws and wall anchors I had selected.
To ensure the pegboard didn’t shift or wobble after installation, I tightened all the screws until they were snug. I also took a step back and checked the board from multiple angles to make sure it was perfectly aligned. I used a small magnetic level to verify the alignment, which was surprisingly helpful.
One thing I learned the hard way was that over-tightening the screws can damage the wall or the pegboard. I now use a torque screwdriver to avoid over-tightening. I also made sure to avoid drilling into any existing wiring or plumbing behind the wall by checking the layout with a stud finder first.
This tool prevents over-tightening, which can damage your wall or pegboard. It’s a small investment that pays off.
“The first time I installed a pegboard wall organizer in my garage, it felt like unlocking a secret compartment in my brain — suddenly, tools…”— DIY Furniture with Pegboard editors
Related: How to install pegboard wall
Customizing Your Pegboard with Hooks, Pegs, and Shelves
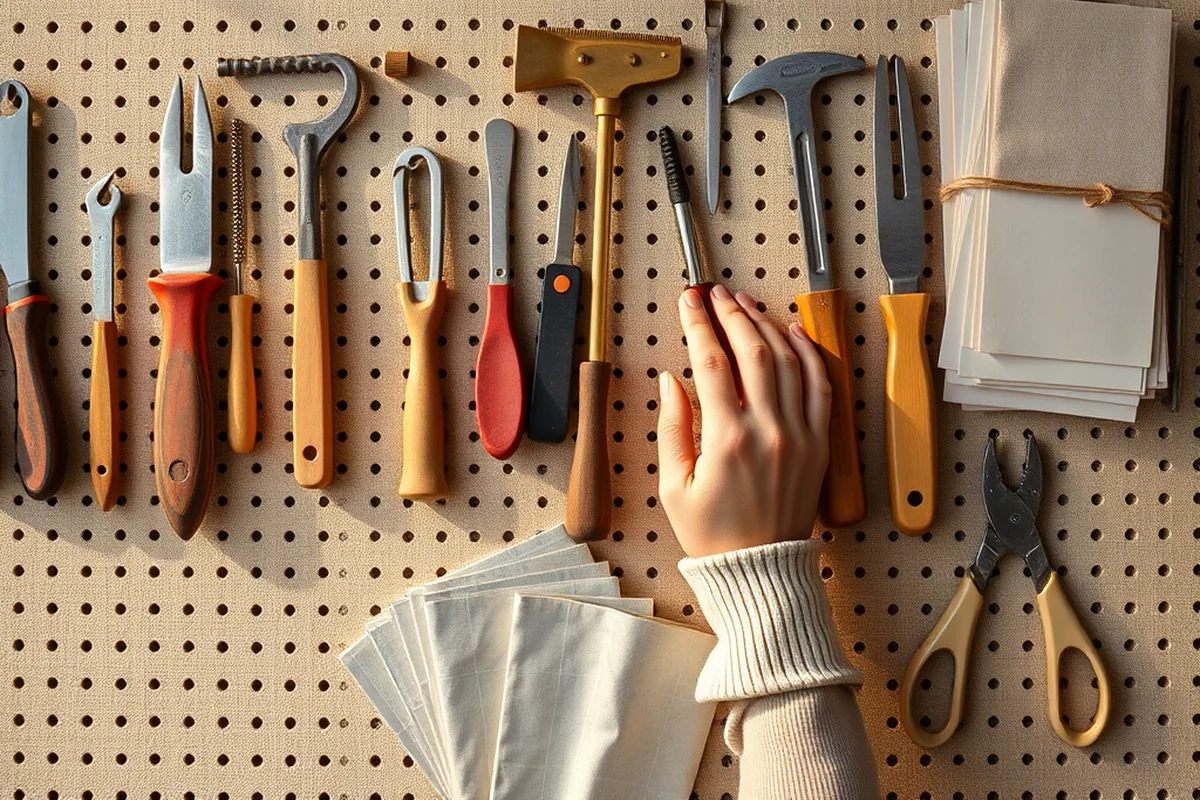
After the pegboard was mounted, I started adding the accessories. I used a combination of pegs, hooks, and shelves to maximize the available space. For tools with handles, like hammers and pliers, I used standard pegs. For items like paint cans or buckets, I used large hooks.
I also added a few small shelves to my pegboard, which gave me a place to store larger items like measuring tapes, paint rollers, and toolboxes. The shelves were easy to attach — I simply used the existing holes on the pegboard and inserted the shelf brackets.
One tip I found useful was to label each section of the pegboard. I used a permanent marker to write the names of the tools and items in each section. This made it much easier to find what I needed quickly. I also used colored labels for different categories, like red for hardware and blue for tools.
Related: How to pegboard wall
Organizing Your Tools and Supplies — Keeping Everything in Its Place
Once the pegboard was fully customized, I went through my tools and hardware and sorted them into categories. I grouped similar items together, like all my screwdrivers in one section and all my wrenches in another. This made it much easier to find what I needed quickly.
I used a few different pegs for different sizes of tools. I also used hooks for items that needed to hang vertically, like hammers and pliers. For items that needed to be stored horizontally, like measuring tapes and rulers, I used small shelves.
I made sure to leave a few empty pegs for future additions. I also used a small label maker to create custom labels for each section of the pegboard. This helped me stay organized and made it much easier to find tools when I needed them.
Related: How to hang pegboard wall
Maintaining Your Pegboard Wall Organizer — Keeping It Looking Great
I clean my pegboard regularly with a damp cloth and a mild detergent. I also use a dry cloth to wipe down the surface to remove any excess moisture. This helps prevent dirt and grime from building up on the board.
I also check the pegboard periodically to make sure the screws and mounting hardware are still secure. Over time, the screws can loosen, so I tighten them as needed. I also check the pegs and hooks to make sure they’re still holding up and haven’t worn down.
One thing I’ve learned is that even the best pegboard system can fall out of place if not maintained properly. I make sure to clean the board regularly and check the hardware to ensure everything is still secure. A little maintenance goes a long way in keeping your pegboard looking great and functioning like new.
A little maintenance keeps your pegboard looking great and working better.
Related: Diy pegboard climbing wall
Expanding Your Pegboard System — Going Beyond the Basics
After my garage pegboard was up and running, I decided to install another one in my home office. I used a smaller pegboard for this space, which was perfect for storing pens, paperclips, and other small items. I also used a different color of pegboard to make it stand out against the walls.
I also added a few small shelves to the home office pegboard, which gave me a place to store books and files. I used the same mounting hardware as before, which made the installation much easier. I also used a different type of pegs for this pegboard, which were smaller and better suited for the space.
One thing I found useful was to use a different color for each pegboard in the house. This helped me identify which pegboard was which at a glance. I also used different types of hooks and pegs to customize each pegboard according to its specific needs.
💰 Budget Build
Use inexpensive pegboards and basic mounting hardware to create a functional organizer with minimal cost.
⏱️ Weekend Version
A quick, no-frills pegboard installation that can be completed in a single day with basic tools and materials.
✨ Upgraded Finish
Add a painted or laminated finish to your pegboard for a more polished, stylish look.
🏠 Small-Space Adaptation
Create a compact pegboard system that fits perfectly in small spaces like kitchens, bathrooms, or closets.
🔒 Rental-Safe Option
Use removable mounting hardware that doesn’t damage walls, perfect for short-term stays or rental properties.
| The mistake | Why it happens | The fix |
|---|---|---|
| Not measuring the wall before installation. | This can lead to misalignment or the pegboard not fitting properly. | Always measure the wall and mark the installation points before mounting the pegboard. |
| Over-tightening the screws. | This can damage the wall or the pegboard and make it less stable. | Use a torque screwdriver or tighten the screws just enough to secure the pegboard without causing damage. |
| Neglecting to use wall anchors. | This can result in the pegboard falling off the wall over time. | Always use wall anchors or toggle bolts for added support, especially for heavier items. |
| Not planning the layout in advance. | This can lead to a disorganized system that doesn’t meet your needs. | Take time to plan your layout and group items by usage before installing the pegboard. |
Pegboard Wall Organizer
Common Questions
How do I choose the right size pegboard for my space?
Can I install a pegboard on drywall without damaging it?
What tools do I need to build a pegboard wall organizer?
How much does a pegboard wall organizer cost?
References
- Secondly, they are calculated to attract youngsters to reach ... - ERIC (files.eric.ed.gov)
- Educational Specifications for - DC DGS (dgs.dc.gov)
- Manufacturing from Recyclables: 24 Case Studies of Successful ... (nepis.epa.gov)
Cite this guide
DIY Furniture with Pegboard (2026). Pegboard Wall Organizer. https://pegbuild.com/pegboard-wall-organizer/
Feel free to cite or share this guide.