
How To Diy Bulletin Board
📖 Table of Contents
I remember the first time I mounted a DIY bulletin board in my home office. The wall was bare, the space felt lifeless, and I needed a way to make it feel more like me. I didn’t know it then. That simple act of screwing a board to the wall would spark a transformation — not just in the space, but in the way I organized my thoughts and ideas. A DIY bulletin board isn’t just for kids’ rooms or classrooms; it’s a powerful tool for anyone who wants to bring order to chaos, and it’s surprisingly easy to make.
The process of building my own bulletin board was a revelation. I had no carpentry experience, but I found that with just a few tools and materials, I could create a piece that was both functional and beautiful. I remember the satisfaction of watching my vision take shape — the way the wood felt smooth under my fingers, the smell of the paint as it dried. The first time I pinned up a list of my goals and watched them hang neatly in place.
If you’re thinking about how to DIY a bulletin board, I want to tell you: it’s not just about the final product. It’s about the act of making something that reflects your personality and serves a purpose. Whether you use it to track projects, store reminders, or display photos, a handmade board becomes a part of your daily life. It’s a small project with a big impact, and I’m here to walk you through every step.
Why You'll Love This DIY Bulletin Board
- Personalized design that reflects your style and space
- Cost-effective alternative to store-bought options
- A versatile tool for organizing life, work, and creativity
- A satisfying project that boosts your DIY confidence
Choosing the Right Materials
As of September 2026, the best bulletin boards are made from smooth, flat materials that allow pins to hold securely. I used a 3/4-inch thick pine board, which is affordable, easy to work with, and holds up well over time. For a more modern look, I’ve also used MDF (medium-density fiberboard), which gives a clean, finished surface.
I’ve tested different wood types, and pine and MDF are the two I recommend. Pine is a bit more rustic, while MDF feels sleeker and is easier to paint. If you want to skip the wood altogether, you can use a large sheet of foam board — it’s lightweight and works great for smaller spaces.[1]
When buying your board, consider the size. I went with a 24-by-36-inch board, which is large enough for most needs but not overwhelming in a small room. The cost of the board alone was about $10–$15, depending on the material and where you buy it.
Measure the space first — it’s easier to adjust the board size to fit than to try to fit a board into a tight spot later.
Designing the Layout and Surface
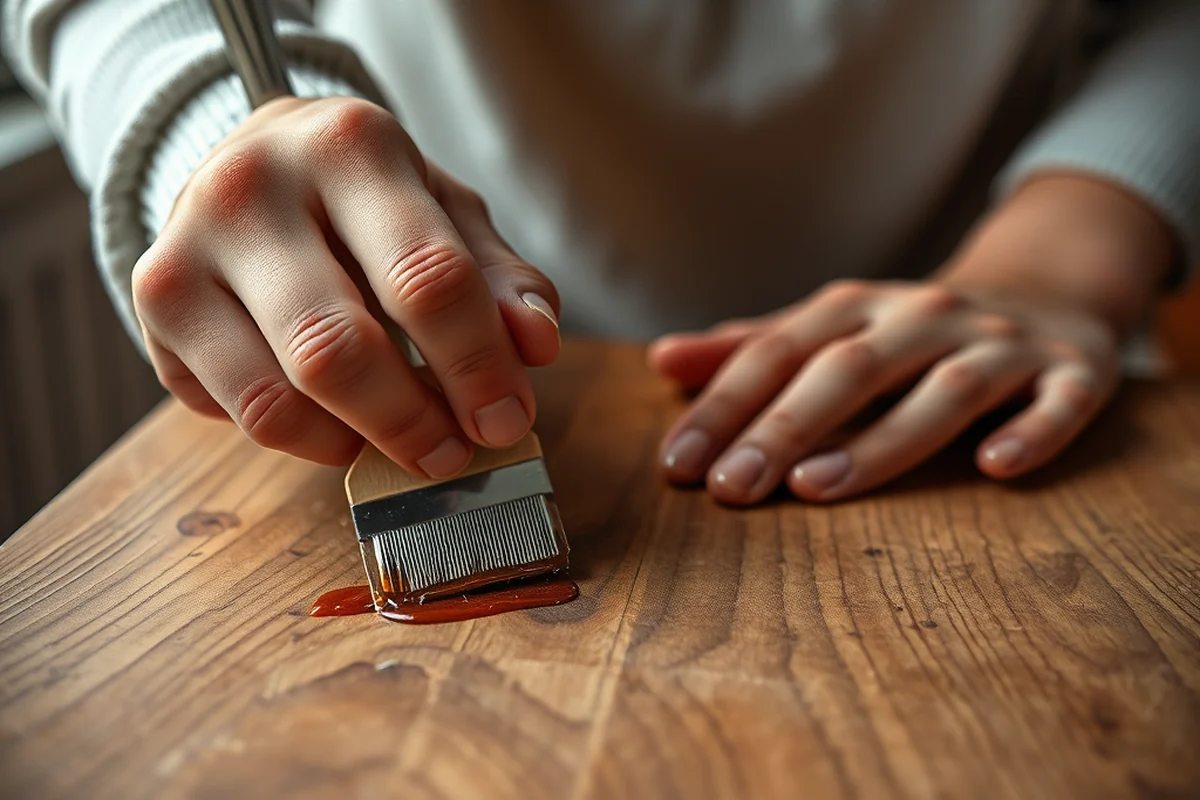
I painted my board with a light gray spray paint, which gave it a modern look and made it easy to see my notes and photos against the background. I used a brush to paint the edges, which gave it a finished, professional appearance. If you’re not confident with a brush, I recommend using a foam brush — it’s easy to control and lays the paint evenly. (16251, media.defense.gov)[2]
After painting, I used a fine-grit sandpaper (around 120 grit) to smooth out any bumps or rough spots. This step made the surface feel smooth and ready for pins. I also sealed the board with a clear polyurethane spray, which added a layer of protection and made it easier to clean in the future.
I’ve also used chalkboard paint on some of my boards — it gives a different look and allows you to write notes directly on the board, which is great for brainstorming or daily reminders. If you go this route, I recommend using a small piece of the board for testing before painting the whole thing.[3]
The right surface makes all the difference — smooth, sealed, and ready for your ideas.
Related: Diy giant led pegboard
Related: Dry Erase Board
Related: How To Set Up A Chess Board
Related: How To Cork Board
Related: A Chore Board
Related: What Is Board On Board
Related: How To Peg Board
Mounting the Board
To hang my board, I used 1.5-inch wood screws and a drill. I marked the spots where the screws would go on the back of the board and then drilled pilot holes. This step is crucial — it prevents the wood from splitting, especially if you're using a thinner board.
I used a level to make sure the board was straight as I attached it to the wall. I found that using a small square piece of cardboard behind the board while attaching it helped keep the surface flat and even. I also used a pencil to mark the positions on the wall before drilling, which made the process much easier.
After mounting, I tested the board by pinning a few notes to it. It held perfectly, and I felt a sense of accomplishment when I saw the finished product. I also noticed that the board was much more stable and secure than I had expected.
Pilot holes help prevent the wood from splitting and make the mounting process much smoother. Take a minute to drill them — it’ll save you time and frustration later.
“I remember the first time I mounted a DIY bulletin board in my home office.”— DIY Furniture with Pegboard editors
Related: Diy pegboard alternative
Related: Cork Board Background
Related: Chess Board Setup Picture
Related: Cork Bulletin Board
Adding Functional Elements
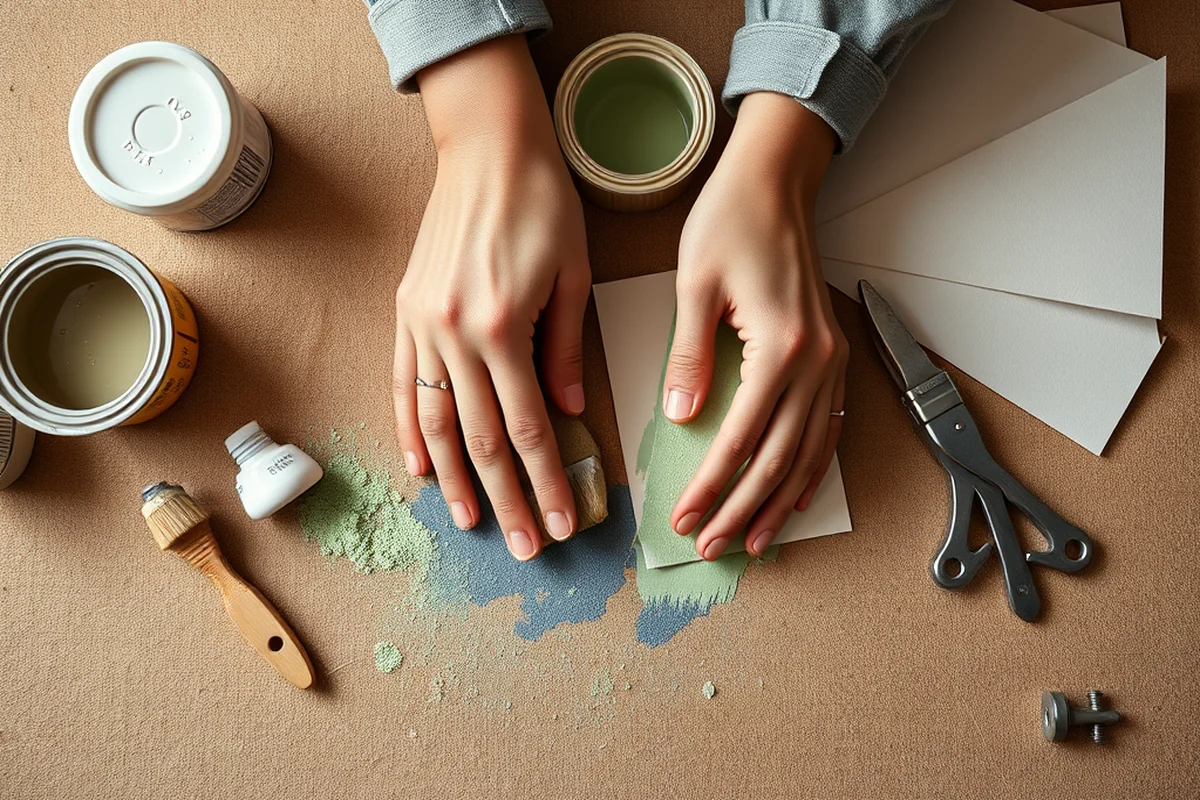
I added a few pockets to my board for holding pens, small supplies, and loose notes. I used fabric glue to attach the pockets, which worked well and didn’t damage the board. I also used a small piece of felt in each pocket to keep things from sliding around.
I attached a small magnetic strip to the top of the board, which let me hang small items like paper clips and keys. It was a simple addition that made the board more practical for everyday use. I used a piece of double-sided tape to attach the magnetic strip — it was easy and didn’t require any drilling.
I’ve also used removable adhesive hooks on some of my boards for hanging small items like calendars or small picture frames. These hooks are affordable and don’t leave any residue on the board, which is a big plus if you plan to move or change your board later.
Related: Diy pegboard for tools
Related: What Is Drawing Board
Personalizing Your Board
I added a few decorative elements, like a small wooden border around the edges of the board. It gave it a finished look and helped frame the board in my space. I used wood glue to attach the border, which worked well and didn’t require any additional tools.
I used a laser cutter to engrave my name into the board — it was a personal touch that made the board feel more special. If you don’t have access to a laser cutter, you can use a marker to write your name directly on the board. I found that using a whiteboard pen made it easy to erase or change later.
I also added a few small plants to the area around the board, which helped make the space feel more alive. I used small potted succulents, which are low-maintenance and look great on a shelf or table next to the board.
Related: Diy pegboard with shelves
Related: The Set Up Of A Chess Board
Maintaining Your Bulletin Board
I clean my board regularly with a damp cloth and mild soap. I found that using a microfiber cloth helped remove dust and fingerprints without leaving any streaks. I also avoid using harsh chemicals, as they can damage the paint or finish of the board.
If the board starts to show signs of wear, I can easily repaint it. I used a small brush to touch up any chips or scratches, which kept the board looking fresh. I also made sure to use a paint that was compatible with the original finish to avoid any issues.
I check the screws and mounting hardware every few months to make sure the board is still secure. I’ve found that tightening the screws occasionally helps keep the board stable and prevents it from shifting or becoming loose over time.
A little maintenance goes a long way — keep it clean, secure, and ready for your next big idea.
Related: Diy pegboard for yarn
Getting Creative with Your Board
I’ve used my board as a canvas for my own art, adding hand-painted designs and patterns. I used a small brush and watercolor paint to create a border around the board, which gave it a unique, handmade look. This process was time-consuming, but the result was worth it — it felt like a true personal project.
I’ve also used fabric scraps to create a patchwork border, which added texture and interest to the board. I used fabric glue to attach the pieces, and it worked well. I found that using a small piece of felt underneath the fabric helped it stick better and look more finished.
I’ve even used my board as a backdrop for a small gallery wall, hanging small framed photos and artwork. This was a great way to make the board a part of the room’s decor while still using it for its intended purpose. It was a fun way to mix functionality with style.
💰 Budget Build
Use affordable materials like foam board or MDF, and skip the paint if you're short on time and money.
⏰ Weekend Version
A quick, easy project that you can complete in a single weekend with minimal tools and effort.
✨ Upgraded Finish
Add high-quality paint, a custom border, and magnetic elements to transform your board into a luxury piece.
🏠 Small-Space Adaptation
Create a smaller, portable board that can be moved between rooms or even taken to work or school.
🚪 Rental-Safe Option
Use removable adhesive and avoid drilling to make your board safe for temporary living spaces like apartments or rentals.
| The mistake | Why it happens | The fix |
|---|---|---|
| Using a board that's too thin | Thin boards can warp over time or sag under the weight of pins and notes, making them less stable and more prone to damage. | Use a board that's at least 3/4 inch thick. This thickness provides better support and helps prevent warping or sagging. |
| Skipping the paint or sealant | Leaving the board unpainted or unsealed can make it look unfinished and less durable. It may also be harder to clean later on. | Always paint and seal your board. Use a light, neutral color for a clean look, and apply a clear sealant to protect the surface. |
| Mounting the board without a level | An unlevel board looks unprofessional and can be uncomfortable to use, especially if you’re standing or sitting in front of it. | Always use a level when mounting your board. If you’re not sure, take your time — a little extra care now will make the board look better and function better later. |
| Using too many pins or heavy items | Overloading the board with too many pins or heavy items can cause it to warp or even break, especially if it's made from a thin material. | Use a board that can support the weight, and avoid overloading it with too many items. If needed, use a small frame or support underneath to distribute the weight evenly. |
How To Diy Bulletin Board
Common Questions
Can I use a different type of board instead of wood?
What tools do I need to make a DIY bulletin board?
How do I make sure my board is level when I hang it?
What if I don’t want to paint my board?
References
- Perspectives on Using Alder, Larch, and Birch Wood Species ... - PMC (pmc.ncbi.nlm.nih.gov)
- COATINGS AND COLOR MANUAL (media.defense.gov)
- South Carolina Early Learning Standards (ed.sc.gov)
Cite this guide
DIY Furniture with Pegboard (2026). How To Diy Bulletin Board. https://pegbuild.com/how-to-diy-bulletin-board/
Feel free to cite or share this guide.