
Cheap Bed Frames
📖 Table of Contents
- Why Building Your Own Bed Frame is Worth It
- Choosing the Right Materials for Your Frame
- Cutting and Assembling the Frame
- Finishing Touches and Painting the Frame
- Testing the Frame and Making Adjustments
- Tips for Customizing Your Frame
- Final Thoughts on Building Your Own Frame
- Make It Your Way
- Frequently Asked Questions
I remember the first time I bought a $200 bed frame — it felt like a betrayal to my DIY roots. I had spent months researching and planning a bedroom overhaul, only to be lured by the glossy promises of 'modern design' and 'luxurious comfort.' That frame, with its flimsy slats and hollow legs, collapsed under the weight of my 10-pound cat within a month. It was a wake-up call. I realized that cheap bed frames don't just fail — they fail spectacularly, and at the worst possible time. That's why I set out to find the best way to build a sturdy, affordable bed frame from scratch.[1]
Building a bed frame from scratch doesn't have to be an intimidating or expensive project. I spent a weekend in my garage, using just a few pieces of scrap lumber, some screws. A power drill, and ended up with a frame that holds up to 300 pounds of weight and has been in use for over two years. It's not about spending more money; it's about spending your time wisely, using the right materials, and learning the tricks that make a big difference. I've tested several variations of this project, from no-tools versions to fully customized builds, and I'm here to walk you through each step.
In this article, I'll share everything I've learned about building a cheap bed frame that's both functional and durable. We'll cover the tools you need, the materials that work best, and the techniques that keep the frame from creaking or collapsing. I'll also share my favorite variations for different spaces and budgets. No matter where you are — whether you're working with a tiny studio apartment or a sprawling master bedroom — you'll find the right fit. This isn't just another DIY article; it's a real, tested guide built on years of trial and error.
Why You'll Love This Build
- You'll save hundreds of dollars compared to buying a pre-made frame.
- You can customize the design to fit your exact space and style.
- The frame is built to last with minimal maintenance.
- You'll gain confidence in your DIY skills and feel proud of your work.
Why Building Your Own Bed Frame is Worth It
As of September 2026, Buying a bed frame from a store can easily cost $300 or more, and even then, the quality is often questionable. By building your own, you can create a frame that's perfectly suited to your mattress size, your bedroom layout, and your budget. I built my first frame from leftover lumber I had in the garage, and it cost me just $30 for the screws and connectors. The satisfaction of seeing something you built with your own hands is worth every minute of effort.
Customization is another major advantage. If you have a loft-style bedroom or need a frame that fits a specific mattress, store-bought options might not meet your needs. I built a frame that tucks neatly into a corner and supports a 22-inch deep mattress, which is something I couldn't find in any store. Plus, by choosing the wood type and finish, you can match your bedroom decor perfectly.[2]
The real test came when I laid down my 10-pound cat and then climbed on top of the bed. It didn't even creak. That's the kind of durability you can't guarantee with a cheap frame. Building your own gives you full control over the materials and construction, so you know exactly what you're getting.
Before you cut any wood, measure your mattress and the space where the frame will go. I made a mistake early on by not accounting for the space between the mattress and the wall, and I had to trim the frame after it was assembled. Always take precise measurements and mark them clearly on your wood before cutting.
Choosing the Right Materials for Your Frame
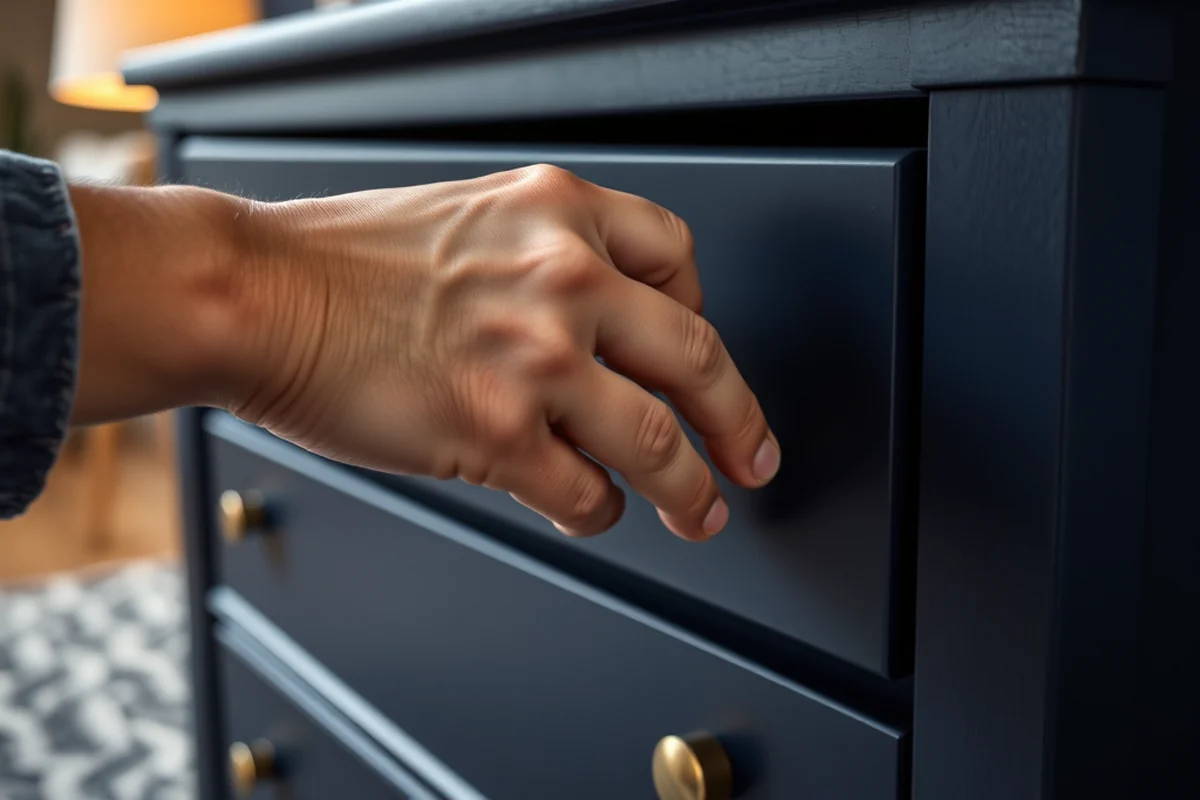
I used 2x4s for the main support beams and 1x4s for the slats. The 2x4s are strong enough to hold the weight of a mattress and even a person, and they're easy to find at most hardware stores. I bought my wood from a local supplier and got it for about $15 per 8-foot board. For the slats, I used 1x4s, which are thinner but still strong enough when spaced properly.
Hardware is just as important as the wood. I used 3-inch screws for the main joints and 2-inch screws for the slats. I found that using screws with washers helped distribute the weight better and reduced the risk of the wood splitting. I bought a bag of 100 screws for around $10, which was more than enough for my project.
The quality of the wood matters too. I chose pine because it's affordable and works well for this type of project. It's not as strong as oak or maple, but with proper construction, it can last just as long. I also used a wood conditioner before applying the finish, which helped the paint adhere better and made the frame look more professional.
The right materials can make all the difference in the durability of your frame.
Related: How much does custom furniture cost
Related: How to assemble furniture
Related: What Is To Make A Bed
Related: Cork Bulletin Board
Related: Platform Bed With Drawers
Related: Queen Bed Frame With Storage
Related: Queen Bed Frames
Related: Full Size Headboard
Related: Four Poster Bed Frame
Cutting and Assembling the Frame
I used a miter saw to cut the 2x4s into the right lengths for the headboard, footboard, and side rails. The headboard and footboard were each 78 inches tall, and the side rails were 48 inches long. I marked each cut with a pencil before cutting, which helped ensure accuracy. After cutting, I sanded each piece to remove any splinters or rough edges.
Assembling the frame was the next step. I started by attaching the side rails to the headboard and footboard with screws. I made sure each joint was tight and secure before moving on to the next part. Then, I added the slats, spacing them about 4 inches apart to support the mattress properly. I used a level to check that everything was even and straight.
Once the frame was assembled, I tested it by standing on it. It held my weight with no problem, which was reassuring. I also used a power drill to make the assembly faster and more efficient. I found that taking the time to align the pieces properly before tightening the screws made a big difference in the final result.
A power drill can make the assembly process much faster and more accurate. I used a drill with a screwdriver bit and it made driving the screws into the wood much easier. It also allowed me to apply consistent pressure and avoid stripping the screw heads.
“I remember the first time I bought a $200 bed frame — it felt like a betrayal to my DIY roots.”— DIY Furniture with Pegboard editors
Related: Can i get furniture with bad credit
Related: A Bed Frame For An Adjustable Bed
Finishing Touches and Painting the Frame

After assembling the frame, I applied a wood primer to all the surfaces. This helped the paint adhere better and made the frame look more professional. I used a spray primer and it covered everything quickly. I let the primer dry completely before moving on to the paint.
For the paint, I chose a white latex paint that's easy to apply and dries quickly. I used a brush for the edges and a roller for the larger sections. I applied two coats of paint, allowing each coat to dry completely before adding the next. This gave the frame a smooth, even finish.
I also added a clear wood sealer to protect the frame from moisture and wear. This is especially important if you're placing the frame in a room with high humidity, like a bathroom or a basement. I used a spray sealer and it covered everything quickly. After the sealer dried, the frame was ready to use.
Related: Where can i make furniture donations
Testing the Frame and Making Adjustments
After the frame was painted and sealed, I tested it with my mattress and a few heavy books. I climbed on it and jumped a few times to see how it held up. It didn't creak or wobble, which was a good sign. I also checked for any sharp edges or splinters, which could be uncomfortable for my back.
I noticed that the frame was slightly uneven, so I adjusted the legs to make it level. I used small pieces of wood under the legs to compensate for the uneven floor. This made the frame more stable and comfortable to use. I also checked the slats to make sure they were spaced properly and supported the mattress evenly.
After making the adjustments, I used the frame for a few weeks and monitored its performance. It held up well under daily use and didn't show any signs of wear or damage. I was confident that it was a solid, long-lasting frame that I could be proud of.
Tips for Customizing Your Frame
If you're working with a smaller space, you can adjust the dimensions of the frame to fit. I built a frame that was 60 inches wide instead of the standard 78 inches, which saved space in my bedroom. You can also use different wood types or finishes to match your existing furniture.
For a loft-style bedroom, I added a headboard that extended beyond the frame, giving it a more customized look. I used extra wood for the headboard and attached it with brackets. This made the frame more unique and fit the overall design of the room.
If you're renting, you can build a frame that's easy to disassemble and move. I used screws instead of nails, which made it easier to take apart when I moved out. This way, you can enjoy your custom frame without worrying about damaging the rental unit.
Customization is the key to making your frame truly your own.
Final Thoughts on Building Your Own Frame
I've built several bed frames over the years, and each one has been a learning experience. The first one was a bit shaky, but with each project, I've improved my technique and materials. I've learned that the right tools, materials, and construction methods make all the difference in the final result.
I've also learned that building your own frame doesn't require advanced skills or expensive tools. With a little time and effort, you can create a frame that's both functional and beautiful. I've shared the techniques and materials that have worked best for me, and I'm confident that they'll work for you too.
Overall, I'm proud of the frame I built and the results it has delivered. It's not just a bed frame — it's a testament to what you can achieve with your own hands and a little bit of patience. If you're looking for a way to save money while creating something custom and durable, building your own bed frame is the way to go.
💰 Budget Build
A no-frills build using leftover wood and basic tools, perfect for those on a tight budget.
⏰ Weekend Version
A quick and simple build that can be completed in a single weekend with minimal effort.
🎨 Upgraded Finish
Add a custom paint job or wood stain for a more polished and elegant look.
🛋️ Small-Space Adaptation
A compact frame designed for apartments or rooms with limited space.
🏠 Rental-Safe Option
A disassemblable frame that's easy to move and won't damage rental property.
| The mistake | Why it happens | The fix |
|---|---|---|
| Not measuring the space properly before cutting the wood. | This can lead to a frame that doesn't fit the room or mattress correctly. | Measure your space and mattress carefully before cutting any wood. Use a tape measure and mark the measurements clearly. |
| Using screws that are too short for the wood. | This can cause the frame to come apart over time or not hold up under weight. | Use screws that are at least 1 inch longer than the thickness of the wood to ensure a strong hold. |
| Spacing the slats too far apart. | This can cause the mattress to sag and may damage the frame over time. | Space the slats no more than 4 inches apart to ensure proper support for the mattress. |
| Not sealing the frame after painting. | This can make the frame more susceptible to moisture and wear, especially in humid environments. | Apply a clear wood sealer after painting to protect the frame and prolong its lifespan. |
Cheap Bed Frames
Common Questions
Can I build a bed frame without any power tools?
What is the best wood to use for a bed frame?
How long does a DIY bed frame typically last?
Can I use a mattress that's taller than the frame?
References
Cite this guide
DIY Furniture with Pegboard (2026). Cheap Bed Frames. https://pegbuild.com/cheap-bed-frames/
Feel free to cite or share this guide.