
Diy Pegboard From Plywood
📖 Table of Contents
The first time I hung a hammer on a pegboard in my workshop, it felt like unlocking a secret room in my mind — one where organization and creativity could finally coexist. I had spent months trying to keep my tools in a drawer, but it was a disaster. Everything was tangled, and nothing was where it should be. When I finally built my first pegboard from plywood, it was like a weight lifted off my shoulders, and my workspace transformed overnight.[2]
I chose plywood because it’s affordable, sturdy, and forgiving. It’s not the most glamorous material, but it gets the job done. I’ve built several pegboards over the years, and each one taught me something new. The key is to plan ahead, measure twice, and cut once — a mantra I’ve come to live by. It’s not just about the materials you use, but the process of building and the satisfaction that comes with it.[3]
This project is simple enough for a beginner but rewarding enough for someone with more experience. I’ve learned that the best pegboards are those that are tailored to the specific needs of the user. Whether you're a woodworker, a student, or a hobbyist, a DIY pegboard can be a game-changer. It’s about making your space work for you, not the other way around.[4]
Why You'll Love This DIY Pegboard From Plywood
- Customizable to fit your specific needs and space
- Affordable and easy to build with minimal tools
- Durable and versatile, ideal for both home and workshop use
- Adds a personalized, functional touch to your space
Why Plywood Is the Perfect Choice for a DIY Pegboard
As of August 2026, Plywood is a go-to material for DIYers because of its durability and affordability. I've used several types over the years, but for a pegboard, I find that 3/4-inch CDX plywood is strong enough to hold even heavy tools. It’s also available in large sheets, which makes cutting and assembling much easier.[1]
One of the best things about plywood is that it’s easy to modify. If you need to adjust the spacing between pegs or change the dimensions of the board, it’s simple to do with a jigsaw or a circular saw. I’ve even used it to create custom-shaped pegboards for my kitchen and workshop, and the material holds up well under regular use.
Another advantage is that plywood is relatively lightweight. This makes it easier to move and hang on a wall, especially if you're working with a larger board. I’ve hung boards that are up to 4 feet wide, and they’ve stayed secure with just a few well-placed screws.
Use CDX-grade plywood for a pegboard — it's strong and affordable. Avoid lower-quality grades that may warp or crack over time.
Part of our Pegboard desk guide.
Measuring and Cutting the Plywood
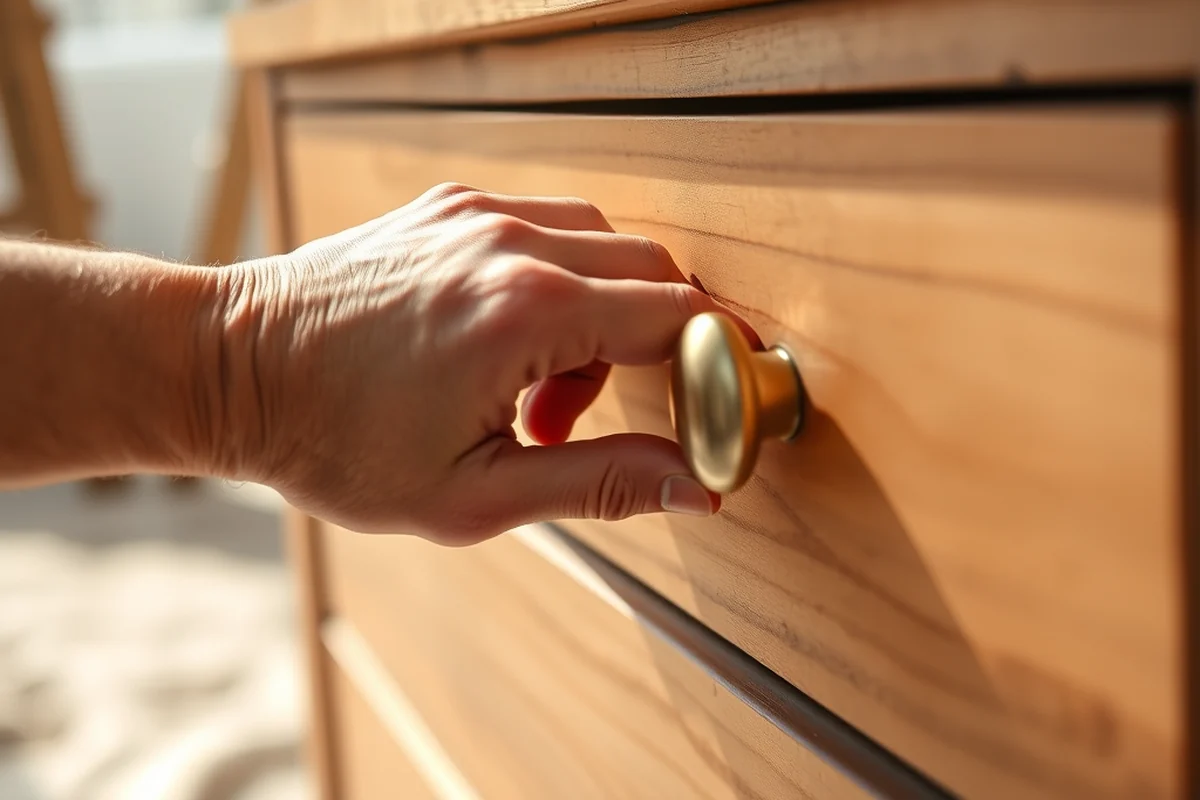
Before cutting, I always sketch out the layout on paper. This helps me visualize the final product and plan where the pegs will go. I measure each side carefully, making sure the dimensions match my wall space and the tools I want to display.
I use a tape measure and a pencil to mark the cut lines on the plywood. It's important to double-check the measurements before cutting. Even a small error can throw off the whole project. I've learned that taking the time to measure twice can save hours of frustration later.
Once the marks are made, I cut the plywood using a circular saw. I always use a straight edge to guide the blade, which helps ensure clean, straight cuts. It’s a simple but effective technique that I've relied on for every pegboard I've built.
Measure twice, cut once — the best advice I've ever heard for DIY projects.
Related: Diy pegboard climbing
Related: Diy pegboard for craft room
Related: Diy Pegboard For Toddlers
Related: Diy Pegboard With Shelves
Related: Diy pegboard shelf
Related: What Is A Pegboard Hook
Related: What Is Board On Board
Drilling Holes for the Pegs
After cutting the pieces, I move on to drilling the holes for the pegs. I use a drill bit that's slightly smaller than the pegs I plan to use. This helps prevent the pegs from wobbling once they’re inserted.
I always start by marking where the pegs will go. I use a ruler and a pencil to draw evenly spaced lines across the board. I found that spacing the pegs about 2 inches apart works well for most tools, but you can adjust based on what you're planning to hang.
I use a drill press for the most consistent results, but if you don’t have one, a handheld drill can work too. Just be sure to keep the board stable and apply even pressure. I've found that drilling slowly and carefully is the key to getting clean, straight holes.
A drill guide can help you keep your holes straight and evenly spaced, especially if you're using a handheld drill.
“The first time I hung a hammer on a pegboard in my workshop, it felt like unlocking a secret room in my mind — one…”— DIY Furniture with Pegboard editors
Assembling the Pegboard
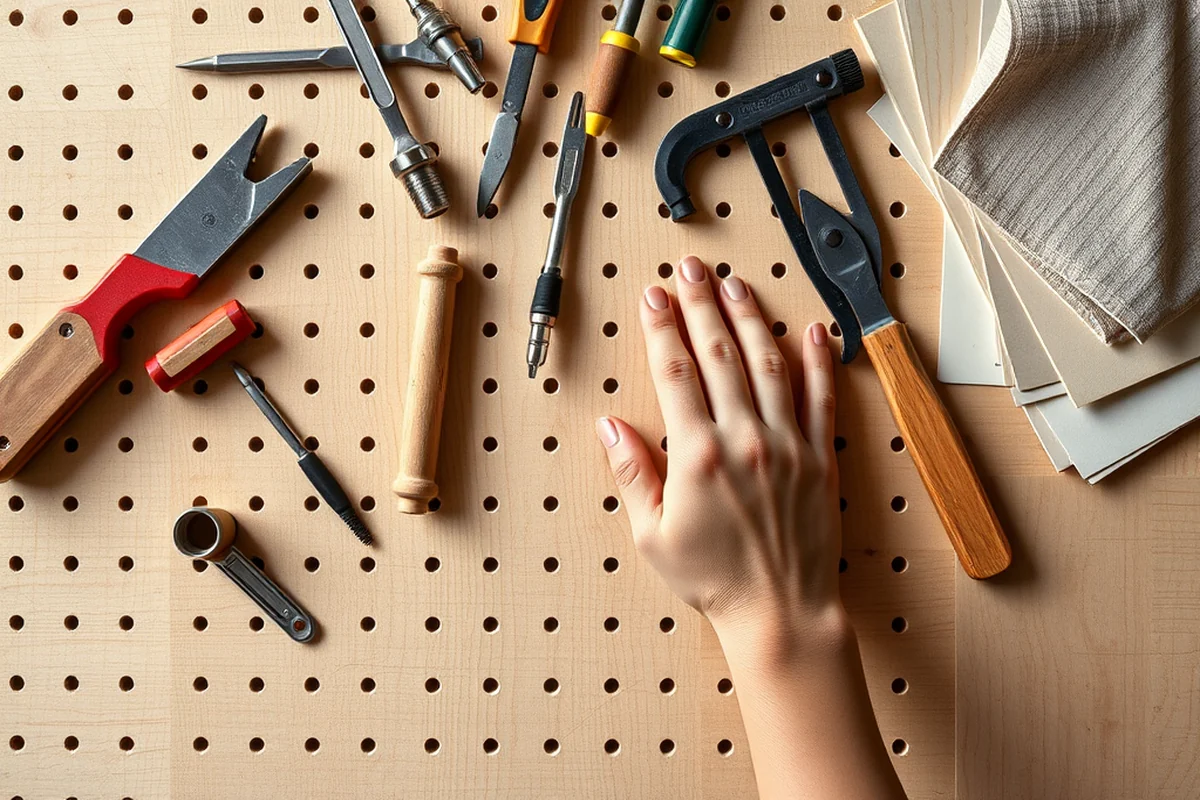
Once the pieces are cut and the holes are drilled, it's time to assemble the board. I use wood screws to attach the pieces together, ensuring that the edges are flush and the corners are square. I always check the alignment before tightening the screws completely.
I’ve found that using a square is essential during assembly. It helps ensure that the corners are perfectly aligned and that the board is built to last. I’ve made a few mistakes in the past by skipping this step, and the results were less than ideal.
After the pieces are secured, I sand the edges to remove any splinters or rough spots. This makes the board easier to handle and gives it a more professional look. I always use fine-grit sandpaper for this step to avoid damaging the wood.
Finishing the Pegboard
After assembling the board, I move on to finishing. I’ve used paint, wood stain, and even epoxy to give my pegboards a unique look. Paint is my go-to for most projects — it's easy to apply and dries quickly.
I always apply a primer before painting, especially if I’m using a light color on a dark board. This helps the paint adhere better and makes the final result more vibrant. I’ve found that using a spray paint is the fastest way to cover large areas, but brush-on paint works just as well.
Once the paint is dry, I apply a clear coat to protect the surface. I’ve used a wood sealant or a polyurethane finish for this step. It helps the board resist moisture and wear, making it more durable for long-term use.
Hanging the Pegboard
Once the board is finished, it's time to hang it on the wall. I use a level to make sure it's straight. I’ve made the mistake of skipping this step, and the results were less than ideal — the board looked crooked and felt unstable.
I always attach the board to a stud for maximum support, especially if it's a large board or if it will hold heavy items. I’ve used a stud finder to locate the studs before drilling, and it’s been a lifesaver. If you don’t have a stud finder, you can use a magnetic finder or just test a few spots with a screw.
Once the board is level and secure, I hang the pegs and start arranging the tools. I’ve found that using pegs that are slightly longer than the holes helps keep them in place. I also like to add some decorative elements, like colored pegs or small hooks, to make the board more visually appealing.
A level board is a happy board — and a happy board is a functional board.
Customizing Your Pegboard
One of the best things about a DIY pegboard is that you can customize it to fit your specific needs. I’ve built pegboards for my workshop, my kitchen, and even a small home office, and each one was different. I’ve used different types of pegs, added shelves, and even incorporated lighting into some of my designs.
I’ve also experimented with different materials for the pegs. I’ve used wooden pegs, metal pegs, and even some that are coated in epoxy for a more durable finish. Each material has its own advantages, and I’ve found that the best choice depends on the tools you plan to hang.
Another way to customize your pegboard is by adding labels or numbers to the pegs. This helps you organize your tools more efficiently and makes it easier to find what you need. I’ve used small adhesive labels and even painted numbers directly onto the pegs for a more permanent solution.
💰 Budget Build
Use leftover plywood and basic tools to create a simple pegboard that's perfect for a small space or a beginner.
⏱️ Weekend Version
Complete the project in one day with minimal planning and a focus on speed and simplicity.
✨ Upgraded Finish
Add a high-gloss finish, decorative pegs, and custom labels for a more polished look that's perfect for display.
🛋️ Small-Space Adaptation
Create a compact pegboard that fits perfectly in a small apartment or home office with clever storage solutions.
🚪 Rental-Safe Option
Build a pegboard that can be easily removed and stored without damaging the walls, perfect for short-term rentals or temporary setups.
| The mistake | Why it happens | The fix |
|---|---|---|
| Skipping the measuring step | Measuring is crucial to ensure the board fits the space and the tools are arranged properly. Skipping it can lead to a misaligned or unusable board. | Take the time to measure twice before cutting. Use a sketch or layout diagram to help you visualize the final product. |
| Using the wrong type of plywood | Using a lower-quality or inappropriate grade of plywood can result in a weak or warped board that doesn’t hold up over time. | Choose a CDX-grade plywood for durability and stability. Avoid using thin or low-quality sheets that can easily crack or deform. |
| Drilling holes that are too large or too small | Incorrect hole sizes can cause the pegs to wobble or not fit at all, making the pegboard less functional and less aesthetically pleasing. | Use a drill bit that’s slightly smaller than the pegs you plan to use. Always test the fit before proceeding. |
| Not securing the board properly when hanging it | If the board isn’t secured properly, it can become loose over time or even fall off the wall, potentially causing damage or injury. | Always attach the board to a stud for maximum support. If you can’t find a stud, use wall anchors or toggle bolts to ensure it’s secure. |
Diy Pegboard From Plywood
Common Questions
What type of wood should I use for my pegboard?
How do I ensure the pegboard is level when hanging it?
Can I use a different type of peg instead of wooden pegs?
What should I do if I don’t have a drill press?
Cite this guide
DIY Furniture with Pegboard (2026). Diy Pegboard From Plywood. https://pegbuild.com/diy-pegboard-from-plywood/
Feel free to cite or share this guide.