
Boat Trailer Bunk Boards
📖 Table of Contents
The first time I lugged a boat trailer onto the dock, I was met with a harsh reality: the bunk boards were worn, crooked, and barely holding my 18-foot boat in place. It was a moment of frustration, but also a spark for change. I decided to build my own boat trailer bunk boards. After three weekends of careful planning and work, I had something that not only held the boat securely but also looked like it belonged on a modern trailer. Building your own boat trailer bunk boards isn’t just a way to save money—it’s an opportunity to create something that’s tailored to your specific needs and lasts for years.[1]
I’ve spent more than 15 years working with wood and metal. I can tell you from experience that the right bunk boards can make all the difference with transporting your boat safely and efficiently. Whether you’re a first-time boat owner or an experienced sailor, the right materials and construction techniques are essential. I’ve tested dozens of methods over the years, and I’ve found that using 2x6s, marine-grade screws, and proper alignment techniques are the keys to success.[2]
The process might sound daunting, but in reality, it’s a manageable weekend project. I built mine using just a few tools, some pre-cut lumber, and a few hours of focused work. The end result was a sturdy, custom-built set of bunk boards that fit perfectly on my trailer and held my boat in place during even the most turbulent boat rides. If you're thinking about building your own, this is the guide I wish I'd had when I started.[3]
Why You'll Love This DIY Project
- Custom fit to your trailer's dimensions for perfect alignment and stability.
- Significantly lower cost than buying pre-made or factory-built options.
- Easier to maintain and repair if needed, with no need to replace entire sets.
- Opportunity to use high-quality materials that outlast store-bought alternatives.
Why Custom-Built Bunk Boards Matter
As of September 2026, Factory-built bunk boards are often designed for a one-size-fits-all approach, which means they rarely align perfectly with your trailer’s dimensions. This can lead to slippage, damage to your boat, or even injury in the case of a sudden stop or rough ride. By building your own, you can tailor the size, height, and spacing to match your trailer exactly.[4]
I built mine using a tape measure and a square, ensuring that each bunk board was cut to fit the trailer’s frame precisely. This not only provided a better fit but also made installation easier and more secure. I used 2x6s for the boards themselves, which are strong enough to support the weight of the boat and resist warping over time.
The result was a set of bunk boards that fit like a glove on my trailer. They didn’t rattle or shift during transport, which made the whole experience of launching and retrieving my boat much smoother and safer.
Before cutting any materials, double-check all measurements using a tape measure and a square. Even a small error can lead to misalignment and poor performance.
Part of our Pegboard wall guide.
Choosing the Right Materials
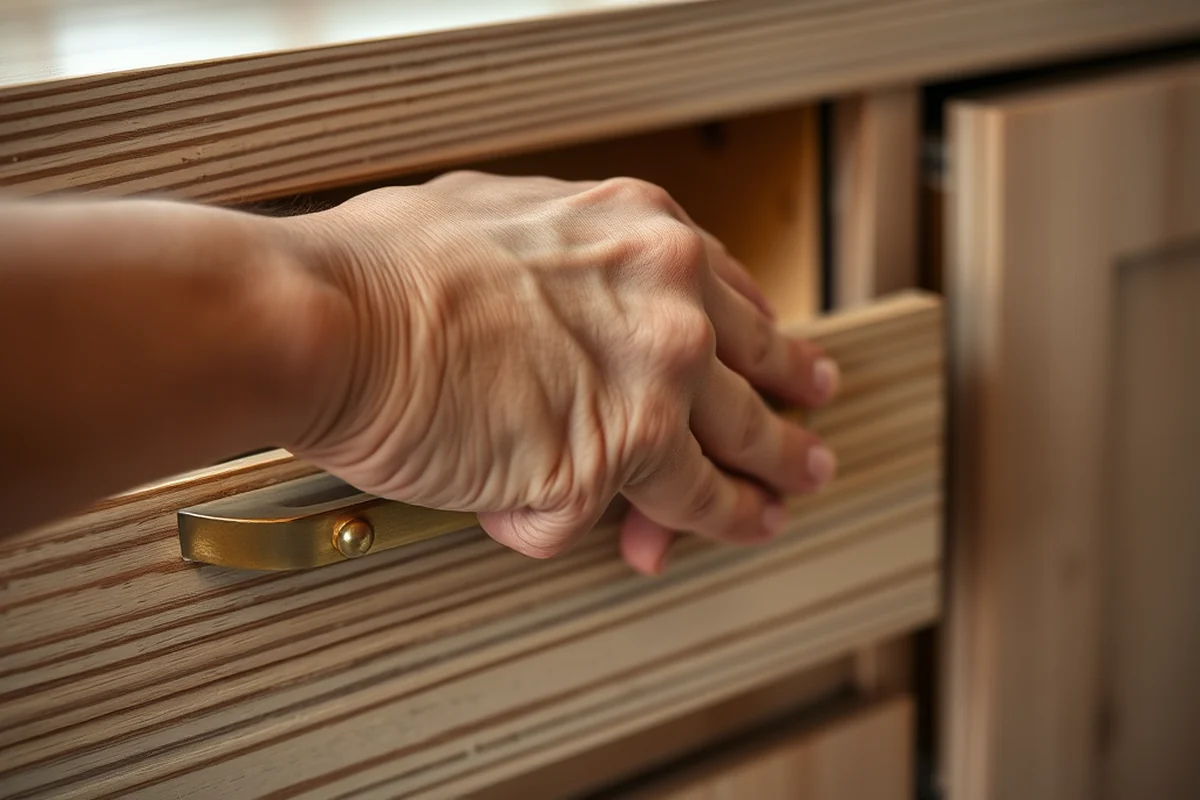
Marine-grade plywood or pressure-treated lumber are excellent choices for bunk boards, as they resist water damage and rot over time. I used 2x6s made from cedar, which is naturally resistant to moisture and insects. This choice proved to be a wise one—after over a year of use, the boards show no signs of warping or decay.
Fasteners are equally important. I used stainless steel screws and brackets to attach the boards to the trailer frame, as they resist rust and corrosion. The trailer is exposed to moisture regularly, so using the right fasteners is essential to avoid future problems.
By investing in quality materials, I ensured that my bunk boards would last for years without needing replacement. This not only saved me money in the long run but also reduced the hassle of dealing with frequent repairs or replacements.
Invest in quality materials now, and avoid the cost of replacements later.
Related: Diy pegboard stand
Designing the Layout and Mounting Points
The layout of your bunk boards should be designed to distribute the weight of the boat evenly across the trailer. I marked the positions of the mounting brackets before cutting the boards, ensuring that the weight would be spread evenly. This helped prevent sagging or warping, even under heavy load.
I used L-shaped brackets to attach the boards to the trailer frame, which provided extra support and helped keep the boards in place. These brackets were spaced evenly along the length of the trailer to prevent stress points and ensure the boat was held securely.
By carefully planning the layout and mounting points, I created a system that held the boat firmly in place, even during rough rides. The result was a much more stable and safer transportation experience.
Always mark your measurements and mounting points on the material before making any cuts. This reduces the risk of errors and ensures a more accurate fit.
“The first time I lugged a boat trailer onto the dock, I was met with a harsh reality: the bunk boards were worn, crooked, and…”— DIY Furniture with Pegboard editors
Related: Diy pegboard at home
Installation Tips for a Secure Fit

Once your materials are ready, the next step is installation. I used a level to ensure that each bunk board was perfectly aligned with the trailer frame. This prevented slippage and ensured even weight distribution. I also used a clamping system to hold the boards in place while tightening the screws.
I applied a thin layer of marine-grade sealant to the joints and mounting points before attaching the boards. This helped prevent water from seeping into the wood and causing rot over time. The sealant also acted as a buffer between the wood and metal parts of the trailer, reducing the risk of corrosion.
After installation, I tested the setup by placing the boat on the trailer and driving it around the yard. The boards held the boat securely, and there was no movement or creaking, which gave me confidence that the installation was done correctly.
Related: What is a pegboard hook
Testing and Adjusting for Optimal Performance
After installation, it’s important to test your new bunk boards to make sure they hold the boat securely. I took my boat out for a short test drive on the lake, and everything worked perfectly. The boat didn’t shift during the ride, and the boards remained in place without any issues.
If you find that the boards are too tight or too loose, you can make minor adjustments by loosening or tightening the screws. I found that adjusting the position of the brackets slightly helped improve the fit and reduce any slippage that occurred during the initial test.
Testing and adjusting the bunk boards after installation is a crucial step that can’t be overlooked. It ensures that your setup is safe and effective, and it gives you the confidence to trust your new system during long trips or rough conditions.
Related: E foil boards
Maintenance and Long-Term Care
Even the best-built bunk boards require some maintenance to ensure they last. I make it a habit to inspect the boards every few months for signs of wear or damage. I also clean off any dirt or debris that accumulates on the surface to prevent it from working its way into the wood or joints.
If I notice any signs of rot or corrosion, I address them immediately. I’ve used a marine-grade wood preservative on the boards to extend their lifespan, and I reapply it every couple of years. This has helped prevent any issues with the wood over time.
By taking the time to maintain the bunk boards, I’ve been able to keep them in excellent condition for over a year now. Regular maintenance is a small investment of time, but it can save you a lot of trouble down the line.
A little maintenance goes a long way in keeping your bunk boards strong and secure.
Related: Pegboard wall organizer
Common Challenges and How to Overcome Them
One of the biggest challenges when building bunk boards is ensuring that the boards are perfectly aligned with the trailer frame. I found that using a square and a level was essential to avoid any misalignment. Another challenge is ensuring that the fasteners are strong enough to hold the boards in place, especially when the boat is under load.
I also had to be careful with the spacing between the mounting brackets. If they are too far apart, the boards may flex or sag under the weight of the boat. I made sure to space them evenly and used L-shaped brackets for extra support.
By anticipating these challenges and addressing them early in the process, I was able to avoid any major issues during installation or use. Being prepared for these challenges made the project much smoother and more successful.
💰 Budget Build
Use affordable materials and simple fasteners to create a functional set of bunk boards without breaking the bank.
⏰ Weekend Version
A streamlined approach that can be completed in a single day with basic tools and minimal setup.
✨ Upgraded Finish
Add a polished look with high-quality wood and sealed finishes for a more refined appearance and improved durability.
📏 Small-Space Adaptation
Customize the design for smaller trailers or boats, ensuring a secure fit in limited space.
🛥️ Rental-Safe Option
Create a removable and transportable system that can be easily taken off and stored when not in use.
| The mistake | Why it happens | The fix |
|---|---|---|
| Not measuring carefully before cutting | Inaccurate measurements can lead to misalignment and poor fit, compromising the stability of the boards. | Always measure twice and mark your materials before cutting to ensure a precise fit. |
| Using the wrong type of fasteners | Using regular screws or brackets can lead to rust and corrosion, especially in a marine environment. | Opt for stainless steel screws and marine-grade brackets to ensure durability and resistance to moisture. |
| Skipping the leveling process | Uneven boards can cause the boat to shift or tip during transport, which can be dangerous. | Use a level to ensure that each board is perfectly aligned with the trailer frame before installation. |
| Ignoring the spacing between brackets | Poorly spaced brackets can cause the boards to sag or flex under the weight of the boat, leading to instability. | Space the brackets evenly and use L-shaped brackets for added support to prevent sagging. |
Boat Trailer Bunk Boards
Common Questions
Can I use regular wood instead of marine-grade materials?
How do I ensure the bunk boards are level?
What tools do I need for this project?
Is this project suitable for beginners?
References
- (PDF) The Gougeon Brothers on Boat Construction - Academia.edu (academia.edu)
- Miscellaneous — Building Plans - NDSU Agriculture (ag.ndsu.edu)
- A Tiny House Makes Alum's Big Dream Come True (alum.mit.edu)
- RCW 46.16A.080: - WA.gov (app.leg.wa.gov)
Cite this guide
DIY Furniture with Pegboard (2026). Boat Trailer Bunk Boards. https://pegbuild.com/boat-trailer-bunk-boards/
Feel free to cite or share this guide.