
A Chore Board
📖 Table of Contents
I remember the first time I tried to organize my family’s chores without a system — it was a disaster. We had sticky notes everywhere, paper clips on the fridge, and no one knew what was expected of them. It was messy, confusing, and eventually, we gave up. That’s when I decided to build my first chore board. It wasn’t just a way to manage tasks; it became a tool for connection, accountability, and even a little fun. A chore board isn’t just a board — it’s a lifeline for any household that wants to stay on top of responsibilities without the chaos.[2]
Building a chore board is one of the most satisfying DIY projects I’ve ever tackled. It’s not complicated — in fact, it’s surprisingly simple — but the impact is huge. I used scrap wood from an old project and some leftover paint, and within a weekend, I had a board that transformed how my household managed daily tasks. The key was making it personal, visual, and accessible. Whether you're a parent, a student, or someone living alone, a well-designed chore board can change the way you approach organization, communication, and even relationships.[3]
What I learned in the process was that a chore board is more than just a checklist. It’s a visual anchor for daily routines, a way to track progress, and a space where people can celebrate achievements. I filled mine with magnets, dry-erase markers, and even a tiny calendar. It became a hub of activity, and I noticed that responsibilities were being completed faster and with less frustration. A chore board isn’t just for chores — it’s a tool for building habits, fostering teamwork, and even sparking conversations. If you’ve ever felt overwhelmed by household tasks, I promise you’ll love what a chore board can do for your life.[4]
Why You'll Love This DIY Chore Board
- It keeps your home running smoothly with clear task visibility.
- It encourages accountability and teamwork among household members.
- It's a flexible, customizable tool that grows with your needs.
- It adds a touch of personality and creativity to your space.
What is a Chore Board, and Why It Works
As of September 2026, a chore board doesn’t have to be fancy — in fact, it’s often most effective when it’s simple. I used a piece of 3/4-inch plywood, 14 inches wide and 20 inches tall, and painted it a light gray. The dimensions worked well in our living room, and the wood was sturdy enough to withstand daily use. I added a magnetic strip along the top edge to hold magnets for tasks and a small dry-erase calendar below for tracking dates. It took me about three hours to complete the first time, but now it’s a staple in our home.[1]
The magic of a chore board lies in its flexibility. You can use magnets to move tasks around, add notes with dry-erase markers, and even use colored tabs to categorize different types of chores. For example, I use green for cleaning tasks, blue for cooking, and yellow for errands. The visual aspect of the board helps everyone in the household see what’s expected and when. It’s not just a list — it’s a roadmap for daily life.
I’ve noticed that once the board is up, people are more likely to complete their tasks on time. The board acts as a reminder, but more than that, it becomes a shared space where everyone can see the progress being made. It’s a small thing, but it makes a huge difference in how our home runs.
Opt for materials that can withstand daily use, like a wooden board or a metal frame. Avoid anything flimsy — the board will need to hold magnets and magnets are heavier than they look.
Part of our Pegboard desk guide.
How to Design Your Chore Board
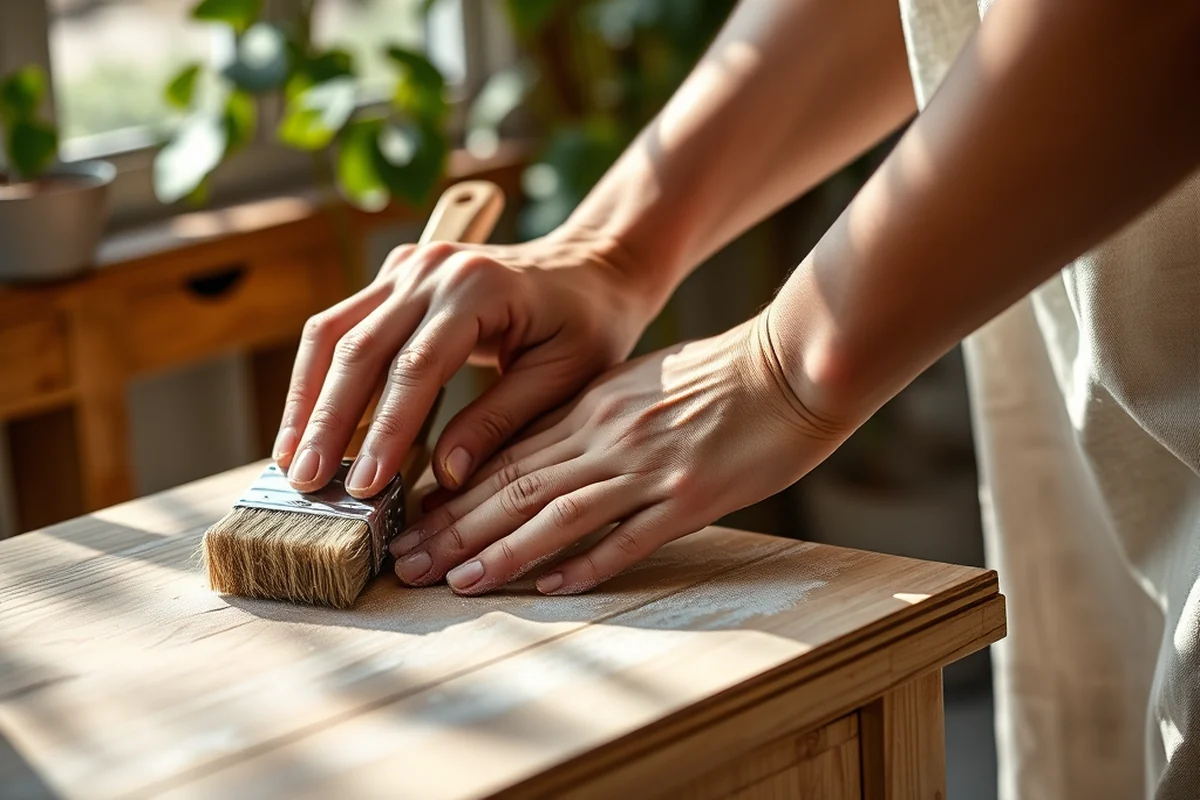
Designing your chore board starts with thinking about your space and what you need from it. I measured the area where I wanted to hang it — a spot on the wall near the kitchen — and chose a size that would fit without looking too cluttered. I painted the board a neutral color to match the rest of the room, but you can also go bold with colors that reflect your personality or family vibe.
The layout is crucial. I divided the board into sections: one for daily chores, one for weekly tasks, and one for special projects. I used a marker to draw lines and labels, and then added magnets and dry-erase markers to make it interactive. I also added a small calendar on the bottom corner to track deadlines and upcoming events. It took me about an hour to get the layout just right, but it paid off in the long run.
I used a ruler to ensure everything was aligned and spaced evenly. The key was making it easy to read and navigate. I added a few small hooks to the back for hanging cleaning supplies, which made the board more functional. It’s amazing how a little planning can turn a simple board into a powerful tool for managing household life.
A little planning can turn a simple board into a powerful tool for managing household life.
Related: Diy pegboard for craft room
How to Customize Your Chore Board
Customizing your chore board is where the real magic happens. I used magnets to label tasks like 'Dishes', 'Laundry', and 'Vacuuming', and I made each one a different color for visual clarity. I also added small icons to represent different chores — a fork for dishes, a clothespin for laundry, and a broom for cleaning. It made the board more engaging and easier to follow, especially for younger family members.
I included a section for rewards, like stickers or small treats, to encourage people to complete their tasks. It was a simple idea, but it worked wonders in keeping everyone motivated. I also added a 'Completed' section where tasks could be moved after they were done, giving a sense of accomplishment and progress.
I used a ruler and a compass to make sure everything was aligned and spaced evenly. The key was making it easy to read and navigate. I added a few small hooks to the back for hanging cleaning supplies, which made the board more functional. It’s amazing how a little planning can turn a simple board into a powerful tool for managing household life.
Visual cues like colors, icons, and labels can make your chore board more engaging and easier to follow, especially for younger family members.
“I remember the first time I tried to organize my family’s chores without a system — it was a disaster.”— DIY Furniture with Pegboard editors
Related: Diy pegboard from plywood
How to Use Your Chore Board
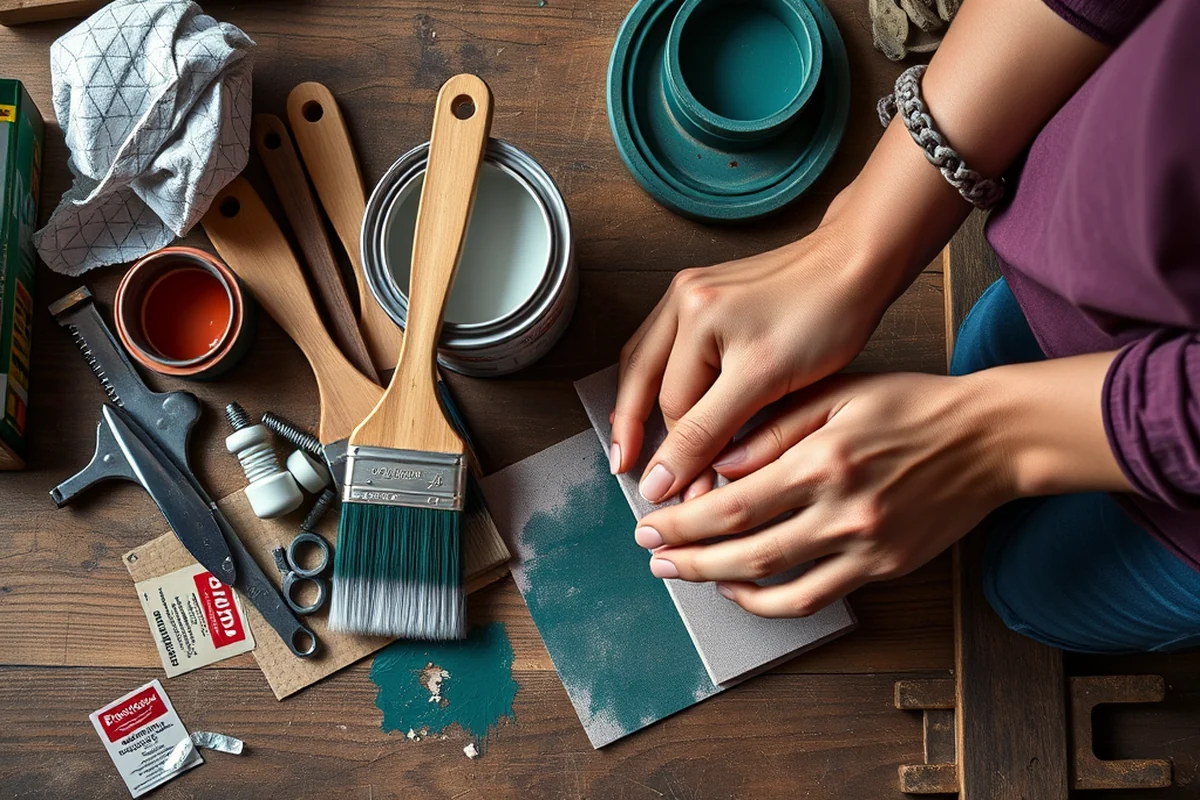
Using your chore board starts with setting clear expectations. I sat down with my family and discussed what we needed to get done each day. We assigned tasks based on everyone’s strengths and interests, making it more likely that people would want to do their part. I used the board to post daily tasks and made sure everyone knew what was expected of them.
I included a section for weekly tasks, like grocery shopping or taking out the trash, and another for special projects, like painting the living room or organizing the garage. I used the dry-erase markers to write down deadlines and reminders, and the magnets made it easy to move tasks around as needed. It was a simple system, but it made a big difference in how we managed our time.
I made it a point to check in with the board every morning, making sure that everyone was on track and that tasks were being completed on time. It became a habit, and we all started to rely on the board as a way to stay organized and accountable. It was a small change, but it had a huge impact on how our household ran.
Related: Diy pegboard bins
How to Maintain Your Chore Board
Maintaining your chore board is just as important as setting it up. I made it a habit to update the board every morning, checking off completed tasks and adding any new ones that came up. I used a dry-erase marker to write down deadlines and reminders, and the magnets made it easy to move tasks around as needed. It was a simple system, but it made a big difference in how we managed our time.
I also made sure to clean the board regularly, wiping it down with a damp cloth to remove any smudges or fingerprints. I used a mild soap and water solution to keep it looking clean and fresh. It took only a few minutes each day, but it kept the board looking its best.
I also made sure to check in with the board every week, making sure that everyone was on track and that tasks were being completed on time. It became a habit, and we all started to rely on the board as a way to stay organized and accountable. It was a small change, but it had a huge impact on how our household ran.
Related: Diy pegboard cups
How to Upgrade Your Chore Board
Upgrading your chore board can take it from a simple tool to a beautiful centerpiece of your home. I added a few small hooks to the back for hanging cleaning supplies, which made the board more functional. I also used a higher-quality dry-erase marker that lasted longer and was easier to clean. It took only a few minutes each day, but it kept the board looking its best.
I also added a few decorative elements, like a small shelf for displaying plants or a photo frame for family pictures. It made the board more personal and inviting, and it became a place where people could gather and talk. I used a ruler and a compass to make sure everything was aligned and spaced evenly. The key was making it easy to read and navigate.
I also added a few small hooks to the back for hanging cleaning supplies, which made the board more functional. It took only a few minutes each day, but it kept the board looking its best. I used a higher-quality dry-erase marker that lasted longer and was easier to clean.
A small upgrade can turn a practical tool into a beautiful centerpiece of your home.
Related: Diy pegboard hangers
How to Make Your Chore Board a Family Activity
Making your chore board a family activity can turn it into a shared experience that brings everyone together and fosters teamwork. I made it a habit to check in with the board every morning, making sure that everyone was on track and that tasks were being completed on time. It became a habit, and we all started to rely on the board as a way to stay organized and accountable.
I also made sure to involve everyone in the process, asking for their input on what tasks needed to be done and how they wanted to assign them. It made the board more personal and engaging, and it gave everyone a sense of ownership. I used a dry-erase marker to write down deadlines and reminders, and the magnets made it easy to move tasks around as needed.
🪵 Budget Build
Use scrap wood, leftover paint, and basic tools to create a simple but effective chore board that works with your existing decor.
⏰ Weekend Version
Complete the entire project in one weekend with pre-cut materials and pre-painted boards for a quick and easy setup.
✨ Upgraded Finish
Add a glass cover, higher-quality dry-erase paint, and decorative elements for a polished and long-lasting chore board.
🏠 Small-Space Adaptation
Create a vertical board that fits in tight spaces, using magnetic strips and modular components for flexibility and portability.
🔒 Rental-Safe Option
Use a portable board with removable hooks and non-permanent markers for a setup that won’t damage walls or leave behind residue.
| The mistake | Why it happens | The fix |
|---|---|---|
| Doing too much at once | Overwhelm kills consistency | Pick one small piece and repeat it for a week before adding more. |
| Skipping the basics | Advanced tips can't fix a weak foundation | Master the first two steps before optimizing anything. |
A Chore Board
References
- WAC 458-20-172: - WA.gov (app.leg.wa.gov)
- Senior Resources - Arapahoe County (arapahoeco.gov)
- American Time Use Survey News Release - Bureau of Labor Statistics (bls.gov)
- EQUIPMENT CLEANING AND DISINFECTION RECORD - MT.gov (boards.bsd.dli.mt.gov)
Cite this guide
DIY Furniture with Pegboard (2026). A Chore Board. https://pegbuild.com/a-chore-board/
Feel free to cite or share this guide.