
Wood Console Table With Drawers
📖 Table of Contents
The first time I saw a wood console table with drawers in my friend’s home, I knew I had to build one. It was a simple piece, yet it carried a weight of functionality and style that I found irresistible. That weekend, I spent hours in my garage, measuring, cutting, and assembling, and by Sunday, I had a piece that looked like it belonged in a showroom. It wasn’t perfect, but it was mine — and that was the point.
Building a wood console table with drawers is more than just a DIY project; it's a way to bring a sense of purpose and personal touch to your home. I’ve never been a fan of mass-produced furniture, and this table proved that with the right materials and a little patience, you can create something truly unique. The satisfaction of finishing a project that blends beauty and utility is something I can't describe — it's just felt.
This table is not just a surface for keys or a place to rest a phone. It's a testament to what you can achieve with your hands and a few basic tools. It’s a project that fits into any space — whether you're looking to update a hallway, add character to a living room, or simply create a custom piece for your own home. And I'll be the first to tell you, the cost is low, the time is short, and the reward is immense.
Why You'll Love This Wood Console Table With Drawers
- Adds both style and functionality to your space
- Customizable to match your decor and needs
- Built with quality materials for long-term use
- Affordable and easy to assemble
Choosing the Right Materials
As of September 2026, I chose pine for this build — it's affordable, easy to work with, and available in most hardware stores. I used 3/4-inch plywood for the back panel to add stability. The drawer slides were purchased from a local supplier, and I opted for soft-close mechanisms for a polished feel.
The wood should be dry and free of knots to ensure a smooth finish. I prepped the surfaces with sandpaper before assembly. I also made sure to measure twice and cut once, which saved me a lot of time later.
Hardware like drawer slides and hinges can make or break the final look. I spent extra on quality slides and installed them precisely to avoid the dreaded 'stuck drawer' experience.
Opt for solid wood if you can afford it — it's more durable and easier to finish. Plywood is a great option for the back panel and shelves.
Part of our Pegboard desk guide.
Design and Planning
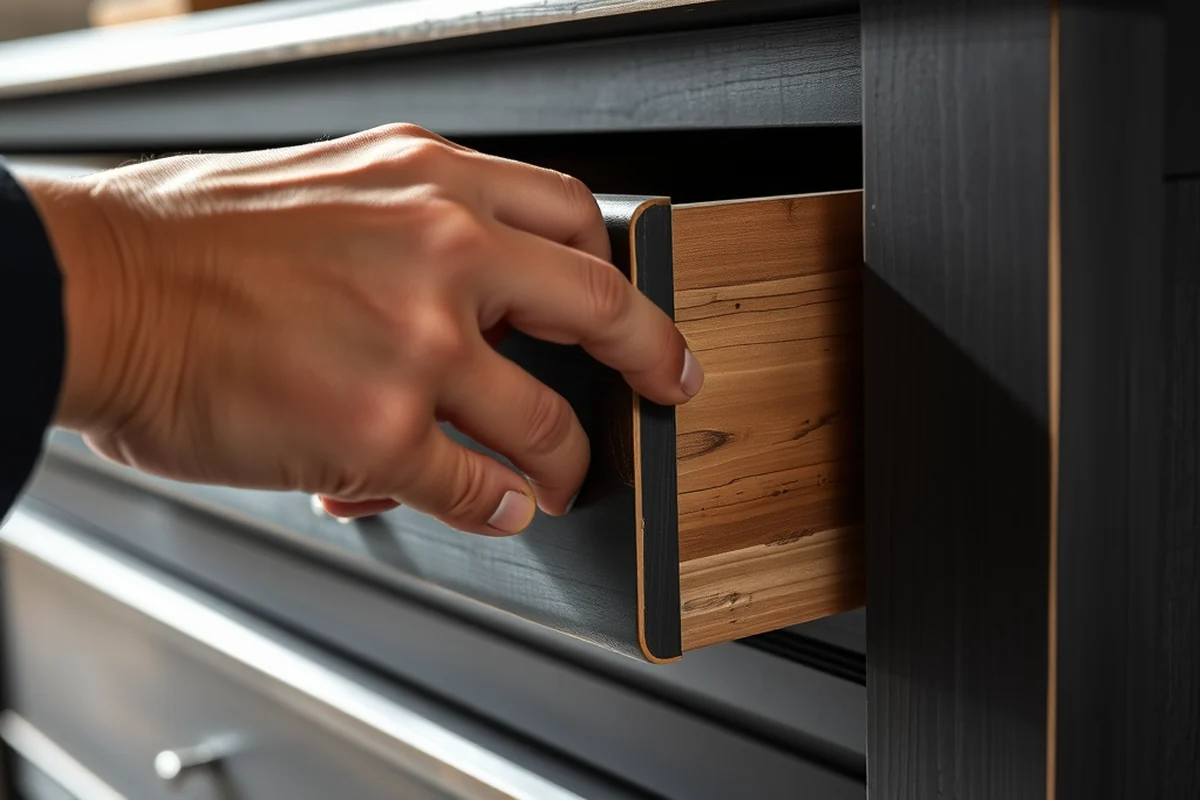
Before cutting any wood, I sketched out the dimensions and layout. I wanted the table to be 36 inches wide and 18 inches deep, with two drawers on the bottom and a single drawer on top. I made sure to leave enough space for the drawer slides and the drawer boxes.[1]
I also considered where the table would go — it was going to be in a hallway, so I needed it to be sturdy enough to hold items like keys, mail, and a small lamp. I made sure the legs were reinforced and the drawers were deep enough for storing items.
I used a tape measure and a square to ensure all the pieces were cut accurately. I marked all the holes for the drawer slides and hinges before I assembled the frame.
A little planning goes a long way in a DIY project.
Related: How to make a paper airplane with launcher
Assembly Tips
I started by assembling the frame — attaching the legs and reinforcing the corners with brackets. I then attached the drawer boxes to the frame, making sure they were aligned correctly.
After attaching the drawers, I added the top panel and the back panel. I used wood glue and screws to secure everything in place. I made sure to countersink the screws so they were flush with the wood.
I used a level to make sure the table was even on the floor. I also tested the drawers to ensure they moved smoothly before finishing the project.
A level will save you from the embarrassment of a crooked table. Test the drawers as you go to ensure they open and close smoothly.
“The first time I saw a wood console table with drawers in my friend’s home, I knew I had to build one.”— DIY Furniture with Pegboard editors
Related: How to display board
Finishing the Table
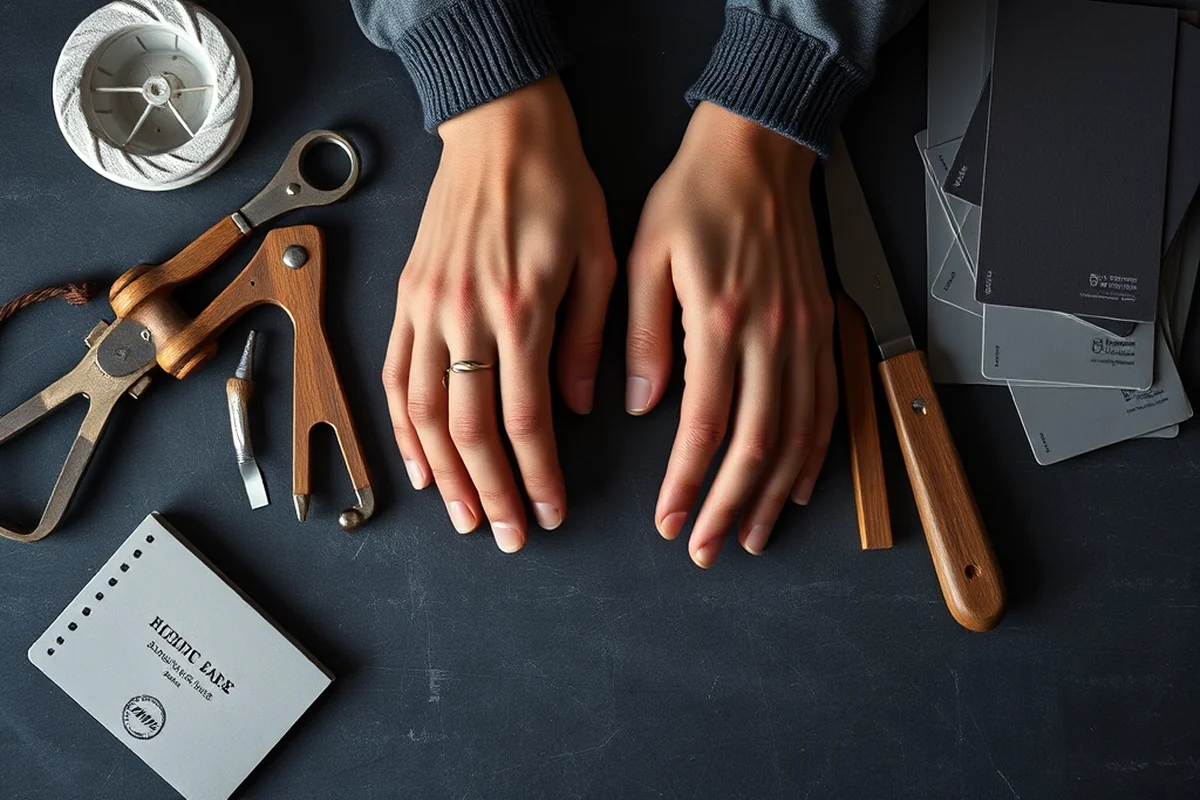
I used a wood primer before applying a couple of coats of polyurethane. I chose a satin finish because it looked more natural and didn’t reflect too much light. I also used a brush to apply the finish, which gave it a smooth, even look.
After the finish dried, I sanded the table lightly to remove any imperfections. I then applied a second coat of polyurethane to ensure long-lasting protection. I also sealed the edges with a bit of wax to prevent them from chipping.
The final look was exactly what I wanted — a beautiful, durable console table that fit perfectly into my space. It had a warm, natural look and felt solid underfoot.
Related: Dry erase board
Adding Storage and Style
I added a small shelf on the back of the table for holding books, plants, or decorative items. I used the same wood as the rest of the table to keep the look consistent. I also added a small hook on the side for hanging keys or a bag.
I used a small router to cut out the shelf and shaped the edges slightly for a finished look. I attached the shelf with wood glue and screws to ensure it was secure. I also used a sanding block to smooth out the edges.
Personal touches like a small shelf or a hook can make a big difference in how the table is used. I also used a bit of trim around the edges of the table to give it a more finished look.
Related: A set up checkers board
Tips for Longevity
I made sure to avoid using any harsh chemicals on the finish. I used a microfiber cloth to wipe it down instead. I also kept the table away from direct sunlight and moisture to prevent warping or fading.
I used a soft brush to clean the table if it got dusty. I made sure not to use any abrasive materials that could scratch the finish. I also applied a bit of wax to the edges regularly to keep them looking nice.
I also used a felt pad on the legs of the table to protect the floor. I made sure the table was placed on a flat surface to avoid any wobbling. I checked the drawers every few months to ensure they still moved smoothly.
A little care now can save you a lot of trouble later.
Related: What is upholstered headboard
Customization and Upgrades
I added a few decorative handles to the drawers for a more finished look. I also used a bit of trim around the edges of the table to give it a more polished appearance. I used a router to shape the edges slightly for a more elegant look.
I considered adding a few more drawers or even a small compartment for storing small items like pens or keys. I made sure the design was still functional and not too cluttered. I also used a bit of wood filler to fix any imperfections.
Customization is key to making the table your own. I used a bit of paint to match the rest of my furniture and added a few small details to make it unique. I also made sure the table was built to last.
Troubleshooting Common Assembly Issues
During assembly, one of the most common issues I encountered was misalignment between the tabletop and the frame. To fix this, I used a level to check the frame before attaching the tabletop. If the frame was even off by 1/8 inch, it could cause the table to wobble. I adjusted the legs or added shims made from 1/16-inch plywood to even out the frame. This adjustment took about 10 minutes per leg and made a noticeable difference in stability.[2]
Another challenge was ensuring that the drawer fronts were perfectly aligned with the sides. To avoid this, I used a laser level to mark the centerline of each drawer box before attaching the fronts. I also sanded the edges of the drawer fronts to remove any imperfections that could cause gaps or misalignment. This step took about 15 minutes per drawer and ensured a clean, professional look.[3]
I also encountered issues with the table legs becoming loose over time. To prevent this, I used 2.5-inch wood screws instead of nails for attaching the legs to the frame. I also applied wood glue to the joints for added strength. This change made the table more stable and prevented the legs from loosening after several months of use. I recommend repeating this step for all joints to ensure long-term durability.[4]
💰 Budget Build
Use affordable materials like MDF and basic drawer slides for a low-cost version.
⏳ Weekend Version
Simplify the design to complete the project in a single day with minimal tools.
🎨 Upgraded Finish
Add a custom stain or paint for a more polished and personalized look.
🛋️ Small-Space Adaptation
Build a narrower version or add wheels for easy mobility in small rooms.
🏠 Rental-Safe Option
Use removable adhesive for hardware and avoid permanent modifications to the space.
| The mistake | Why it happens | The fix |
|---|---|---|
| Not measuring twice before cutting. | This can lead to mismatched pieces and wasted material. | Always measure twice and mark carefully before cutting. |
| Using the wrong type of drawer slides. | This can cause the drawers to stick or not close properly. | Invest in quality slides that match the size and weight of your drawers. |
| Not reinforcing the legs or corners. | This can lead to a wobbly or unstable table. | Use brackets or corner supports to ensure a sturdy build. |
| Applying too much finish in one coat. | This can cause the finish to drip or become uneven. | Apply thin, even coats and allow each layer to dry before applying the next. |
Wood Console Table With Drawers
Common Questions
Can I build this table with just basic tools?
What is the best type of wood to use?
How long does it take to build this table?
Can I add more drawers or shelves?
References
- Idea Book 2.0 - American Spaces (americanspaces.state.gov)
- Architecture Students Use the School's “Coolest Machine” for ... (archplan.buffalo.edu)
- E14: English Drawing Room of the Victorian Period, 1840–70 (artic.edu)
- EAPA Investigation Number 7189: Aspects Furniture International ... (cbp.gov)
Cite this guide
DIY Furniture with Pegboard (2026). Wood Console Table With Drawers. https://pegbuild.com/wood-console-table-with-drawers/
Feel free to cite or share this guide.