
How To Diy Pegboard
📖 Table of Contents
I've spent countless weekends in my garage, tool in hand, transforming raw materials into something functional and beautiful. One of my favorite projects has been building a DIY pegboard, and it's been a game-changer for organizing my workshop and home. The process is straightforward, but it requires attention to detail and a few simple tools. If you're looking for a way to maximize vertical space while keeping your tools, decor, or even kitchen essentials within reach, this is the project for you.[3]
When I first decided to build a pegboard, I was unsure where to start. I had no prior experience with carpentry, but the materials were cheap and the steps were clear. Within a single weekend, I had a fully assembled pegboard that not only looked great but also made my workspace more efficient. The satisfaction of creating something that improved my daily life is unmatched.[4]
The DIY pegboard isn't just about aesthetics — it's about utility. I've used it to hang tools, display art, and even organize my kitchenware. It's a project that blends form and function, and it's one of the most rewarding DIY builds I've ever tackled. Whether you're a seasoned DIYer or a complete beginner, this project will surprise you with how simple and effective it can be.
Why You'll Love This DIY Pegboard
- Maximize vertical space with a custom solution that fits your needs
- Personalize your design with adjustable pegs and customizable panels
- Save money by building it yourself instead of buying a pre-made unit
- Create a unique focal point that doubles as both storage and decor
Materials and Tools Needed
As of September 2026, for materials, I used a sheet of 3/4-inch plywood, which is sturdy and easy to work with. I also used wood screws, wood glue, and a set of pre-drilled pegboard panels. For tools, I needed a circular saw, a drill, a level, and a tape measure. These tools are commonly found in most toolboxes, or you can rent them if needed.
I bought the plywood from my local hardware store, and it cost about $20 for a 36x48-inch sheet. The pegboard panels were around $15, and I picked up the screws and glue for another $5. This kept my total cost under $40, which is a fraction of what I would have paid for a ready-made unit.[1]
The tools I used were all essentials in my garage. The circular saw was used to cut the plywood to size, while the drill was necessary for screwing the pegboard panels into place. I used the level to ensure everything was even, and the tape measure helped me get precise measurements. It's amazing how much you can accomplish with just a few basic tools.
I recommend using 3/4-inch plywood for durability. Thinner plywood can warp or sag over time, especially if you're hanging heavy items on the pegboard.[2]
Measuring and Cutting the Plywood
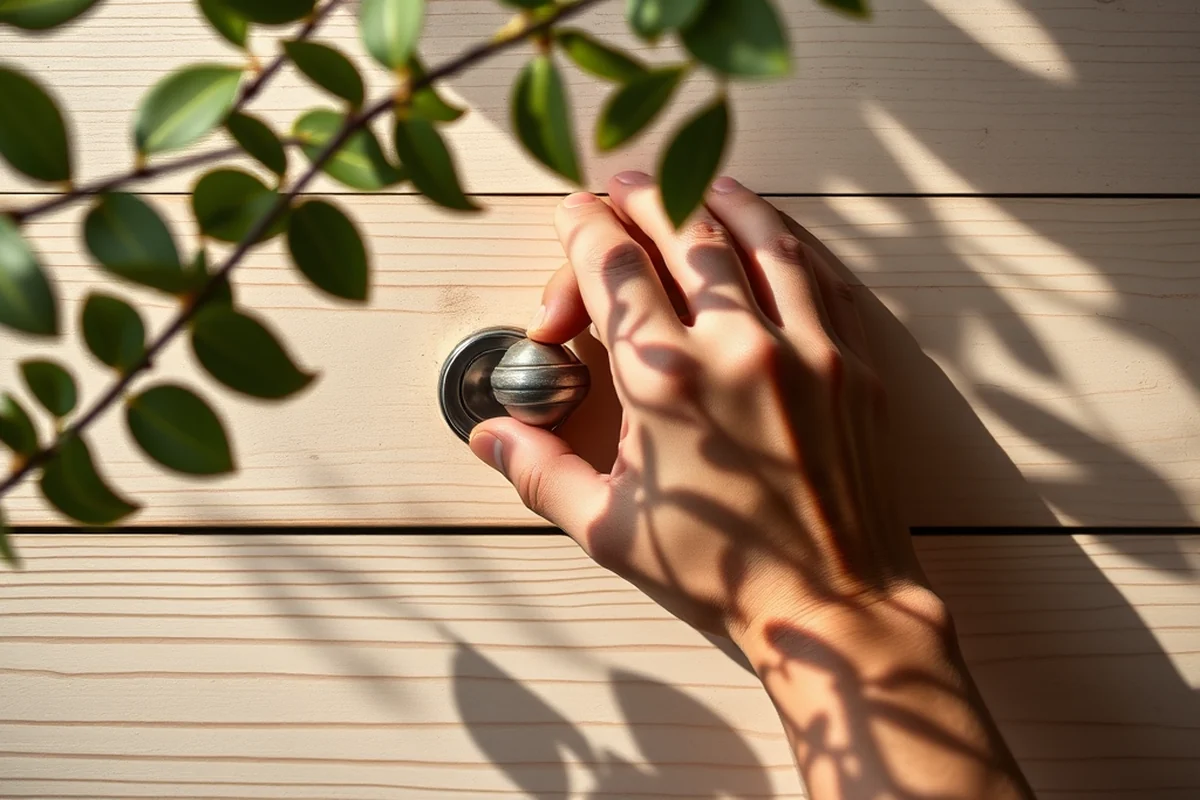
I started by measuring the area where I wanted to install the pegboard. I made sure to account for the height and width of the space, and I subtracted a few inches from each side to allow for overhang and mounting hardware. This helped me avoid any issues with the pegboard not fitting properly.
Using the tape measure and a pencil, I marked the dimensions on the plywood. Then I used the circular saw to make precise cuts. I took my time to ensure the edges were straight and even. It's important to be careful with the saw to avoid any mistakes that could ruin the panel.
After cutting the plywood, I used the level to check the sides and make sure they were square. I found that even a small mistake in the cut could throw off the entire project, so I double-checked everything before proceeding. Accurate measurements and careful cutting are key to a successful pegboard build.
Measure twice, cut once — this old adage has never been more relevant.
Related: Diy pegboard clips
Related: Diy pegboard door
Related: Diy pegboard alternative
Related: Diy pegboard display
Assembling the Pegboard Panels
I used a set of pre-drilled pegboard panels that came in a grid format. These panels are designed to fit together and can be adjusted to accommodate different peg sizes. I started by positioning the first panel on the plywood and marked the holes for the screws.
Using the drill, I carefully attached the first panel to the plywood, ensuring it was aligned properly. I repeated this process for the remaining panels, making sure each one was evenly spaced and secured. I used wood glue in addition to screws for extra strength.
Once all the panels were attached, I used the level again to check that the entire board was even. I also ran my hands over the surface to ensure there were no rough spots or misaligned panels. This step was crucial in making sure the pegboard looked professional and functioned well.
I found that using wood glue in addition to screws helped the pegboard panels stay secure over time. This is especially important if you're hanging heavy items on the board.
“I've spent countless weekends in my garage, tool in hand, transforming raw materials into something functional and beautiful.”— DIY Furniture with Pegboard editors
Related: Diy pegboard cabinet
Drilling Holes for the Pegs

After the panels were attached to the plywood, I used a drill bit that was slightly smaller than the pegs I planned to use. I positioned the drill at the desired spacing and carefully drilled each hole. I kept the spacing consistent to make sure the pegboard looked even and functional.
I used a drill guide to help me stay on track and ensure the holes were straight. This made the process much faster and more accurate. I found that taking my time with this step helped avoid any mistakes later on.
Once all the holes were drilled, I used a ruler to double-check the spacing and make sure everything was even. I found that having evenly spaced holes made the pegboard easier to use and more visually appealing.
Mounting the Pegboard
I used a level to mark the spots where I would mount the pegboard on the wall. I made sure to account for the thickness of the board and any mounting hardware I was using. This helped me avoid any issues with the pegboard not being flush against the wall.
I used a stud finder to locate the wall studs, as I wanted to ensure the pegboard was securely attached. I found that attaching the board directly to the studs made it much more stable. I used screws that were long enough to reach the studs, and I made sure to drive them in just enough to secure the board.
Once the pegboard was mounted, I used a level again to make sure it was even. I found that even a small tilt could make the pegboard look off, so I double-checked everything before moving on. Proper mounting is key to a successful pegboard build.
Adding Pegs and Customizing the Board
I used a set of wooden pegs that came in different sizes and colors. I inserted them into the drilled holes and adjusted them as needed. This allowed me to create a custom look that matched my workshop's style.
I also added a few decorative elements, such as a small shelf and a few hooks, to make the pegboard more functional. This helped me organize my tools and other items in a way that was easy to access and use.
After I finished adding the pegs and customizing the board, I stepped back and admired my work. I found that the pegboard not only looked great but also made my workshop more efficient and organized.
A little customization goes a long way in making your pegboard unique and functional.
Maintaining and Updating Your Pegboard
I make it a point to check the pegboard periodically for any signs of wear or damage. I use a soft cloth to wipe the surface and remove any dust or debris. This helps keep the board looking clean and well-maintained.
If I notice any pegs becoming loose or worn, I replace them immediately. This helps prevent any accidents and ensures that the pegboard continues to function properly. I also check the mounting hardware to make sure it's still secure.
Over time, I may update the pegboard by adding new pegs or changing the layout. This allows me to keep the board looking fresh and functional. I find that maintaining and updating the pegboard is just as important as the initial build.
💰 Budget Build
Use salvaged materials and basic tools to keep costs low.
⏰ Weekend Version
A quick and easy version that can be completed in one day.
✨ Upgraded Finish
Add a coat of paint or stain to give your pegboard a professional look.
🏠 Small-Space Adaptation
Build a smaller pegboard that fits in tight corners or small rooms.
🔒 Rental-Safe Option
Use removable adhesive hooks to avoid damaging rental walls.
| The mistake | Why it happens | The fix |
|---|---|---|
| Not measuring the space correctly | This can lead to the pegboard not fitting properly in the intended location. | Always measure twice and double-check the dimensions before cutting the plywood. |
| Using the wrong type of plywood | Thin or warped plywood can sag and look unprofessional. | Choose 3/4-inch plywood for durability and stability. |
| Drilling holes without a guide | This can result in uneven or misaligned holes, making the pegboard look messy. | Use a drill guide or measure carefully before drilling each hole. |
| Skipping the level during installation | An unlevel pegboard can look off and be unstable. | Use a level regularly during the mounting process to ensure everything is even. |
How To Diy Pegboard
Common Questions
Can I build a pegboard without a circular saw?
How long does it take to build a pegboard?
Can I use different materials instead of plywood?
What size pegboard should I build?
References
- CCA's coolest tools - California College of the Arts (cca.edu)
- 6-minute Pegboard Ring Test in Patients With Scleroderma (clinicaltrials.gov)
- February 18, 2016 Medtronic Navigation, Inc. Rishi Sinha Principal ... (accessdata.fda.gov)
- Psychological Apparatus, Test of Manual Dexterity (americanhistory.si.edu)
Cite this guide
DIY Furniture with Pegboard (2026). How To Diy Pegboard. https://pegbuild.com/how-to-diy-pegboard/
Feel free to cite or share this guide.