
Diy Pegboard Storage Ideas
📖 Table of Contents
- Getting Started: What You Need to Know
- Choosing the Right Pegs and Accessories
- Customizing Pegboard Layouts for Different Rooms
- Installation Tips for a Secure Pegboard Mount
- Upgrading Your Pegboard with Paint and Decor
- Tips for Keeping Your Pegboard Looking New
- Creative Uses for Pegboard Storage
- Make It Your Way
- Frequently Asked Questions
I remember the first time I mounted a pegboard in my home workshop — it felt like unlocking a hidden room of potential. A simple sheet of metal, drilled with holes and mounted on the wall, became the foundation for everything from tool storage to a custom wall organizer. That day, I realized that 'diy pegboard storage ideas' weren’t just a collection of tips; they were a gateway to a more organized, efficient, and personalized space. Whether you're a seasoned DIYer or someone who's never held a screwdriver before, there's something here for you.
Pegboards are incredibly versatile, and their appeal lies in their adaptability. I’ve used them for everything from hanging kitchen utensils to creating a living room display of artwork and books. The beauty of a pegboard is that it can be tailored to your specific needs — and that’s what I want to show you. From the materials you’ll need to the creative ways you can use it, this article is your guide to making the most of your space with 'diy pegboard storage ideas'.
What I love most about pegboard storage is that it doesn’t require any advanced carpentry skills. It’s not about building a custom cabinet or installing complex shelving. It’s about using a simple, affordable material and turning it into something that works for you. If you're thinking, 'I don’t have the time or tools for something like this,' I’m here to tell you: you do. And the best part? It takes just one weekend to complete.
Why You'll Love This DIY Pegboard Storage System
- It’s a cost-effective way to maximize vertical space in your home or workshop.
- You can customize it to fit your specific needs and aesthetic preferences.
- It’s easy to install and modify as your storage needs change over time.
- It adds a modern, organized feel to any room without requiring major renovations.
Getting Started: What You Need to Know
As of August 2026, the first step is choosing the right pegboard material. I typically go with 16-gauge steel, which is strong enough to hold tools and other items without bending or warping. If you're looking for a lighter option, 20-gauge steel is also available, though it might not support heavier items as well. I’ve found that 16-gauge is the sweet spot for durability and affordability.[1]
Next, you'll need a few essential tools: a drill, a level, a measuring tape, a stud finder, and a set of screws. I always take the time to find wall studs to ensure the pegboard is mounted securely. If you're attaching it to drywall without finding studs, using heavy-duty drywall anchors is a safe alternative, though it does limit the weight capacity.
With planning the layout, I recommend sketching out your ideas on paper first. I like to consider the height of the pegboard, the spacing between pegs, and the types of items I’ll be storing. This helps prevent last-minute changes once the board is mounted.
To ensure even spacing between pegs, I use a pre-drilled pegboard template. It's a small investment that pays off in the long run by saving time and reducing errors.
Part of our Pegboard desk guide.
Choosing the Right Pegs and Accessories
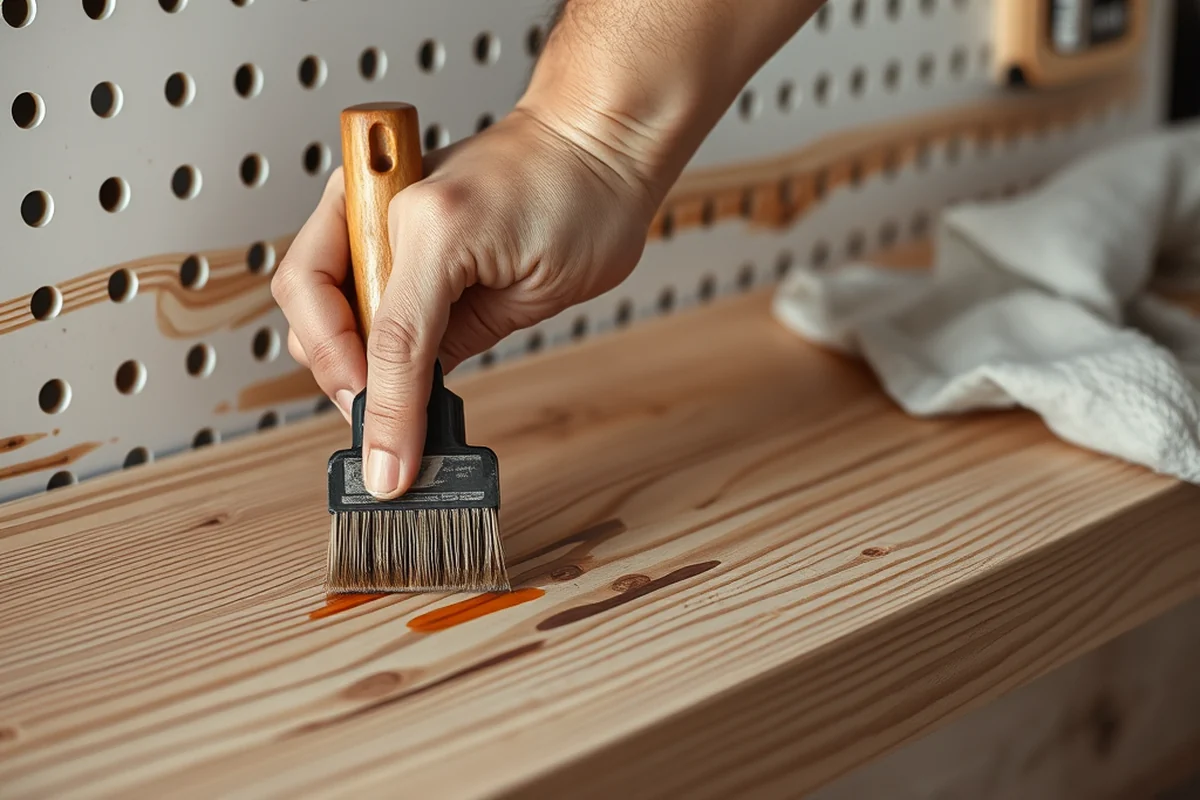
Pegs come in various sizes and materials, from plastic to metal. I prefer using steel pegs because they're more durable and can hold heavier items without wearing out. For lightweight items like keys or small tools, plastic pegs are a good, affordable option. I’ve noticed that the type of peg you use can also affect the overall look of the pegboard — so choose based on your design preferences.
In addition to pegs, you can use accessories like drawer slides, baskets, and hooks to expand your storage options. I've used drawer slides to attach small drawers to the pegboard, which is perfect for storing office supplies or small tools. Baskets are a great way to group items and keep the pegboard looking tidy.
I always recommend purchasing a variety of pegs and accessories to give your pegboard more versatility. This way, you can tailor your storage system to your specific needs over time without having to replace the entire board.
The right accessories can turn a simple pegboard into a fully functional storage solution.
Related: Diy pegboard bunnings
Related: Diy pegboard cups
Related: Diy ikea pegboard accessories
Related: Diy Sofa Legs Ideas
Related: Diy Pegboard Stand
Related: Queen Bed Frame With Storage
Customizing Pegboard Layouts for Different Rooms
In my home workshop, I’ve used my pegboard to store tools, hardware, and small workbench accessories. I arranged the pegs so that heavier tools are at the bottom and lighter items are at the top, which helps with accessibility. I’ve also used hooks to hang larger items like pliers or clamps.
In the kitchen, I’ve used a smaller pegboard to hang utensils, kitchen gadgets, and even aprons. I found that spacing the pegs about 6 inches apart works well for most utensils. I also added a small basket at the bottom to store cleaning supplies like sponges and dish cloths.
In the living room, I’ve used a decorative pegboard to display art, books, and even plants. I spaced the pegs farther apart to accommodate larger items and used different colored pegs to create a visual pattern. This approach has transformed the wall into a personalized statement piece.
When customizing your pegboard layout, consider both accessibility and aesthetics. Items you use frequently should be placed at eye level or within easy reach. At the same time, think about how the pegboard will look in the space — it's a great way to add style while staying functional.
“I remember the first time I mounted a pegboard in my home workshop — it felt like unlocking a hidden room of potential.”— DIY Furniture with Pegboard editors
Installation Tips for a Secure Pegboard Mount
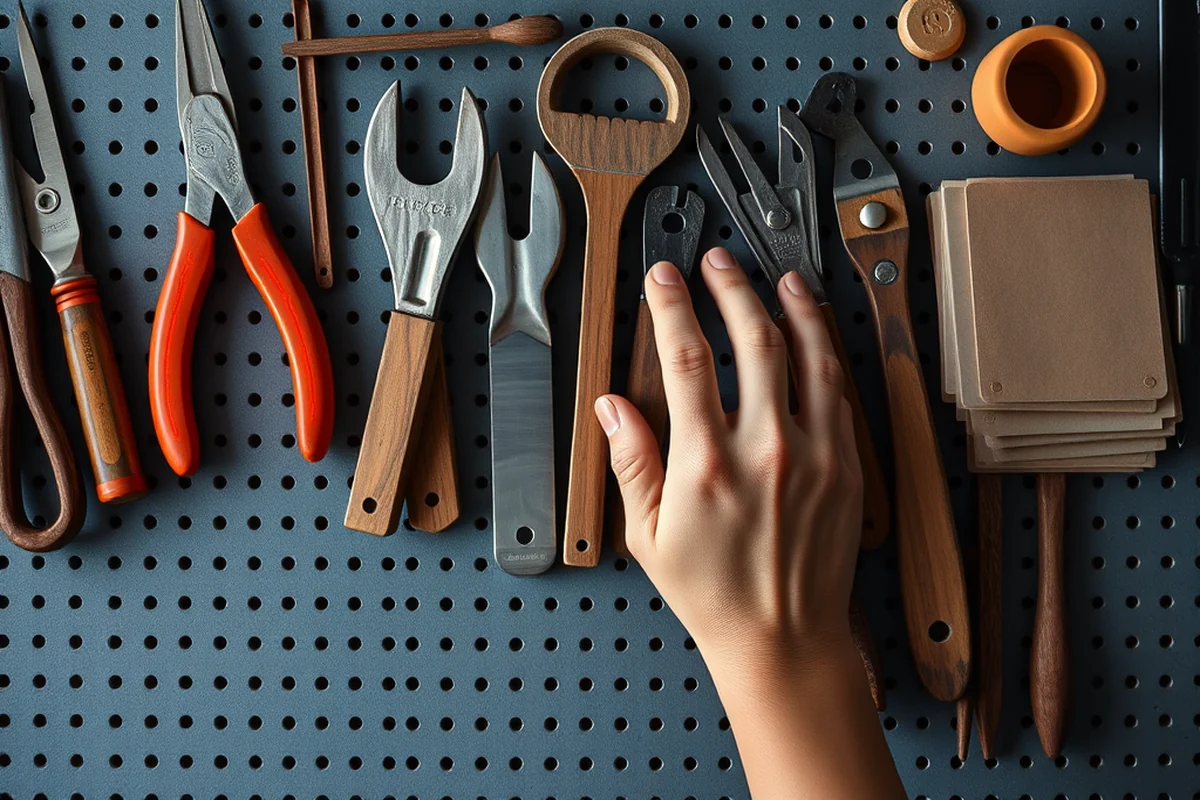
I always start by measuring the space where the pegboard will go and marking the wall with a pencil. Using a level is essential to keep the board straight. If the wall is uneven or has a slope, I use a laser level to ensure accuracy. I’ve found that even the slightest misalignment can cause the pegboard to look crooked over time.
When attaching the pegboard to the wall, I use 2.5-inch screws and heavy-duty drywall anchors if I’m not mounting it on a stud. I’ve learned that using the right screws and anchors is crucial to preventing the board from coming loose, especially if it’s holding heavier items. I always check the weight capacity of the anchors and the pegboard before installing.
After mounting the board, I go over it with a fine-grit sandpaper to smooth out any rough edges. This step helps prevent splinters and makes the board safer to use. I also apply a coat of spray paint to match the room’s decor, which not only looks great but also protects the metal from rust.
Upgrading Your Pegboard with Paint and Decor
I love painting my pegboards to match the room’s color scheme. I’ve used chalk paint for a soft, vintage look and spray paint for a clean, modern finish. Applying two to three coats ensures even coverage and durability. I’ve found that chalk paint is especially good for creating a textured look that’s easy to maintain.
Adding decorative elements like washi tape, stencils, or even small picture frames can transform a basic pegboard into a statement piece. I once used washi tape to create a grid pattern on a pegboard in my office, which made it look more organized and professional. I also used a stencil to add a subtle pattern to the edges of the board.
I’ve also experimented with adding small plants or hanging artwork on my pegboards. This approach adds a personal touch and makes the space feel more alive. I like to use lightweight items so they don’t put too much strain on the pegs or the board itself.
Tips for Keeping Your Pegboard Looking New
I wipe down my pegboard with a damp cloth and mild soap every few weeks to remove dust and grime. I’ve found that using a microfiber cloth helps prevent scratches and keeps the surface shiny. If the board is painted, I use a soft cloth to avoid damaging the paint.
I also make it a habit to check the pegs and screws regularly to ensure they’re still tight. Over time, the board can shift slightly, especially if it's holding heavier items. I’ve learned that tightening the screws every few months helps prevent the board from becoming loose.
If I notice any rust or wear on the board, I apply a coat of rust inhibitor or spray paint to fix the issue. I’ve found that regular maintenance can extend the life of the pegboard and keep it looking new for years.
A little maintenance goes a long way in keeping your pegboard looking great.
Creative Uses for Pegboard Storage
I’ve used a pegboard in my home office to hang a desk lamp, a small clock, and even a calendar. It’s a great way to keep the desk area clutter-free while still having easy access to essential items. I’ve found that using a pegboard in this way adds a unique, modern touch to the space.
In my child’s room, I’ve used a pegboard to display their artwork and toys. I spaced the pegs apart to accommodate larger items like framed drawings or blocks. I also added a small basket to the bottom for storing small toys and art supplies. This setup has helped keep the room organized while still allowing for creativity.
I’ve also used a pegboard in my garage to hang garden tools and outdoor gear. I spaced the pegs to accommodate larger items like rakes and shovels, and I used hooks to hang smaller tools. This setup has made it easier to find and access tools without having to search through a cluttered garage.
💰 Budget Build
Use the most affordable materials and basic tools to create a functional pegboard system with minimal cost.
⏰ Weekend Version
Complete the entire project in one weekend, from planning to installation, with minimal time investment.
✨ Upgraded Finish
Add paint, decorative elements, and high-quality accessories to give your pegboard a premium look.
🏠 Small-Space Adaptation
Customize your pegboard to fit small areas like apartments or tiny workshops with compact layouts.
🛡️ Rental-Safe Option
Create a removable pegboard system that doesn’t require permanent installation, ideal for renters.
| The mistake | Why it happens | The fix |
|---|---|---|
| Not using a level during installation | Failing to use a level can result in a crooked pegboard, which looks unprofessional and can affect the functionality of the pegs. | Always use a level when mounting the pegboard to ensure it is straight and secure. |
| Using the wrong type of pegs for the items being stored | Using the wrong type of pegs can lead to items falling off or the pegs wearing out quickly. | Choose pegs based on the weight and size of the items you're storing. Use steel pegs for heavy items and plastic pegs for lighter ones. |
| Not planning the layout in advance | Without a plan, you may end up with an uneven or inefficient layout that doesn’t meet your storage needs. | Sketch out your pegboard layout on paper before installing it to ensure it fits your needs and looks good. |
| Ignoring maintenance over time | Neglecting regular maintenance can lead to rust, wear, and a decrease in the pegboard’s functionality. | Wipe down your pegboard regularly and check the screws and pegs to ensure everything remains secure and in good condition. |
Diy Pegboard Storage Ideas
Common Questions
Can I install a pegboard on drywall without using a stud finder?
What is the best material for a pegboard?
How long does it take to install a pegboard?
Can I paint my pegboard after installation?
References
Cite this guide
DIY Furniture with Pegboard (2026). Diy Pegboard Storage Ideas. https://pegbuild.com/diy-pegboard-storage-ideas/
Feel free to cite or share this guide.