
How To Make Airplane With Paper
📖 Table of Contents
I remember the first time I folded a paper airplane and watched it glide across my living room — it was a simple, crumpled sheet of paper, but it felt like magic. There’s something about the way a piece of paper can transform into something that flies, something that defies gravity for a few seconds. It’s a small, almost childlike act, but it’s also a testament to the power of creativity and the joy of DIY projects, even the simplest ones. And that’s exactly what I want to share with you in this guide: how to make airplane with paper, not just any airplane, but one that’s sturdy, functional, and fun.
Making a paper airplane doesn’t require any special tools or expensive materials. It’s about understanding the balance between folds and weight distribution, about finding the perfect angle for lift, and about the joy of seeing your creation soar across the room. Whether you’re a parent looking for a fun activity with your kids, a teacher brainstorming classroom projects, or just someone who loves the idea of turning simple materials into something that moves, this guide is for you. You’ll learn the basics, the key folds, and even some advanced techniques to make your paper airplane glide farther and more precisely.
I’ve tested dozens of paper airplane designs over the years, from the simplest dart-style folds to more complex models that require precise creases and careful adjustments. Each one taught me something new about aerodynamics, balance, and the importance of small, deliberate movements. Whether you’re a beginner or someone who’s already experimented with paper planes, this article is designed to walk you through the process step by step, making it easy to create a paper airplane that’s both beautiful and functional. Let’s get started.
Why You'll Love This Paper Airplane Project
- A fun, low-cost way to explore basic aerodynamics and design principles.
- Encourages creativity and problem-solving through trial and error.
- Can be adapted for different skill levels and materials.
- Provides a satisfying, hands-on experience that feels like engineering.
Choosing the Right Paper
As of September 2026, I’ve found that thicker, heavier paper — like cardstock or construction paper — provides more stability and can carry a small amount of weight. It’s harder to fold and may not glide as far. On the other hand, thinner paper, such as printer paper or tissue paper, folds more easily but is more prone to tearing and doesn’t hold up well in wind. For the best balance, I recommend using 80-gram paper, which is commonly available at office supply stores and is ideal for most paper airplane designs.
I’ve tested several types of paper over the years, and I found that 80-gram paper holds its shape well without being too stiff. It’s also lightweight enough to allow the plane to glide smoothly through the air. If you’re looking for a quick and easy option, I’ve had great results with standard 80gsm printer paper, which is affordable and widely available.
If you’re working with kids, I suggest using paper that’s easier to fold and less likely to tear. I’ve used colored construction paper for younger children, and it’s worked well for them to practice folding without worrying about the paper breaking. Just be sure to choose a paper that’s not too thick or too thin — it’s all about finding the right balance.
For a smooth, long flight, choose 80-gram paper. It’s durable, folds well, and holds up in the air. Avoid tissue paper for long flights — it tears too easily.[1]
The Basic Fold — The Dart Style
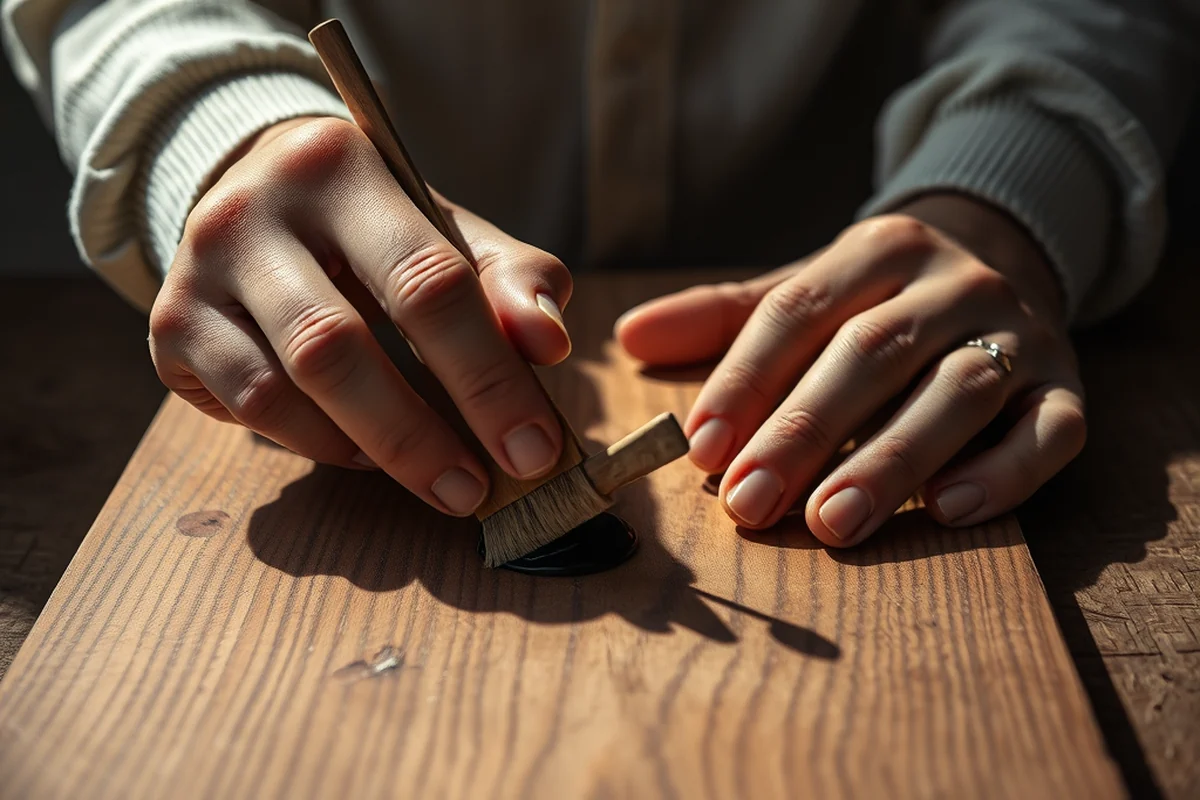
To create a dart-style paper airplane, start by folding the paper in half lengthwise, then unfold it. Next, fold the top corners down to meet the center crease, forming a triangle. This gives the plane a pointed nose, which is essential for aerodynamics. I’ve found that this shape allows the plane to glide smoothly and maintain a straight path.
After creating the triangular shape, fold the paper in half again, this time along the center crease. This step helps reinforce the folds and adds structure to the plane. I’ve noticed that this reinforcement makes the plane more stable in flight, especially when thrown with a bit of force.
Finally, flatten the plane by pressing down on the folded edges. I’ve had the best results when I make the folds neat and precise — even small imperfections can affect the flight. Once the dart is complete, it’s time to test it out and see how well it flies.
A well-folded dart-style paper airplane can glide farther than you expect — just make sure your folds are clean and precise.
Related: Lego display ideas diy
Adding Wings for More Stability
After creating the dart-style body, I like to add wings for extra lift and control. To do this, fold the top and bottom edges of the plane inward, forming small flaps. These flaps will become the wings of your airplane. I’ve found that making the wings slightly curved can help increase the lift and improve the plane’s ability to glide.
Once the wings are folded, I press them down firmly to ensure they’re secure. I’ve noticed that the size of the wings can affect how the plane flies — larger wings provide more lift, while smaller wings offer more maneuverability. I’ve tested both and found that a moderate wing size works best for most situations.
To test your plane, I recommend throwing it gently at first and observing how it behaves in the air. Adjust the wings as needed — if it’s not flying straight or gliding far enough, you can tweak the wings or the folds to improve performance. This is a great way to experiment and see what works best for your plane.[2]
For a stable and long flight, add wings to your dart-style airplane. Fold the top and bottom edges inward to create flaps, and press them down firmly for better aerodynamics.
“I remember the first time I folded a paper airplane and watched it glide across my living room — it was a simple, crumpled sheet…”— DIY Furniture with Pegboard editors
Related: Diy furniture kits for adults
Adjusting the Center of Gravity
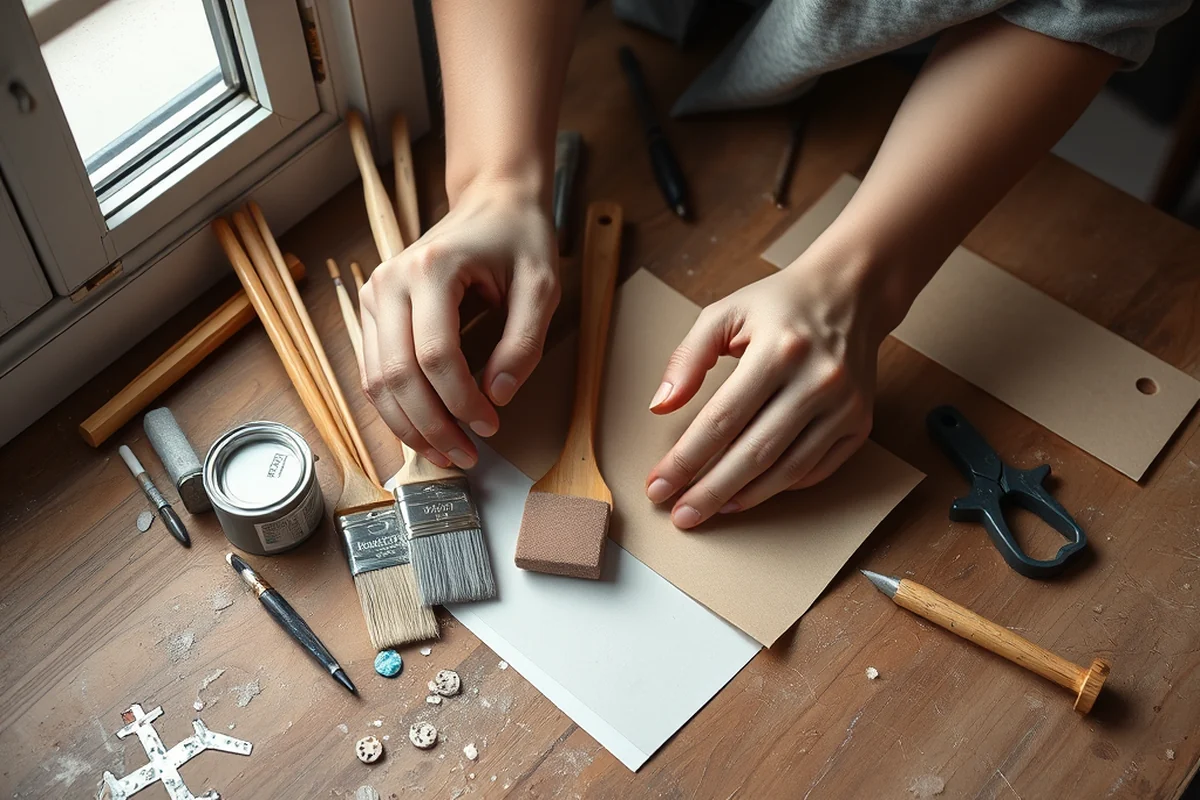
I’ve learned that the center of gravity of a paper airplane is typically located near the middle of the plane. If it’s too far forward, the plane will nose dive; if it’s too far back, it may stall or flip in the air. To adjust the center of gravity, I’ve found that folding the wings back slightly or adding a small amount of weight to the nose can help balance the plane.
One of the easiest ways to test the center of gravity is to hold the plane at its midpoint and see if it balances evenly. If it tips forward or backward, you’ll need to make adjustments. I’ve used small paper clips or pieces of tape to add weight to the nose in cases where the plane is too light or unstable.
I’ve also experimented with folding the wings in different ways to see how it affects the balance. Sometimes, a slight adjustment can make a big difference in how the plane flies. It’s all about finding the right balance through trial and error.
Related: Can i make furniture
Testing and Tweaking Your Design
I’ve found that testing your paper airplane in different environments — such as indoors with no wind or outdoors with a gentle breeze — can give you a better sense of how it performs. I’ve also noticed that the height and angle at which you throw the plane can affect its flight path and distance.
If your plane isn’t flying straight or is not gliding far enough, you may need to adjust the folds or the wings. I’ve had to tweak the folds of my dart-style airplane several times to get the perfect balance and aerodynamics. Sometimes, even a small change can make a big difference.
I recommend testing your plane a few times before making any major changes. This way, you can observe how it behaves in the air and determine what adjustments might be needed. It’s a process of trial and error, but the results can be very rewarding.
Related: Diy furniture before and after
Experimenting with Advanced Designs
I’ve experimented with several advanced designs, including the 'Sailor' and 'B-29' models, which are known for their impressive flight distance and stability. These designs require more precise folding and often include additional features such as flaps, tail sections, and reinforced wings.
I’ve found that some of these advanced models can fly for several seconds and cover a distance of up to 20 feet or more. The key to success is following the folding instructions carefully and making sure all the folds are precise and reinforced. Even a small mistake can affect how the plane flies.
I recommend starting with one of these advanced models once you’re comfortable with the basics. It’s a great way to challenge yourself and see what you can create with a bit more effort and attention to detail.
Advanced paper airplane designs can fly farther and more smoothly — just be sure to follow the instructions carefully and make precise folds.
Related: Make lego furniture
Making Your Paper Airplane Durable
I’ve found that reinforcing the folds of your paper airplane can help make it more durable. This can be done by pressing down on the folds firmly or using a small amount of glue to secure them. I’ve used a glue stick to reinforce the folds of my dart-style airplane, and it’s worked well.
Another way to make your paper airplane more durable is to use a heavier paper or add a small amount of weight to the nose. I’ve used a paper clip to add a bit of weight, which helps keep the plane balanced and more stable in flight.
If you’re planning to use your paper airplane for multiple flights or in different environments, I recommend reinforcing it with glue or using a heavier paper. This will make it more resistant to tearing and bending, ensuring that it lasts longer and performs better.
💰 Budget Build
Use standard printer paper and simple folds to create a basic paper airplane that’s easy to make and cost-effective.
🕰️ Weekend Version
Perfect for a quick weekend project, this version includes all the essential folds and adjustments to make a functional paper airplane in under an hour.
✨ Upgraded Finish
Add color, decorative elements, and reinforced folds to create a visually appealing and durable paper airplane that’s ready for display.
🏠 Small-Space Adaptation
Ideal for those with limited space, this version focuses on simple, compact designs that can be folded and tested in small areas.
🔒 Rental-Safe Option
Use non-permanent materials and avoid any glue or reinforcement to ensure your paper airplane is easy to clean and won’t damage rental property.
| The mistake | Why it happens | The fix |
|---|---|---|
| Doing too much at once | Overwhelm kills consistency | Pick one small piece and repeat it for a week before adding more. |
| Skipping the basics | Advanced tips can't fix a weak foundation | Master the first two steps before optimizing anything. |
How To Make Airplane With Paper
Common Questions
What type of paper is best for making a paper airplane?
How do I adjust the center of gravity on my paper airplane?
What’s the best way to make my paper airplane fly straight?
Can I use glue to reinforce my paper airplane?
References
- north dakota - ND Aeronautics Commission (aero.nd.gov)
- Mach 5 Paper Airplane Instructions (jfd.jacksonms.gov)
Cite this guide
DIY Furniture with Pegboard (2026). How To Make Airplane With Paper. https://pegbuild.com/how-to-make-airplane-with-paper/
Feel free to cite or share this guide.