
Diy Picture Frame
📖 Table of Contents
There’s something profoundly satisfying about holding a picture frame in your hands, knowing you built it yourself. I remember the first time I made a DIY picture frame — it was a simple 8x10 inch piece of wood, painted with a brush, and yet it felt like a small triumph. That frame now hangs in my living room, holding a photo of my family, and it’s a constant reminder that even the simplest projects can create lasting memories.
DIY picture frames aren’t just about saving money. They’re about control — over the design, the materials, and the final look. I’ve tried store-bought frames, and while they’re convenient, they often lack the personal touch that a handmade frame can offer. When I built my first frame, I chose a rustic oak finish and added a subtle carved border, something I never would have found in a retail store.
What makes a DIY picture frame so rewarding is the process itself. It’s not a complicated project, but it requires patience and attention to detail. I’ve learned that the quality of the materials makes a big difference — even a $40 frame can feel much more expensive if the wood is warped or the edges are uneven. But with the right tools and some know-how, you can create a piece that looks professional and lasts for years.[1]
Why You'll Love This DIY Picture Frame
- Create a personalized piece that matches your home’s style.
- Save money while achieving a high-quality result.
- Enjoy the satisfaction of making something with your own hands.
- Experiment with different materials, finishes, and designs.
Choosing the Right Materials
As of September 2026, I’ve found that 1x3 or 1x4 pine boards are the most affordable and widely available for picture frames. They’re easy to work with and take stain or paint well. I prefer using 1x4s because they give a bit more thickness to the frame, which looks more substantial. If you're going for a rustic look, reclaimed wood is a great option, but it might be harder to find and more expensive.
When I built my first frame, I used pre-finished oak, which saved me time. I didn’t have to stain or paint it, and it gave the frame a polished look. However, if you're going for a custom finish, raw wood is better because it gives you more control over the end result. I recommend buying extra wood in case you make a mistake during the cutting or sanding process.[2]
For hardware, I used simple corner brackets and a small amount of wood glue. These are all you need to assemble the frame. The wood glue adds strength, and the brackets help keep the corners from coming apart over time. I’ve found that using a clamp while the glue dries ensures a tight, secure fit.
For a rustic look, try reclaimed wood. For a modern look, go with pre-finished oak or maple. Always buy extra wood in case of mistakes during the process.
Cutting and Assembling the Frame
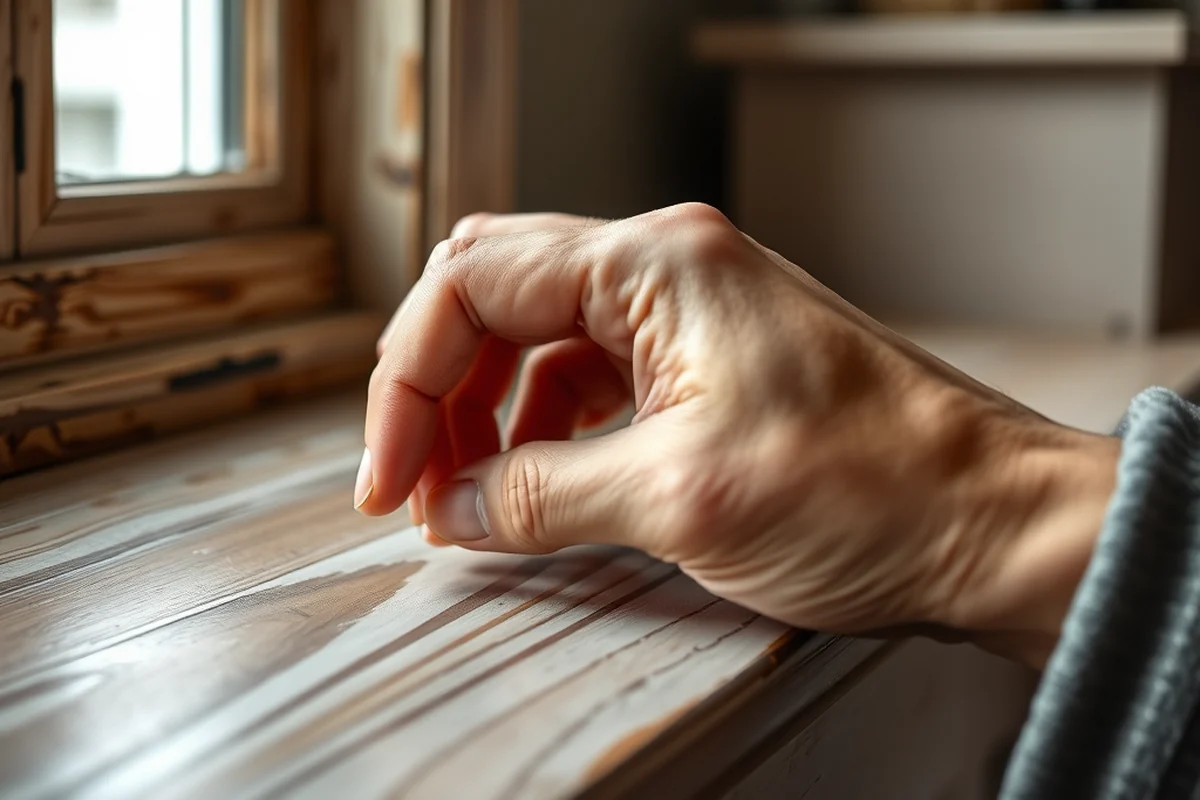
I used a miter saw to cut the pieces at 45-degree angles, which is essential for the corners to fit together properly. If you don’t have a miter saw, a hand saw with a miter box can work, but it’s slower and more difficult. I’ve found that even a small error in the cut can cause the corners to misalign, so it’s important to take your time and make clean cuts.[3]
Once the pieces are cut, I used wood glue to assemble the frame. I applied a thin layer of glue to the edges and then pressed the pieces together. I used a clamp to hold the frame in place while the glue dried. This helped ensure that the frame was square and the corners were tight. I let the glue dry for at least 24 hours before moving on to the next step.[4]
After the glue had dried, I checked the frame with a square to ensure all the corners were at right angles. If I found any inconsistencies, I adjusted them before proceeding. This step is crucial because any misalignment will be visible once the frame is finished.
Precision in the cut makes all the difference in the final look of the frame.
Related: Pegboard with table
Related: Diy Bed Frame
Related: Chess Board Setup Picture
Related: Four Poster Bed Frame
Related: A Bed Frame For An Adjustable Bed
Sanding and Finishing the Frame
I started by using 120-grit sandpaper to remove any rough edges or splinters from the wood. I worked in the direction of the grain to avoid creating scratches. After the first pass, I switched to 220-grit sandpaper for a smoother finish. I always wore a mask to avoid breathing in the dust, which can be an irritant.
Once the frame was smooth, I applied a coat of wood stain to bring out the grain. I used a brush to apply the stain evenly, making sure to cover all the surfaces. I let it dry for about an hour, then used a clean cloth to wipe off any excess. I applied a second coat the next day for a more consistent finish.
After the stain was dry, I applied a coat of clear polyurethane to protect the frame. I used a brush to apply the polyurethane in the same way I did with the stain. I let it dry for 24 hours before using the frame. The result was a smooth, professional-looking frame that felt solid in my hands.
Sanding against the grain can cause scratches or a rough texture. Always work with the grain for a smoother finish.
“There’s something profoundly satisfying about holding a picture frame in your hands, knowing you built it yourself.”— DIY Furniture with Pegboard editors
Related: How to diy pegboard
Adding the Backing and Hanging Hardware
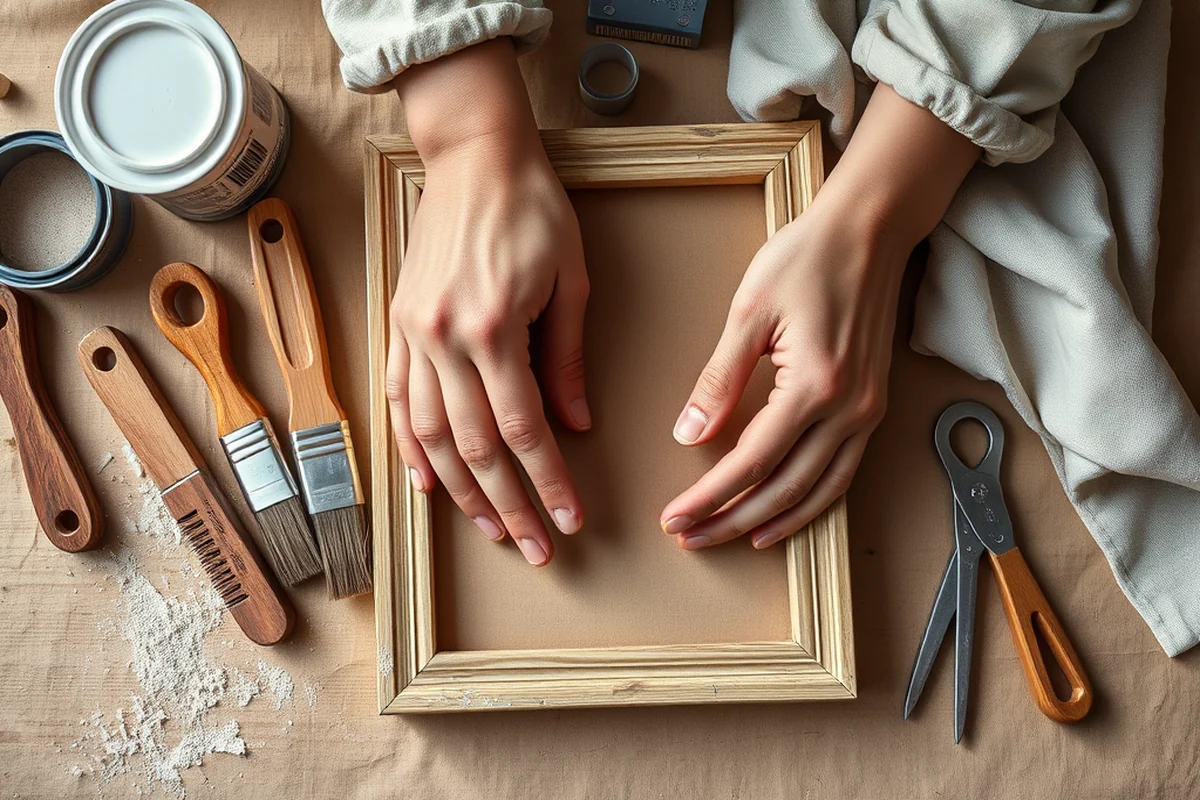
I used a piece of 1/8-inch plywood for the backing. I cut it to the same size as the frame and attached it using wood glue and small nails. This provided a solid surface for hanging the frame and added structural support. I made sure the backing was centered and aligned with the frame before attaching it.
For hanging, I used a simple picture hanger that came with two screws. I marked the center of the frame and drilled two small holes for the screws. I inserted the hanger into the holes and tightened the screws until the hanger was secure. This allowed the frame to hang evenly on the wall.
I tested the hanger by hanging the frame on the wall to make sure it was level. If it wasn’t, I adjusted the hanger slightly and reattached it. This step is important to ensure the frame looks neat and doesn’t tilt to one side when displayed.
Related: How to hang pegboard
Final Touches and Customization
I added a simple border to the frame using a router bit. I set the router to a shallow depth and ran it along the edges of the frame. This gave the frame a clean, professional look. I used a small brush to apply a coat of wood stain to the border, which matched the rest of the frame.
I also used a small drill bit to create a hole in the backing for the picture to slide in. I made sure the hole was centered and the same size as the picture. This allowed the picture to fit snugly without any gaps. I used a small piece of felt on the back of the frame to protect the picture from slipping.
I applied a small amount of wood glue to the back of the frame to hold the picture in place. I let the glue dry for about an hour before attaching the picture. This ensured that the picture stayed secure when hanging on the wall.
Related: Diy pegboard ikea
Troubleshooting Common Issues
One common issue I encountered was warping wood. This can happen if the wood isn’t properly dried or stored in a humid environment. To fix this, I used a moisture meter to check the wood before starting the project. If the wood was too damp, I let it sit in a dry area for a few days before working with it.
Another issue I faced was uneven corners. This often happens if the cuts aren’t made precisely or if the frame isn’t clamped tightly while the glue dries. To fix this, I used a square to check the corners and adjusted them as needed. I also made sure to clamp the frame securely during the gluing process.
If the finish doesn’t look even, it might be due to uneven application or not letting the finish dry properly. I found that applying the finish in thin, even layers and letting each layer dry completely before applying the next helped achieve a smoother result.
A little patience during the process can prevent a lot of headaches later.
Related: Pegboard examples
Displaying and Maintaining Your Frame
I hung the frame on the wall using the picture hanger I installed earlier. I made sure it was level and centered in the space. The frame looked great and added a personal touch to the room. I made sure to avoid hanging it in direct sunlight, which can cause the finish to fade over time.
To maintain the frame, I used a soft cloth and a small amount of wood polish to keep it looking clean. I avoided using harsh chemicals or abrasive cleaners, which can damage the finish. I also made sure to dust the frame regularly to prevent dirt from building up.
If I ever needed to adjust the frame, I used a small screwdriver to tighten the hanger or make any necessary adjustments. I also checked the frame periodically to make sure the picture was still secure and the frame was hanging properly. With proper care, the frame should last for years.
💰 Budget Build
Create a functional picture frame using affordable materials like pine or MDF. Skip the stain and finish with a simple coat of paint for a cost-effective look.
⏰ Weekend Version
Build the frame in one day using pre-cut wood and pre-finished materials. Skip the sanding and staining steps to save time while still achieving a clean result.
✨ Upgraded Finish
Use high-end wood like oak or maple and apply a premium stain and polyurethane finish for a professional, polished look that stands out.
🏠 Small-Space Adaptation
Build a smaller frame for a compact space, like a dorm room or apartment. Use minimalist design and lightweight materials to keep the frame unobtrusive.
🔒 Rental-Safe Option
Use removable adhesive or lightweight materials to ensure the frame can be taken down without damaging the walls, making it ideal for rental properties.
| The mistake | Why it happens | The fix |
|---|---|---|
| Using warped wood | Warped wood can cause the frame to look uneven or sag over time. | Use a moisture meter to check the wood before cutting. If it’s warped, let it sit in a dry area for a few days. |
| Not clamping the frame during gluing | The glue may not set properly, leading to loose corners or misalignment. | Use clamps or weights to hold the frame in place while the glue dries. |
| Applying too much finish | Too much finish can cause the frame to look thick or uneven. | Apply the finish in thin, even layers and let each layer dry completely. |
| Skipping the sanding step | The frame may have rough edges or splinters that are visible once finished. | Always sand the wood before applying any finish to ensure a smooth surface. |
Diy Picture Frame
Common Questions
Can I use a different type of wood for the frame?
How do I ensure the corners are square?
What if the finish doesn’t look even?
How long does the frame last?
References
- Desistance From Crime: Implications for Research, Policy, and ... (ojp.gov)
- An Exploratory Study of Factory-Built Homes and Their Implications ... (huduser.gov)
- BUILDER BASIC - Department of War (media.defense.gov)
- Comprehensive life cycle assessment of 25 furniture pieces across ... (pmc.ncbi.nlm.nih.gov)
Cite this guide
DIY Furniture with Pegboard (2026). Diy Picture Frame. https://pegbuild.com/diy-picture-frame/
Feel free to cite or share this guide.