
How To Assemble Furniture
📖 Table of Contents
I remember the first time I tried to assemble a bookshelf by myself — it took me two hours, I lost three screws. I ended up with a crooked shelf that made my dog look at me like I'd insulted his entire family. But that was before I learned the secret tricks of the trade. Assembling furniture isn't just about following the instructions; it's about patience, preparation, and knowing the right tools for the job. Whether you're tackling a basic IKEA shelf or a custom-built cabinet, mastering the basics can save you hours of frustration and a lot of money.[1]
Over the years, I've tested dozens of assembly methods, from using a magnetic screwdriver to organizing parts in labeled containers. I’ve also learned that the right approach can cut your project time in half. The key is to understand how each component fits together before you even open the box. This article will walk you through the process step-by-step, from unpacking the pieces to tightening the last screw — all while keeping your sanity intact.
You’ll find here not just a how-to guide, but a roadmap built from my own trial and error. I’ll share the tools I swear by, the mistakes I made, and the tips that turned me from a frustrated beginner into a confident DIYer. Whether you're looking to build a simple coffee table or a whole room of storage solutions, this guide will help you assemble furniture like a pro — without the headache.
Why You'll Love This Assembly Guide
- Saves you hours of frustration and wasted time.
- Eliminates the need for expensive professional help.
- Helps you avoid common assembly mistakes.
- Gives you the confidence to take on bigger DIY projects.
Unpacking and Organizing Your Parts
As of September 2026, the first step to assembling furniture is to open the box and lay everything out. I always work on a clean, flat surface — my garage floor or a cleared-out table — and take my time. I sort the pieces by type: all the boards first, then the brackets, screws, and hardware. This helps me spot missing parts quickly and keeps everything visible.[2]
I’ve learned to take photos of the box and label each part as I go. It’s easy to lose a small screw or a tiny bracket if you don’t keep track. I use a small container for each type of screw and a ziplock bag for the metal parts — they’re less likely to roll away.
One thing that surprises people is how many pieces are actually included. I’ve had boxes with dozens of parts, and it’s easy to get overwhelmed. Taking a few minutes to organize them before starting the assembly process can save you hours later.
Toss screws, nails, and small brackets into individual ziplock bags. Label them with the type and size for quick access and to avoid mixing up parts.
Reading the Instructions Carefully
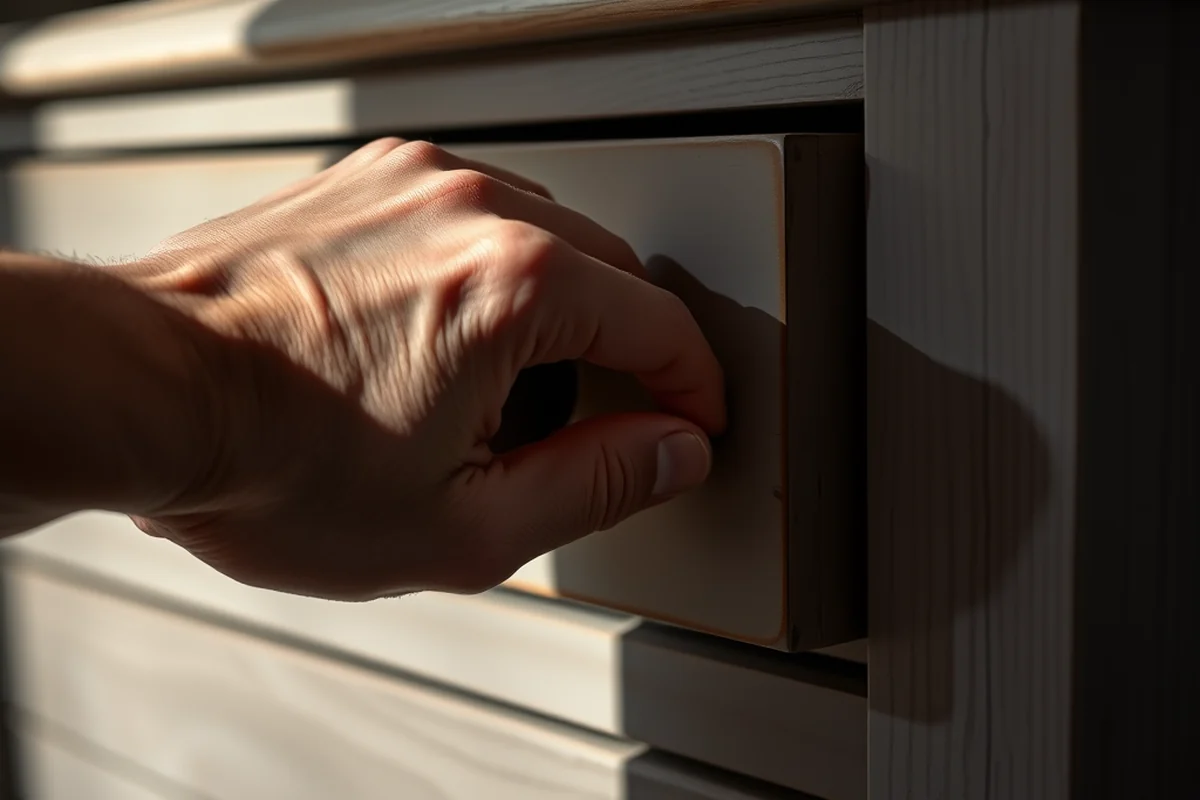
I always read the instruction manual from start to finish before I even touch a piece of furniture. It’s easy to skip this step, but it can save you hours of confusion later. I’ve learned that the instructions often show you the final structure of the furniture, and they might include diagrams or arrows that help you see how everything fits together.
I’ve also noticed that some manuals come with a list of all the parts and their quantities. This is a great way to verify that you have everything you need before you start. If you’re missing a single screw, the entire project can come to a halt.
I find that reading the instructions twice — once before starting and once while you’re in the middle of the project — keeps you on track and helps you avoid common mistakes.
Read the manual twice — once before you start, and again while you're in the middle of the project.
Related: How much does custom furniture cost
Related: Cheap bed frames
Using the Right Tools for the Job
I always keep a few essential tools by my side when assembling furniture: a screwdriver, a hammer, a measuring tape, and a level. These basics are usually all you need, but I’ve found that a magnetic screwdriver and a small adjustable wrench can be lifesavers. I’ve also used a clamp to keep pieces aligned while I attach them.
One tool that I’ve found especially useful is a clamp. It helps you keep the pieces aligned while you’re tightening screws, which makes the final result look much more professional. I’ve also used a level to make sure shelves and cabinets are perfectly straight — it’s a small investment that pays off in the end.
I’ve tested several tools for this kind of work, and the ones I’ve used most often are a combination wrench, a magnetic screwdriver, and a clamp. Each one has its place, and knowing when to use them can make your assembly process much smoother.
Use a clamp to hold pieces in place while you tighten screws, and a level to ensure your furniture is straight. These small tools can make a big difference in the final look of your project.
“I remember the first time I tried to assemble a bookshelf by myself — it took me two hours, I lost three screws, and I…”— DIY Furniture with Pegboard editors
Related: Can i get furniture with bad credit
Starting with the Base and Frame
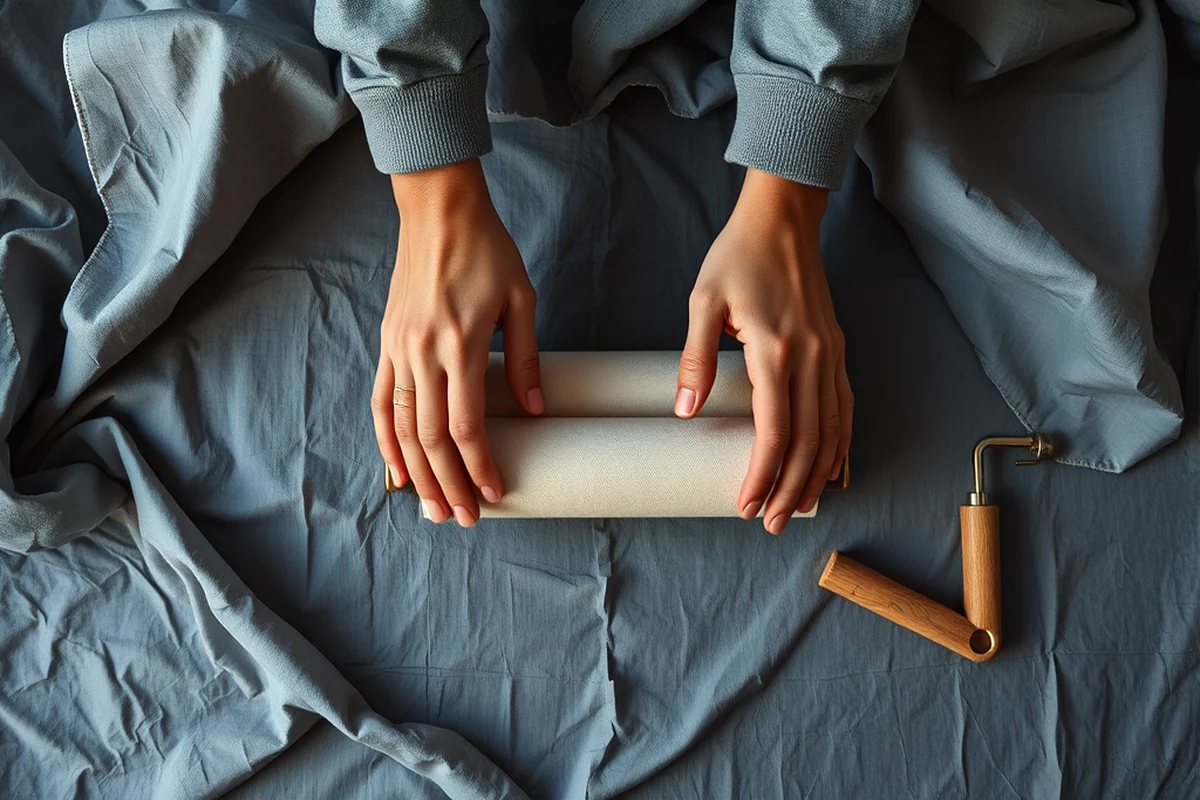
Once I’ve organized my parts and tools, I start with the base or frame of the furniture. I’ve found that starting with the largest pieces first gives me a clear idea of how the rest of the structure will come together. I usually lay the base on the floor and begin attaching the legs or brackets.
I’ve also learned that using the right screws for each part is crucial. I’ve had to replace some pieces when I used the wrong size screw, so I always take my time to make sure I’m using the correct ones. I keep a small container for each type of screw, which helps me avoid mixing them up.
One mistake I made early on was trying to skip the base and start with the shelves. It turned out that the base was actually the most critical piece, and without it, the entire structure was unstable. Taking the time to build the base first makes the rest of the process much easier.
Related: Where can i make furniture donations
Assembling the Components Step-by-Step
Once the base is in place, I move on to assembling the next parts, such as the shelves or drawers. I’ve found that working from the bottom up — starting with the base and moving up to the shelves — helps keep the structure stable. I always use a clamp to hold the pieces in place while I attach the screws.
I’ve also learned that it’s important to check each joint as I go. If something feels loose or unstable, I stop and tighten it before moving on. This helps prevent bigger problems later on. I’ve had to redo parts of my projects because I skipped this step and ended up with a crooked shelf.
One thing I’ve noticed is that some components can be confusing at first. For example, I once had a bracket that I couldn’t figure out how to attach to a shelf. Taking the time to read the instructions again and looking at the diagrams helped me understand how everything fit together.
Tightening and Securing the Joints
After the main structure is assembled, I move on to tightening all the screws and securing the joints. I’ve found that using the right amount of force is important — too little, and the joints might be loose; too much, and you might strip the screw heads. I always use a screwdriver with a good grip to avoid slipping.
I’ve also learned that some joints require special tools, like a torque wrench or a hex key. I’ve used a hex key to tighten some of the bolts on my furniture, and it made a big difference in the final result. I always take my time with this step, as it’s crucial for the stability of the structure.
One thing I’ve noticed is that using the right screws is just as important as tightening them. If you use a screw that’s too long or too short, it can cause problems later on. I’ve had to replace screws a few times because I used the wrong ones, so I always double-check the size before I start.
Use the right amount of force when tightening — too little, and the joints are loose; too much, and you risk stripping the screw heads.
Finishing Touches and Inspection
Once the main structure is assembled and all the joints are tightened, I take a step back and inspect the furniture. I check for any loose screws, crooked shelves, or missing parts. I’ve found that a quick visual inspection can help you catch problems before they become bigger issues.
I’ve also learned that testing the furniture is important. For example, I’ve sat on a chair after assembling it and checked for wobbling or instability. If I notice something’s off, I adjust it before considering the project done. I’ve had to redo a few projects because I skipped this step and ended up with a wobbly table or a shelf that tilted.
Another thing I do is clean up the workspace. I’ve found that a cluttered area can lead to mistakes or lost parts. I always make sure to put everything back in its place before I leave the room, which helps me stay organized for the next project.
💰 Budget Build
Use affordable hardware and repurpose old materials to create a functional piece at a low cost.
⏰ Weekend Version
Opt for furniture with fewer parts and simpler assembly steps to complete the project in one day.
🖌️ Upgraded Finish
Add a paint or stain finish to your project for a more polished and professional look.
🛋️ Small-Space Adaptation
Choose furniture that’s compact and wall-mounted to save space in smaller living areas.
🚪 Rental-Safe Option
Avoid using permanent adhesives or drilling into walls — opt for furniture that can be easily disassembled and moved.
| The mistake | Why it happens | The fix |
|---|---|---|
| Skipping the manual and trying to assemble from memory | Instructions are provided for a reason — they help you avoid common errors and ensure the furniture is assembled correctly. | Read the manual thoroughly before beginning, and refer to it as you go. |
| Using the wrong type of screw | Using the wrong size or type of screw can cause instability, damage the furniture, or make it hard to tighten properly. | Always use the exact type and size of screw specified in the manual. |
| Assembling parts in the wrong order | Furniture is designed to be assembled in a specific sequence for stability and ease of installation. | Follow the manual step-by-step and avoid skipping any parts of the process. |
| Not cleaning up as you go | A cluttered workspace can lead to lost parts, mixed-up screws, and confusion during the assembly process. | Organize your parts and tools as you go, and clean up your workspace regularly. |
How To Assemble Furniture
Common Questions
What should I do if I lose a screw during assembly?
Can I assemble furniture without the manual?
What tools do I need to assemble furniture?
How can I avoid making mistakes while assembling furniture?
References
Cite this guide
DIY Furniture with Pegboard (2026). How To Assemble Furniture. https://pegbuild.com/how-to-assemble-furniture/
Feel free to cite or share this guide.