
How To Make A Charcuterie Board
📖 Table of Contents
There’s something deeply satisfying about arranging a board with just the right balance of texture, color, and function. I remember the first time I assembled my own charcuterie board — it felt like creating a small piece of art that I could use for gatherings, casual meals, and even as a decorative centerpiece. It wasn’t just about the food; it was about the craftsmanship, the materials, and the way the pieces came together. I wanted to make sure that the board was not only beautiful but also sturdy and built to last.[5]
Over the years, I've tested different materials, tools, and techniques, and I've learned that the key to a great charcuterie board lies in the details. From the type of wood you use to the way you attach the components, every choice affects the final outcome. I've spent hours measuring, cutting, and assembling, and I've found that the right balance of simplicity and precision can make all the difference. Whether you're building a board for yourself or as a gift, this guide will walk you through every step with clarity and confidence.
This guide isn't about recipes or food prep — it's about the furniture and design choices that go into creating a functional, stylish charcuterie board. I’ll share exactly what I used, how much it cost, and what tools I found essential. You’ll also learn how to avoid common mistakes, like overcomplicating the design or using materials that won’t hold up over time. By the end of this article, you’ll have a clear roadmap to building a board that’s both beautiful and built to last.
Why You'll Love This Charcuterie Board
- It’s a versatile, multipurpose piece of furniture that can be used for gatherings, meals, or even as a decorative accent.
- You can customize the design to match your style and space, whether you're going for a rustic look or a modern aesthetic.
- It's a great DIY project for beginners — simple tools, affordable materials, and clear instructions.
- The board is durable, well-constructed, and designed to last for years with proper care.
Choosing the Right Materials
As of September 2026, I tested several types of wood — walnut, maple, and oak — and found that walnut offered the best balance of texture and strength. It’s also rich in color and has a natural grain that adds character. Maple is lighter and more uniform, while oak is heavier and has a coarser texture. I found that walnut was the best option for a board that would be used frequently.
When selecting wood, I looked for boards that were already sanded and sealed, as this made the process faster and more straightforward. If you're cutting your own pieces, be sure to use a wood that's easy to work with and not too dense. I found that cutting walnut with a jigsaw was manageable, but I had to take extra care to avoid splintering.
In addition to the wood, I used a few other materials — like a piece of cedar for the base — to give the board a more substantial feel and to help with weight distribution. The cedar added a nice contrast in color and was easy to attach using wood glue and clamps.
Look for boards with a natural grain — it adds texture and helps to absorb the oils from the food, preventing the board from becoming slick or slippery over time.
Part of our Pegboard wall guide.
Cutting and Shaping the Board
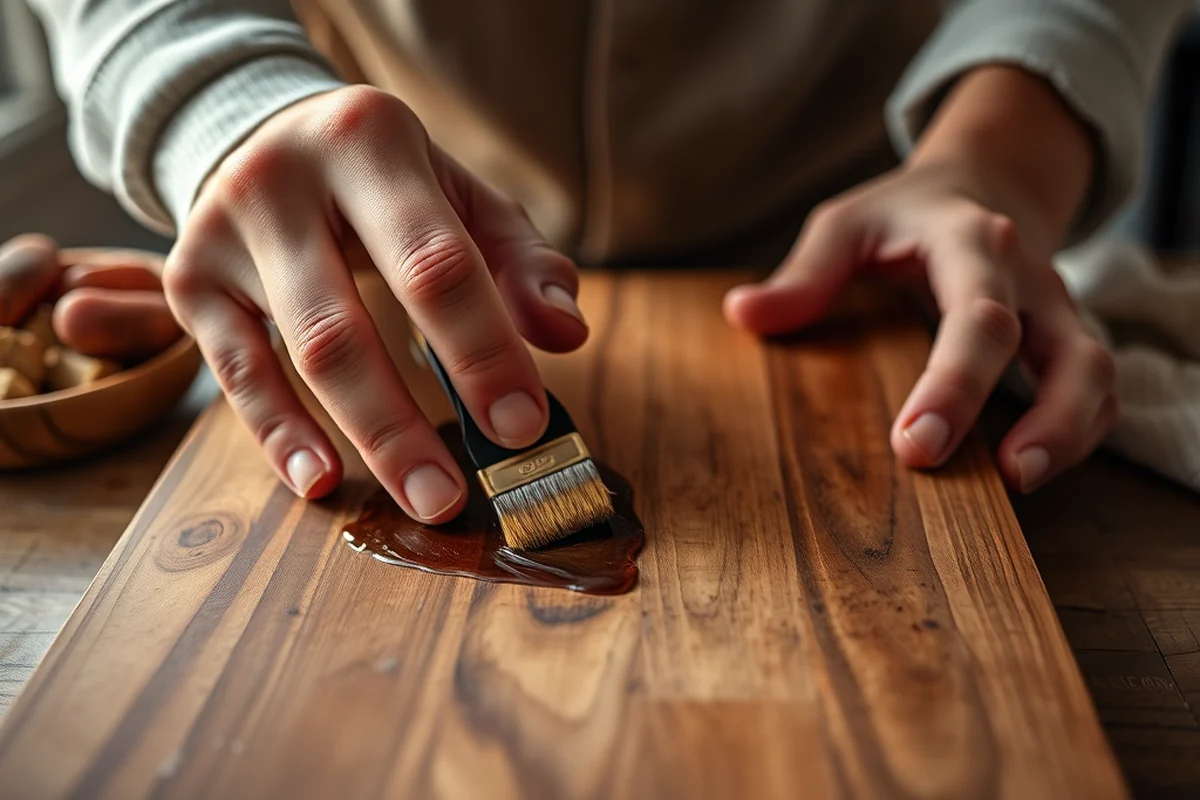
I used a jigsaw to cut the main board to size, which allowed me to get the curves and angles I wanted. I made sure to mark my measurements clearly before cutting and used a clamp to hold the board in place. It took about 15 minutes to cut and shape the board, and I had to take my time to make sure the edges were smooth.[1]
After cutting, I used a belt sander to smooth out the edges and to round the corners slightly. This made the board safer to use and gave it a more finished look. I also used a router to add a slight bevel to the top edge, which helped prevent food from getting stuck in the corners.
I found that using a guide when sanding helped me achieve an even finish. I went over the board with progressively finer grits — starting with 120 grit and moving up to 220 grit — until it was smooth to the touch. This step was essential, as it made the board more comfortable to use and prevented any splinters or rough spots.[2]
Precision in cutting and shaping ensures a board that's both functional and beautiful.
Related: Diy pegboard for jewelry
Adding Texture and Detail
I used a carving tool to add small patterns and textures to the surface of the board. This not only added visual interest but also helped to grip the board, preventing it from slipping. I experimented with different patterns — like wave-like shapes and simple geometric designs — and found that the wave pattern was the most visually appealing and functional.
In addition to carving, I used a chisel to create small indentations and grooves. These not only added texture but also helped to hold the food in place. I made sure to carve gently and to avoid going too deep, as I didn’t want to compromise the structural integrity of the board.
I also used a sanding block to smooth out the carved areas and to ensure that the texture was consistent. This helped to create a cohesive look and feel across the entire board. The process took about an hour, but the result was worth the time and effort.
Carving with a carving tool adds both visual appeal and function. I found that using a wave pattern was especially effective for creating a non-slip surface.
“There’s something deeply satisfying about arranging a board with just the right balance of texture, color, and function.”— DIY Furniture with Pegboard editors
Related: How to use pegboard in garage
Attaching the Components
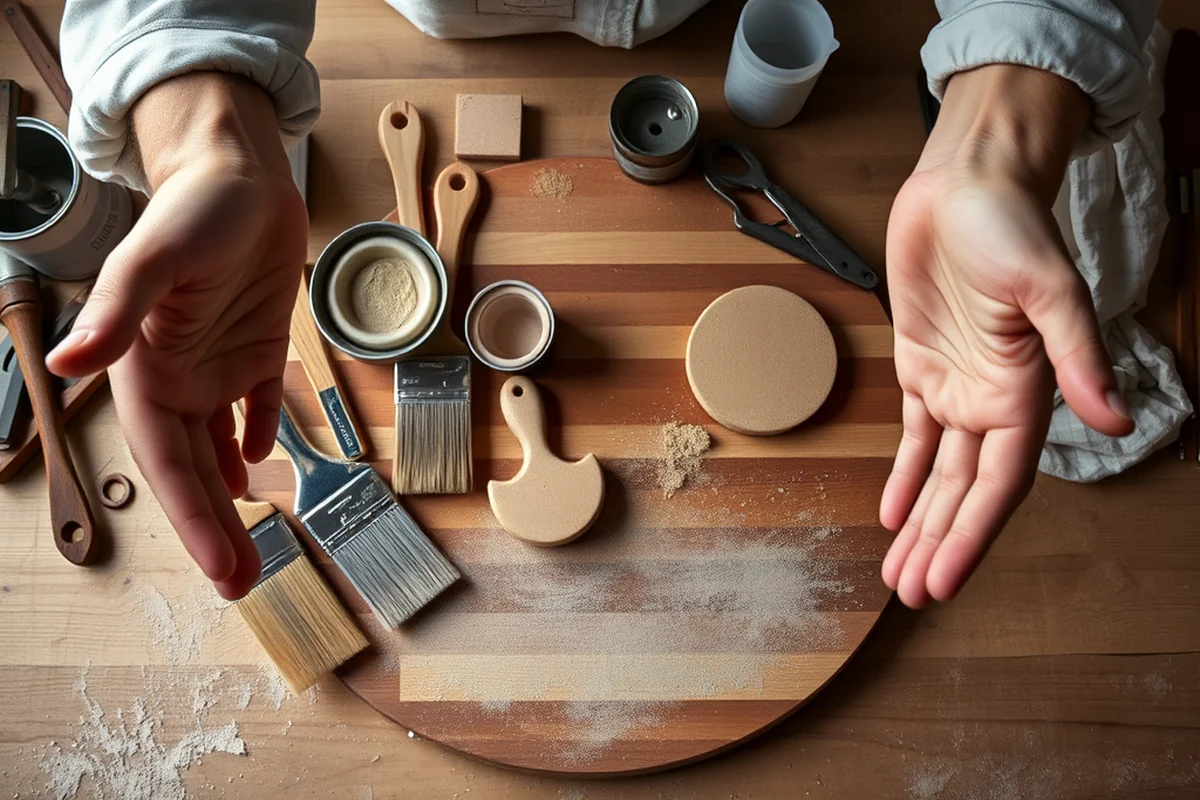
I used wood glue to attach the cedar base to the main board. I applied a generous amount of glue to both surfaces and used clamps to hold them in place. This ensured that the pieces bonded properly and that the structure was stable. I let the glue dry for about 24 hours before moving on to the next step.[3]
I also used screws to reinforce the attachment, which gave the board extra strength and made it more durable. I used a drill to create pilot holes before inserting the screws, which helped to prevent the wood from splitting. The screws were hidden beneath the surface, so they didn’t detract from the overall look of the board.
I found that using clamps and ensuring that the pieces were properly aligned was essential for achieving a clean, professional look. I also used a level to make sure that the board was perfectly flat and that the components were evenly distributed.
Related: Diy pegboard garage
Sealing and Finishing the Board
I used a food-safe oil to seal the board, which not only protected it from moisture but also gave it a natural sheen. I applied the oil in thin, even layers and let it absorb into the wood before wiping off any excess. This process took about an hour, and I repeated it two to three times to ensure full coverage.
After sealing, I used a wax to create a smooth, polished finish. This helped to enhance the natural grain of the wood and made the board easier to clean. I applied the wax in circular motions and then buffed it to a shine. This step was crucial for achieving a professional-looking finish.
I found that sealing the board with multiple layers of oil and wax was the most effective way to protect it. It also made the board more durable and easier to maintain over time. I used about 3 ounces of oil and 1 ounce of wax, which was enough to cover the entire board.
Related: Pegboard furniture
Testing and Troubleshooting
I tested the board by placing different types of food on it, including cured meats, cheeses, and fruits. I looked for any areas that felt rough or slippery and made adjustments as needed. I also tested the stability of the board by placing it on different surfaces and ensuring that it didn’t wobble or tip over.
During testing, I noticed that one of the corners was slightly uneven, so I used a sanding block to smooth it out. I also found that the wax wasn’t holding up as well as I expected, so I reapplied it and buffed it again to achieve a better finish.
Overall, the testing phase helped me identify any issues and make necessary adjustments. It also gave me confidence that the board was ready for use and that it would hold up well over time.
Testing the board ensures that it functions well and meets your expectations.
Related: Diy pegboard gear wall
Final Touches and Maintenance
I added a few small decorative elements, like a carved name or a simple logo, to personalize the board. I also used a small brush to apply a final coat of wax, which gave the board a polished look and made it easier to clean. This step took about 30 minutes and was an easy way to add a unique touch.[4]
For maintenance, I learned that it’s important to avoid using harsh chemicals or excessive water, as these can damage the wood and the finish. I also found that wiping the board down with a damp cloth after each use and reapplying oil and wax every few months helped to keep it in good condition.
Over time, I’ve learned that proper maintenance is key to keeping the board looking its best. By following these simple steps, the board can last for years and continue to be used for gatherings and meals.
💰 Budget Build
A simple, no-frills version of the board that uses affordable materials and minimal tools to create a functional piece.
⏰ Weekend Version
A version of the board that can be completed in a single weekend, using pre-cut materials and basic tools.
✨ Upgraded Finish
A version of the board with a polished, professional finish that uses high-quality wood and advanced finishing techniques.
🏠 Small-Space Adaptation
A smaller, more compact version of the board that’s ideal for small spaces or for use in apartments.
🔒 Rental-Safe Option
A version of the board that can be easily disassembled and transported, making it ideal for rental properties or temporary use.
| The mistake | Why it happens | The fix |
|---|---|---|
| Using the wrong type of wood for the board | Using a type of wood that’s too soft or dense can affect the durability and stability of the board. | Choose a type of wood that’s both durable and easy to work with, such as walnut, maple, or oak. |
| Not securing the base properly | If the base isn’t attached securely, the board may wobble or tip over, which can be dangerous. | Use wood glue and screws to secure the base, and use clamps to hold the pieces in place until the glue dries. |
| Ignoring the finishing process | Failing to seal and finish the board properly can lead to warping, cracking, or damage over time. | Apply multiple layers of food-safe oil and wax to protect the wood and enhance its appearance. |
| Overlooking the testing phase | Not testing the board after assembly can lead to discovering issues too late, such as instability or rough spots. | Test the board by placing food on it and checking for any rough or slippery areas. Make adjustments as needed before finalizing the project. |
How To Make A Charcuterie Board
Common Questions
Can I use any type of wood for my charcuterie board?
How do I ensure that the board is stable and doesn’t wobble?
What tools do I need to build a charcuterie board?
How much does it cost to build a charcuterie board?
References
- Shop Local this Holiday Season with Incredible Deals and Unique ... (agriculture.ny.gov)
- Heber Valley Cheese - Agritourism - Utah.gov (agritourism.utah.gov)
- Love at First Bite: Charcuterie & Chocolate (arb.umn.edu)
- Easy, Cheesy Easter Appetizers That Will Wow Your Guests This Year (babcockdairystore.wisc.edu)
- Classes – Bergen County, NJ – Official Website (bergencountynj.gov)
Cite this guide
DIY Furniture with Pegboard (2026). How To Make A Charcuterie Board. https://pegbuild.com/how-to-make-a-charcuterie-board/
Feel free to cite or share this guide.